Best wish (banner, gacha) guide for Genshin Impact. Includes gacha prices & cost, best wish to roll, system & rates, which characters to get, and banner schedule.
Table of Contents
| Related Guides | |
|---|---|
 Character Tier List Character Tier List | Weapon Tier List |
Best Wish To Pull & Recommended Banners
Remeber, the best banner to pull will ultimately depend on your preference. Regardless of meta or banner recommendations, pull for the banner that you want.
Depends On Team You Are Building
One of the things to consider when pulling is the team you are trying to build. Characters have their own niche and strengths, with some targeting specific team comps.
First Phase Is For Lunar-Bloom & Dendro-Transformative Teams
| Sample Lunar-Bloom Comp with Lauma | |||
|---|---|---|---|
| Lauma | Nilou | Baizhu | |
| Sample Bloom Comp With Nahida & Lauma | |||
| Nahida | Lauma | Nilou | Xingqiu |
| Sample Comp With Nahida | |||
| Nahida | Yelan | Kuki Shinobu | Sucrose |
Unlike Nahida that can work with most Dendro-reaction teams, Lauma is restricted to Bloom and Lunar-Bloom reactions due to her kit. However, since she's the only character so far that can proc Lunar-Bloom and with strong Bloom buffs, her value is quite high.
Second Phase Is For Lunar-Charged & Electro-Charged
| Sample Lunar-Charged Comp with Flins | |||
|---|---|---|---|
| Flins | Ineffa | Xingqiu | Sucrose |
| Sample Lunar-Charged Comp with Flins & Yelan | |||
| Flins | Yelan | Ineffa | Sucrose |
| Sample Electro-Charged Comp With Yelan | |||
| Yelan | Clorinde | Fischl | Xilonen |
Yelan is an all-rounder Hydro Sub-DPS that can work on most Hydro-reaction teams. Flins, on the other hand, is a strong Electro Main DPS and can proc Lunar-Charged. They can actually work together quite well.
Summary Of Priority Depending On What Team To Build
For Bloom/Luna-Bloom Teams
| Priority for Bloom | 1. Lauma 2. Nilou 3. Nahida |
|---|
Lauma is the highest priority when it comes to building a Bloom team as her buffs and on-field skill is a great addition to any Bloom Team. Nilou will give bountiful cores that will further be enhanced by Lauma, while Nahida, although a great Dendro Sub-DPS, isn't as valuable for a Bloom team.
For Electro-Charged/Lunar-Charged Teams
| Priority for Electro-Charged | 1. Flins 2. Don't Pull 3. Cyno |
|---|
For this team comp, the main priority is Flins. Even through Cyno is also a good Electro Main DPS, Flins is prioritized higher because of his ability to transpfrm Electrpo-Charged to Luanr-Charged. It's generally better to skip if you don't plan on pulling for Flins.
For Aggravate / Spread
| Priority for Aggravate / Spread | 1. Nahida 2. Save 3. Alhaitham |
|---|
When it comes to other Dendro reactions, Nahida is the best to have. If you have another Dendro main DPS, it's better to not pull, but if you don't and you're building for this reaction, get Alhiatham.
Available Banner Details
Limited Time Character Banners (6.0 Update First Phase)
Lauma Banner
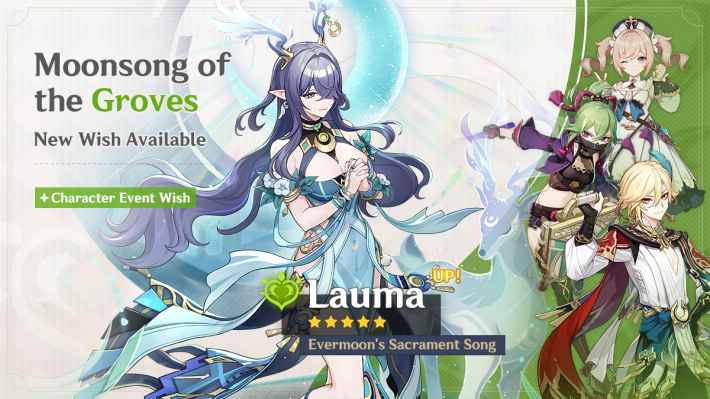 Lauma Banner
| Character | Banner Rating & Explanation |
|---|---|
| Lauma S | [ Rating ]: ★★★★ ・ [ Explanation ]: - Lauma is a must-have for any Bloom team as she not only applies Lunar-Bloom, but she also adds numerous buffs to Bloom through her kit. Currently, she's the best Support/Sub-DPS when it comes to Bloom reactions. - However this does limit her team comps. Since her whole kit is centered on Bloom, putting her on other teams lowers her value. |
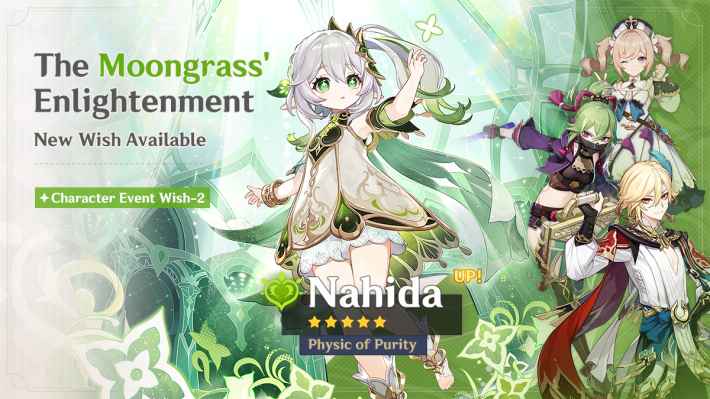
Nahida Rerun Banner
 Banner For Navia Guide
| Featured Character | Banner Rating & Explanation |
|---|---|
| Nahida S | [ Rating ]: ★★★ ・ ・ [ Explanation ]: - Nahida is among the best Dendro drivers in the game, however, she's lost value due to Dendro Reactions not doing as well in the current Meta. She's the best at Aggravate/Spread, as well as Hyperbloom and Budgeon. She'll be good with Bloom, but if you're pulling her for that, it would be better to just pull for Lauma. |
| Character | Pros & Cons |
|---|---|
| Barbara | Pros: - Is able to spread Hydro to opponents easily - Powerful and consistent healing Cons: - Inflicts Hydro to oneself that can trigger freezing and other reaction to self ↳ May be an advantage at certain stages - Elemental Burst & Skill does not produce damage ↳ Ocean-Hued Clam Set enables it to produce damage |
| Kuki Shinobu | Pros: - Healing scales from EM making her a great off-field support for Dendro Bloom teams - A rare Electro healer that can fulfill 2 roles needed in a super-conduct team - Is able to deal decent damage for a support Cons: - Needs to be at low HP to maximize - Vulnerable when built for Elemental Mastery |
| Kaveh | Pros: - Is not affected by rupture damage allowing him to be a great asset at Bloom teams - Ability to buff Bloom reactions is desirable - Consistent Dendro infliction during Elemental Burst Cons: - High energy cost which requires you to invest on Energy Recharge - Powerful at Blooms but is not that great at comps outside it - Bloom is mostly triggered by the Hydro Character instead of Kaveh ↳ You need to invest on the EM of the Hydro Character too |
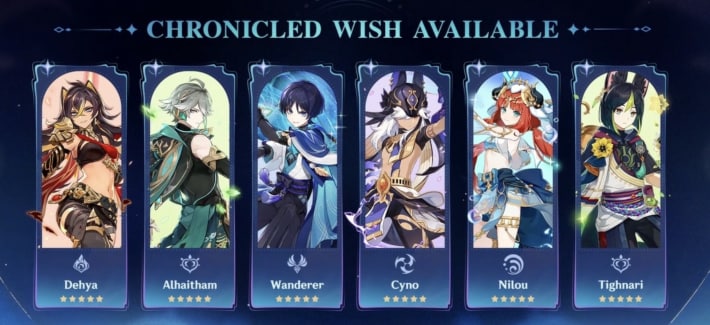
Sumeru Chronicled Banner
| Available Characters | |||
|---|---|---|---|
| Dehya | Alhaitham | Wanderer | |
| Nilou | Tighnari | - | - |
| Available Weapons | |||
| Light Of Foliar Incision | Key Of Khaj-Nisut | Beacon Of The Reed Sea | Tulaytullah's Remembrance |
| Hunter's Path | - | - | - |
| Recommendations |
|---|
| - Alhaitham is still among the best Dendro Main DPS in the game. However, he isn't as in demand because with the Luna I update, there's more emphasis on Bloom, which he doesn't work the best in - Nilou is a must have if you plan on running Bloom comps since her unique cores offer higher damage and instant detonations. She pairs nicely with Lauma and Nahida and you can gain a constellation for her in the upcoming To Temper Thyself & Journey Far Event - Cyno's standing has become better with the addition of Ineffa. You can also gain a constellation from her in the upcoming To Temper Thyself & Journey Far Event. - Wanderer is still among the best Anemo Main DPS, but will require a lot of investment with Sub-DPS and Supports. You can also gain a constellation from him in the upcoming To Temper Thyself & Journey Far Event. - For Tighnari and Dehya, it's not recommended to pull for them since they are accessible in the Standard Banner and they can drop when losing 50/50 in Limited Time Banners. You can also get them for free in the upcoming Free Standard Banner 5-Star Event. |
Limited Time Weapon Banner
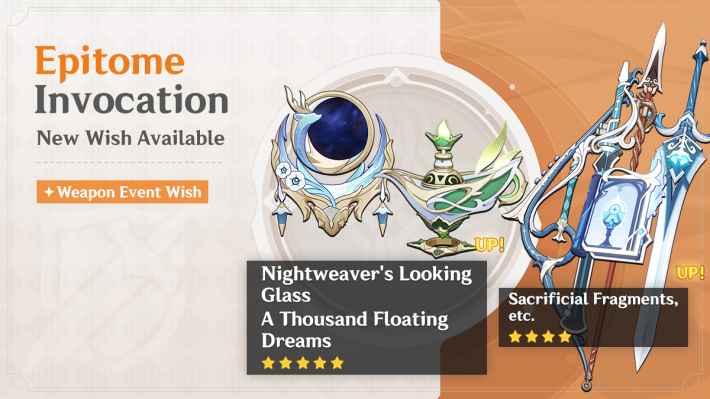 Epitome Invocation (Weapon Banner)
| Featured 5-Star Weapon | |||
|---|---|---|---|
| Nightweaver's Looking Glass | A Thousand Floating Dreams | ||
| Featured 4-Star Weapons | |||
| The Flute | Sacrificial Greatsword | Dragon's Bane | Prospector's Drill |
| Portable Power Saw | - | - | - |
| Banner Rating & Explanation | [ Rating ]: ★★★ ・ ・ [ Explanation ]: - Nightweaver's Looking Glass is an amazing weapon for any Bloom Support character, whether Hydro or Dendro. However, since it's so centered on Bloom, the characters that can use it are limited - A Thousand Floating Dreams is a more versatile weapon since it's effects can fit much easier to any EM-Centered user - The 4-star weapons are okay, but it is not recommended not to pull on the banner just to get them |
|---|
Rates And Banner Details For Weapon Banner
| Rarity | Rate | Rewards |
|---|---|---|
| ★★★★★ | 0.7% | Weapons |
| ★★★★ ・ | 6.0% | Weapons & Characters |
| ★★★ ・ ・ | 93.3%% | Weapons |
| Banner Details |
|---|
| - Rarity with ★5 are all weapons - Guarantees at least one ★5 weapon with 80 attempts - Guarantees ★4 or above once every 10-wish roll - If the first ★5 weapon you win is not one of the promotional weapon with higher drop rate, then the next ★5 weapon you get is guaranteed to be a promotional weapon - Choose your desired weapon in the Epitomized Path and you are guaranteed to get it after pulling two 5-star weapons that are not the once you choose |
Standard Banner

| Banner Rating & Description | [ Rating ]: ★ ・ ・ ・ ・ [ Explanation ]: - It's recommended that you only pull on the Standard Banner with the Acquiant Fate that you have collected and not with your Primogems. - Since the characters and weapons here are not limited and entirely at random, it's not recommended to try for this. |
|---|
Rates And Banner Details For Standard Banner
| Rarity | Rate | Rewards |
|---|---|---|
| ★★★★★ | 0.6% | Characters & Weapons |
| ★★★★ ・ | 5.1% | Characters & Weapons |
| ★★★ ・ ・ | 94.3% | Weapons |
| Banner Details |
|---|
| - Guarantees at least one ★5 items with 90 attempts - Guarantees ★4 item or higher in every 10-wish roll - Permanent banner |
Required Currency & Price
Required Currency For Gacha
| Required Currency | Banners |
|---|---|
| Acquaint Fate | - Beginner's Wish - Wanderlust Invocation (Standard Banner) |
| Intertwined Fate | - Character Event Wishes - Epitome Invocation (Weapon Banner) |
The required amount of Primogems used to get Acquaint Fate or Intertwined Fate is the same. One (1) Acquaint Fate or Intertwined Fate can be exchanged for 160 Primogems. One (1) Primogem can be converted from One (1) Genesis Crystals, a currency obtained through microtransactions.
Primogems Farming GuidePrice Of Gacha
| Price Per Gacha | About $2.66 |
|---|
The cost of pulling one gacha is about 2.66 USD since 300 Genesis Crystals cost 4.99 USD and you need 160 Genesis Crystals to roll one gacha. If you purchase the Genesis Crystals in bulk, you can get a volume discount. Click on the button below to learn more about microtransactions.
Microtransactions GuideGacha System - How To Unlock & Roll
Raise Adventurer Rank to 5 To Unlock

Genshin's gacha feature, Wishes, unlocks once your Adventurer Rank reaches 5 level. If you want to unlock gacha, play the main story for about 20 minutes.
How To Unlock The Gacha?
| 1 | Download the game and create an account |
|---|---|
| 2 | Follow Paimon (Episode 1) |
| 3 | Finish the battle tutorial |
| 4 | Amber joins your party after the event in the forest |
| 5 | Clear out the Hilichurl camp |
| 6 | Get a Wind Glider from Amber |
| 7 | Defeat Stormterror |
| 8 | Proceed to Knight of Favonius headquarters. Your Adventurer Rank becomes 5 |
| 9 | Click the star icon on the upper part of your screen to make wishes |
How To Pull Gacha
| 1 | Tap the Wish icon on right upper corner or open the menu and select wish icon |
|---|---|
| 2 | Choose which banner to pull |
Step 1: Open The Wish Page

Tap the wishing icon displayed on right upper corner of your screen and move to the gacha page.
Step 2: Choose Which Banner To Pull

Select the banner you want and start pulling gacha. If you don't have enough Primogem, your Genesis Crystal will be converted.
Banners Will Rotate & Change
Limited banners like the Character Event Wishes and Epitome Invocation are only available during their set duration. Previous banners will rerun but it is up to HoYoVerse's decision as to when it will happen.
Best Wish To Pull - Tips
Pull Beginner's Wish First

The Beginner's Wish is guaranteed to include ★4 Noelle on the 1st 10-wish roll and ★4 or higher character on the 2nd 10-wish roll. The reduced amount of currencies needed to do a 10-pull using Acquaint Fates (Blue Fates) makes it worthy to pull on first.
Pull Weapon Gacha If You Have Enough Characters

If you already own enough strong characters, going for the weapon gacha like Epitome Invocation is also recommended. A ★5 weapon is guaranteed at least once per 80 attempts. Since the stats of ★5 weapons are much higher than ★4, going for this banner is a good bet if you want to focus on increasing your damage.
Event & Wish Related Guides

Current Wish (Gacha) Banners
| Banner | Boosted Character / Weapon |
|---|---|
| To The Looking-Glass The Mademoiselle Said 7/1/2026 - 7/21/2026 | |
| Starry Night's Whispers 7/1/2026 - 7/21/2026 | |
| Heavenlit Prophecy 7/1/2026 - 7/21/2026 | |
7/1/2026 - 7/21/2026 | |
| Beginners' Wish Permanent | |
| Wanderlust Invocation Permanent | - |