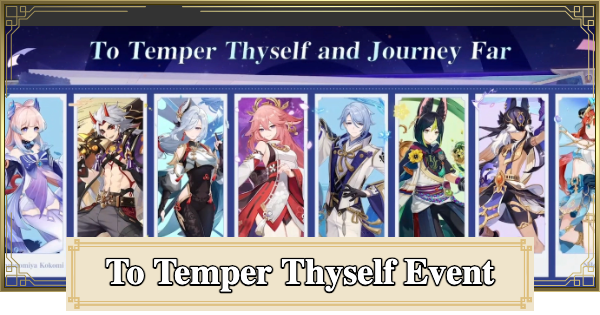
To Temper Thyself & Journey Far is an upcoming event in Genshin Impact. This guide includes To Temper Thyself & Journey Far release date, how to unlock, free constellation, characters, recommendations & more.
Table Of Contents
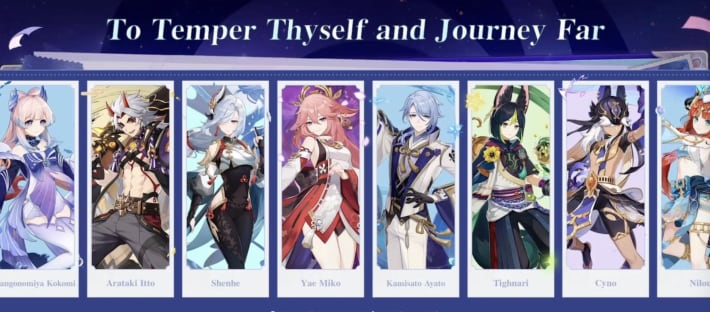
Available Characters For Free Cons
| Limited-Time Characters | ||||
|---|---|---|---|---|
 Childe Childe | Albedo | Ganyu | ||
| Hu Tao | Ayaka | Yoimiya | Kokomi | |
| Itto | Shenhe | Yae Miko | Ayato | |
| Nilou | Wanderer | Baizhu | ||
| Standard Banner Characters | ||||
| Diluc | Keqing | |||
| Tighnari | Dehya | - | - | - |
Other Rewards
| Week 1 | Mystic Enhancement Ore x 20 |
|---|---|
| Week 2 | Crown of Insight (Sagehood) x 1 |
| Week 3 | |
| Week 4 | Sanctifying Elixir x 1 |
| Week 5 | |
| Week 6 | Dust Of Enlightenment x 1 |
| Week 7 | Sanctifying Essence x 1 |
| Week 8 | Stella Fortuna of chosen character x 1 |
To Temper Thyself & Journey Far Event Release Date & Details
Released With The Luna I Update
| Current Cycle | 2025/12/01 04:00 - 2025/02/23 |
|---|---|
| Next Cycle | TBA |
To Temper Thyself & Journey Far was first released during the Luna 1 (6.0 Update). It's currently on its second cycle, which started on December 1, 2025.
A Periodic Event
This event is a permanent, periodic event. This means that it will be a reoccuring event with seasons that will start when the previous one ends. This means that Travelers can gain up to 4 free cons each year!
How To Unlock To Temper Thyself & Journey Far
| Eligibility |
|---|
| - Adventure Rank 14 or above |
| - Complete "Knights of Favonious" in Archon Quest Prologue: Act I The Outlander Who Caught The Wind |
| - Complete the World Quest "Welcome to the Adventurer's Guild" |
To Temper Thyself & Journey Far Gameplay Details
Gain Free Constellations
Complete weekly training goals to unlock Constellations for any of the available 5-Star Characters in the current season.
Only Available For Characters You Own
You cannot get Constellations for characters that you do not own. Although a character is part of the roster of the season, you can only choose from the ones you already have.
Rewards Are Only Available Per Cycle
Do not save your Stella Fortuna for another cycle because it does not carry over. If you fail to choose a character for your Stella Fortuna and the current cycle ends, it will be gone.
Only 1 Constellation Per Character
Players can only get a constellation through this event once per character. This means that once you've received a con from them in the event, they'll become unavailable after.
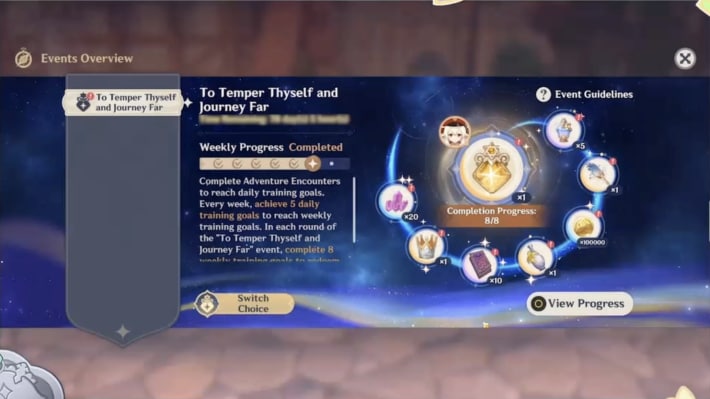
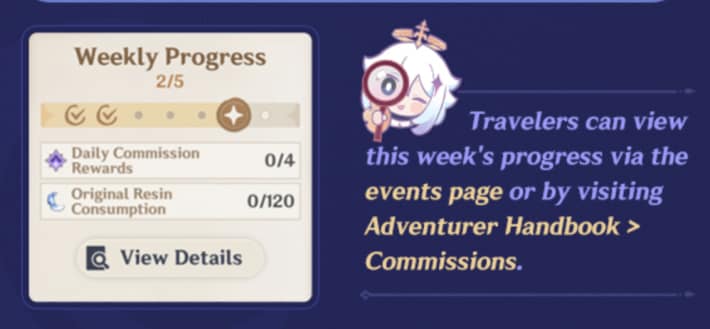
Complete Daily Training Goals To Meet Weekly Training Goals
Complete 5 Daily Training Goals in order to get the Weekly Training Goal of the week. Daily Training Goals include completing 4 Daily Commissions and using 120 Original Resin.
Complete 8 Weekly Goals To Get A Constellation
In total, players will have to complete 8 Weeks of Daily Training Goals in order to get a free constellation. Each time you complete a Weekly Training Goal, you will also receive a reward!
Character & Constellation Priority
Note: The most important factor in choosing which character to get a constellation for is your preference. Regardless of the meta or recommendations, you should choose the one you want.
Best Characters For C1
This ranking assumes that all characters in your roster are at C0.
| Priority | Characters |
|---|---|
| ★★★★★ | |
| ★★★★☆ | |
| ★★★☆☆ | |
| ★★☆☆☆ | |
| ★☆☆☆☆ | |
This ranking takes into account how good the constellation is and how it can benefit the character with regards to their overall gameplay. For example, Yae Miko's constellation 1 is ranked low because it does not really do much for her as she's Skill-based rather than Burst-based, which the con affects.
High Priority For Klee & Albedo (NEW!)
With the recent buffs to both Klee and Albedo, they've bumped up to 5-Star Priority! To learn more about their C1 constellations and why they've gone up in ranking, click the button below!
5-Star & 4-Star Priority Explanation5-Star Priority Characters
| Character | Constellation 1 | ||
|---|---|---|---|
| Albedo | Transient Blossoms generated by Albedo's Elemental Skill Abiogenesis: Solar Isotoma regenerate 1.2 Energy for Albedo. Additionally, the use of Albedo's Elemental Skill Abiogenesis: Solar Isotama also icreases his DEF by 50% for the next 20s. | ||
| Explanation | |||
| - Just by using Albedo's Elemental Skill, you can increase his Def by 50%, raising his overall damage and buffs to other members. With at least 3000 DEF, he can give a 12% increase to party members with an additional 30% more. | |||
| Character | Constellation 1 | ||
|---|---|---|---|
| Hu Tao | While in a Paramita Papilio state activated by Guide to Afterlife, Hu Tao's Charge Attacks do not consume Stamina. | ||
| Explanation | |||
| - Increases Hu Tao's damage potential by removing her Charged Attack's stamina consumption when her Elemental Skill is active | |||
| Character | Constellation 1 | ||
|---|---|---|---|
| Shenhe | Spring Spirit Summoning can be used 1 more time. | ||
| Explanation | |||
| - With another charge of her Elemental Skill, it increases her Cryo ATK increase buff uptime, while also making it easier for her to build Elemental Burst | |||
| Character | Constellation 1 | ||
|---|---|---|---|
| Nilou | Dance of Haftkarsvar (Elemental Skill) will be enhanced as follows: - Luminous Illusion DMG is increased by 65% - The Tranquility Aura's duration is extended by 6s | ||
| Explanation | |||
| - Extends Nilou's Elemental Skill duration. Great investment when running Bloom teams with Nilou as the driver. Timely, since Lauma will make Bloom even stronger, increasing Nilou's placement in the meta | |||
| Character | Constellation 1 | ||
|---|---|---|---|
| Baizhu | Universal Diagnosis gains 1 additional charge. | ||
| Explanation | |||
| - With another charge for his Elemental Skill, Baizhu will be able to sustain his team better. This will also allow him to build his Burst much more easier even without another Dendro on the team | |||
4-Star Priority Characters
| Character | Constellation 1 | ||
|---|---|---|---|
| Attacks and Skill have a certain chance to summon sparks that bombard opponents, dealing DMG equal to 120% of Sparks 'n' Splash's DMG. For 12s after triggering the above effect, Klee's ATK is increased by 60%. | |||
| Explanation | |||
| - With C1, Klee's overall damage gets a bump with a pretty easy to proc ATK increase of 60%. | |||
| Character | Constellation 1 | ||
|---|---|---|---|
| Ganyu | Charge Level 2 Frostflake Arrows or Frostflake Arrow Blooms decrease opponents' Cryo RES by 15% for 6s upon hit. A hit also regenerates 2 Energy for Ganyu. This effect can only occur once per Charge Level 2 Frostflake Arrow, regardless if Frostflake Arrow itself or its Bloom hits the target. | ||
| Explanation | |||
| - Ganyu will be able to apply Cryo RES through her Charged Attack (level 2), greatly increasing her damage potential. With the added Energy regeneration, this will also allow her to build her Elemental Burst faster | |||
| Character | Constellation 1 | ||
|---|---|---|---|
| Yoimiya | The Aurous Blaze created by Ryuukin Saxifrage lasts for an extra 4s. Additionally, when an opponent affected by Aurous Blaze is defeated within its duration, Yoimiya's ATK is increased by 20% for 20s. | ||
| Explanation | |||
| - This adds a buff to Yoimiya in a very seamless way. Once here Elemental Burst hits and you switch her out, she will have her ATK increase by the time you return her to the field. | |||
| Character | Constellation 1 | ||
|---|---|---|---|
| Every time Icetide Vortex's Grimheart stacks are consumed, Eula's Physical DMG is increased by 30% for 6s. Each stack consumed will increase the duration of this effect by 6s up to a maximum of 18s. | |||
| Explanation | |||
| - This is another seamless buff type of addition. Eula can easily gain the Physical DMG increase since her Elemental Skill is an essential part of her rotation | |||
| Character | Constellation 1 | ||
|---|---|---|---|
| Wanderer | When in the Windfavored state, the Attack SPD of the Wanderer's Kuugo: Fushoudan and Kuugo: Toufukai is increased by 10%. Additionally, the wind arrows fired by the Passive Talent "Gales of Reverie" will deal an additional 25% of his ATK as DMG. You must unlock the Passive Talent "Gales of Reverie" first. | ||
| Explanation | |||
| - Besides having ATK SPD increase, the wind arrow will also gain increase in DMG based on his ATK | |||
| Character | Constellation 1 | ||
|---|---|---|---|
| Increases Lemniscatic Wind Cycling's charges by 1. | |||
| Explanation | |||
| - Solve's Xiao's energy needs as it allows for more particles with every use of his Skill | |||
| Character | Constellation 1 | ||
|---|---|---|---|
| After using Sacred Rite: Wolf's Swiftness, Cyno's Normal Attack SPD will be increased by 20% for 10s. If the Judication effect of his Passive Talent Featherfall Judgment is triggered during Secret Rite: Chasmic Soulfarer, the duration of this increase will be refreshed. You need to unlock the Passive Talent "Featherfall Judgment." | |||
| Explanation | |||
| - Cyno will receive a significant ATK SPD buff for his Normal Attack. He can easily make use of this during his Elemental Burst, allowing for more damage | |||
Constellations Worth Getting
Here are some notable constellations you can also choose to get if it is available for you. Note that this are impossible to get when your character is C0 since you can only gain one Con per character in this event.
| Character | Constellation 2 | ||
|---|---|---|---|
| Baizhu | When your own active character hits a nearby opponent with their attacks, Baizhu will unleash a Gossamer Sprite: Splice. Gossamer Sprite: Splice will initiate 1 attack before returning, dealing 250% of Baizhu's ATK as Dendro DMG and healing for 20% of Universal Diagnosis's Gossamer Sprite's normal healing. DMG dealt this way is considered Elemental Skill DMG. This effect can be triggered once every 5s. | ||
| Explanation | |||
| - This adds an increase in Baizhu's DPS output and Dendro application as it unleashes an additional attack as part of his Skill | |||
| Character | Constellation 2 | ||
|---|---|---|---|
| Nilou | After characters affected by the Golden Chalice's Bounty deal Hydro DMG to an opponent, that opponent's Hydro RES will be decreased by 35% for 10s. After a triggered Bloom reaction deals DMG to opponents, their Dendro RES will be decreased by 35% for 10s. You need to have unlocked the "Court of Dancing Petals" Talent. DMG dealt this way is considered Elemental Skill DMG. This effect can be triggered once every 5s. | ||
| Explanation | |||
| - Nilou will be able to apply Hydro RES with her skill, while also applying an additional Dendro RES shred when an opponent is hit by a Bloom core | |||
| Character | Constellation 2 | ||
|---|---|---|---|
| Kamisato Ayaka | When casting Kamisato Art: Soumetsu, unleashes 2 smaller additional Frostflake Seki no To, each dealing 20% of the original storm's DMG. | ||
| Explanation | |||
| - This increases the damage of Ayaka's Burst by up to 40% | |||
| Character | Constellation 2 | ||
|---|---|---|---|
| Being hit by Jumpy Dumpty's mines decreases opponents' DEF by 23% for 10s. | |||
| Explanation | |||
| - With this, Klee will be able to apply DEF Shred easily with her use of Elemental Skill. Quite beneficial for the whole team | |||
| Character | Constellation 2 | ||
|---|---|---|---|
| Yae Miko | Sesshou Sakura start at Level 2 when created, their max level is increased to 4, and their attack range is increased by 60%. | ||
| Explanation | |||
| - Yae Miko's Elemental Skill will get an amazing boost in range, requiring less repositioning when fighting against nimble enemies | |||
Only Get Standard Banner Characters For Masterless Fortuna
It's only recommended to get Standard Banner cons for this event when trying to get the Masterless Fortuna. Generally, since Standard Characters are more accessible, it's best to use this event to get cons for Limited-Time Banner characters.
Can Get A Standard Constellation / Character In Anniversary Free 5-Star
With the upcoming 5th Anniversary of Genshin Impact, players will be able to get a 1 free 5-Star Banner Character! It's better to use that to get cons instead of this event.
Who to Choose from the Free 5-Star Selector?Genshin Impact Event Articles

Current Wish (Gacha) Banners
| Banner | Boosted Character / Weapon |
|---|---|
| To The Looking-Glass The Mademoiselle Said 7/1/2026 - 7/21/2026 | |
| Starry Night's Whispers 7/1/2026 - 7/21/2026 | |
| Heavenlit Prophecy 7/1/2026 - 7/21/2026 | |
7/1/2026 - 7/21/2026 | |
| Beginners' Wish Permanent | |
| Wanderlust Invocation Permanent | - |