


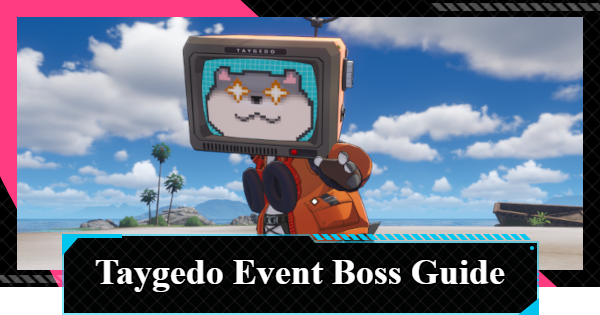
Taygedo boss guide for the Hunter's Crucible event in Neverness to Everness (NTE). Learn Taygedo's mechanics, best team comp, and how to counter Taygedo's attack patterns.
Taygedo Boss Mechanics
Uses a Variety of Item-Based Attacks


Taygedo is a boss that fights using various items, including a hammer and a megaphone. Be especially careful, as it also has delayed attacks and attacks without warning indicators.
Lakshana Attacks Are Effective

Taygedo's weakness Attribute is Lakshana. Attacking with its weakness Attribute allows you to efficiently reduce its Break Resistance and gain an advantage throughout the fight.
Best Team for Taygedo Event Boss

Since Taygedo is weak to Lakshana, a team built around Hathor as the main DPS is highly recommended. By activating the Charge Esper Cycle, you can create more opportunities to use Hathor's signature Cyclone Strike.
Tips for Activating Charge and DiscordCharge Team
| DPS | Anima | Instant Cycle | Support |
|---|---|---|---|
| Hathor | Nanally | Esper Zero | Hotori |
This team revolves around Hathor and is designed to trigger Charge consistently. While it requires some setup, Hotori's Present Replay can help create more opportunities to activate Charge.
Tips to Defeat Taygedo
Utilize Dropped Items During Break

Taygedo is known for dropping the three types of items it uses for attacks whenever it is Broken. Picking up these items triggers a special flinch animation, creating a large opening for additional damage.
Don't Pick Up Items During Break
The dropped items remain on the field for a while, and using them during Break only deals extra damage. Focus on attacking during the Break window, then save the items until the Break gauge recovers to create another opening afterward.
Learn the Dodge Timing

Taygedo has many slow wind-up animations, and dodging too early can cause you to get hit after your invincibility frames end. It also has several attacks without warning indicators, so learning its attack patterns and timing your dodges correctly is key.
Watch for the Hammer Draw Animation

The animation where Taygedo pulls a hammer from its pocket always leads into an attack that can be countered with a Parry Attack. Recognizing this cue will greatly improve your chances of landing successful parries.
Taygedo Attack Patterns & Counters
Trip Attack and Get-up
This is an attack performed while getting up after falling, and it has a warning indicator. While Taygedo is down, the hitbox persists, providing a chance for consecutive counters, but be careful with your positioning so you don't get hit by the subsequent get-up attack.
Butt Slam Attack
This attack, which is more likely to be used when you are behind the enemy, involves it falling on its butt and creating multiple hitboxes. There is a warning indicator, and Critical Riposte can be used multiple times in sync with consecutive hit portions.
Hammer Attack
This is an attack where it pulls a hammer from its pocket and swings it wide, which can be countered with a Parry Attack. It has various follow-ups like a consecutive slam or a second Parry Attack opportunity, so stay vigilant of the enemy's movements even after the first hit.
Bug Spray Jet
This is an attack without a warning where it jets bug spray towards the character. The jet itself can be dodged, but the damage area left on the ground is unavoidable. You should move far back to shake off the tracking.
Bug Spray Scatter
This is an attack it's likely to use when you're behind it, where it scatters spray to cover itself. A warning indicator appears, but the wind-up is long, so you can deal with it safely by calmly creating distance.
Megaphone Shockwave
It aims the megaphone at the ground and releases a shockwave. There is a delay between the warning and the attack, so dodge after seeing the warning. After the move, it falls on its butt, exposing an opening and creating an attack chance.
Lobbed Shot Launch
This is an attack without a warning where it launches an invisible lobbed shot from the megaphone. The projectile falls from overhead, so you can dodge it relatively safely by dodging backwards when the ground starts to shake.
Hammer Projectile Launch
It launches a generated energy orb with its hammer. There is a warning indicator, but the projectile feels very fast when fighting at close range, so watch the indicator closely to time your dodge.
Leaping Hammer
This is an attack it tends to use when you are far away, where it leaps and slams its hammer down. A warning indicator appears, but there is a slight delay in the air, so dodging too early is a bad idea.
Truck Summon
This is a move without a warning where it leaps backwards, summons multiple trucks, and has them charge. The trucks may curve and track you, so dodging into them is a stable way to avoid the attack.
NTE Related Articles
Return to HomeRecommended Articles
Recommended Guide Articles
 Early Game Guide
 Mid-Game Guide
 Daily Things to Do
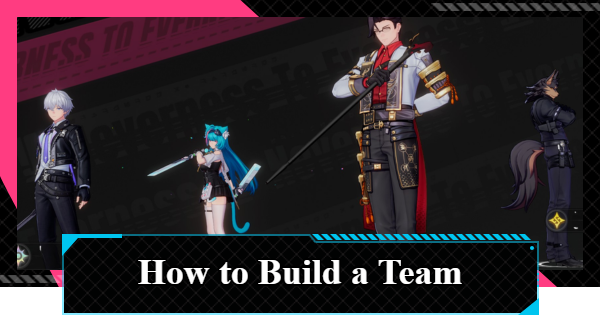 Team Building Tips
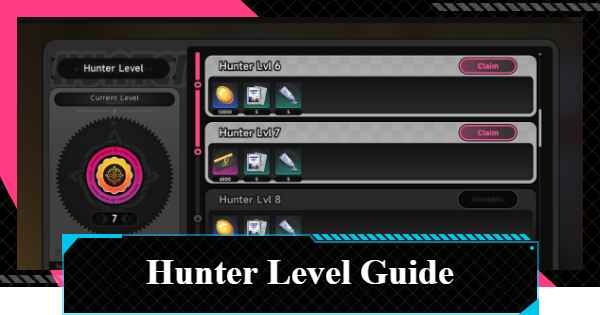 Hunter Level
 Appraisal Level
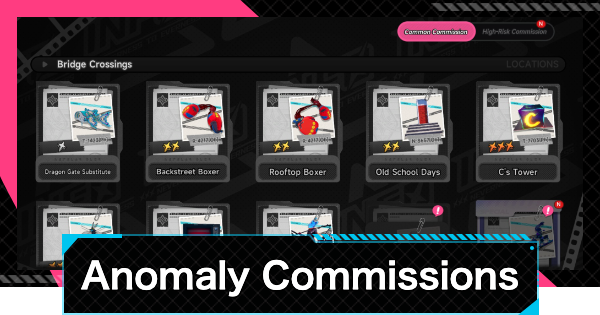 Anomaly Commission List
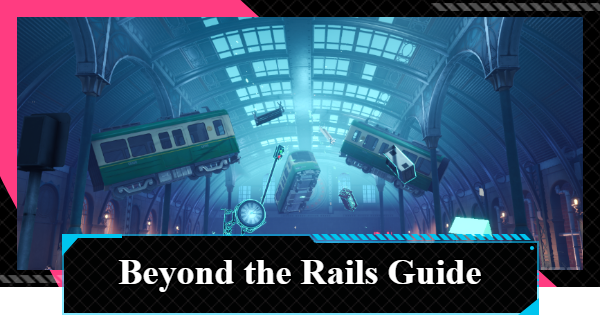 Beyond the Rails
 Get Chiz for Free
 Get Free S-Rank Arcs
 Mall Guide
 Oracle Stone
 Interactive Map
 Best In-Game Purchases
 How to Min-Max Consoles
 Hunter Exchange
 Latest Updates
Database
 All Items List All Items List |  All Furniture List All Furniture List |  Fish List Fish List |
 Vehicles List Vehicles List |  Hidden Achievements Hidden Achievements |  Voice Actor Cast Voice Actor Cast |
 Outfits and Skins Outfits and Skins |  Arcs Weapon List Arcs Weapon List |  All Cartridges List All Cartridges List |
 Gacha Machine Locations Gacha Machine Locations |  Achievements List Achievements List |  Common Enemy List Common Enemy List |

