


Nestbound Bird Boss in NTE (Neverness to Everness) is found in the New Herland District. See rewards, location, moves, and tips for defeating the Nestbound Bird.
Table of Contents
| Related Articles | |
| Call of the Lost | Tears Beneath the Mask |
Nestbound Bird Boss Location
Found in the New Herland District
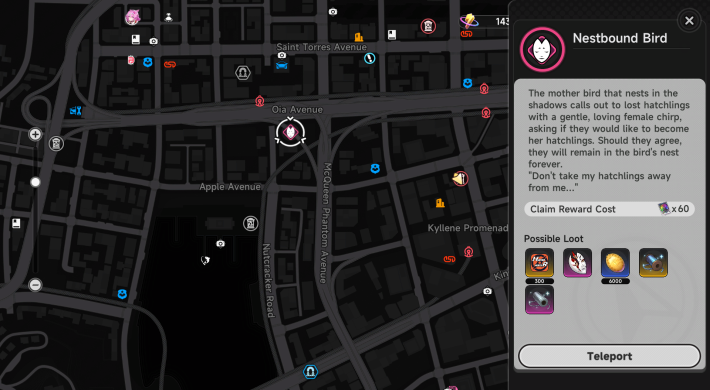
The Nestbound Bird in NTE is a boss found in a specific area of the "New Herland District." After reaching the location and completing the hunt once, you unlock Fast Travel from the map, making it much easier to farm repeatedly.
Nestbound Bird Unlock Conditions
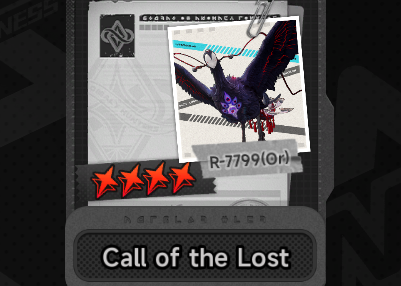
To challenge the Nestbound Bird, you need to complete the Anomaly Commission "Call of the Lost" first. If it’s not available yet, progress through the required quests in the Anomaly Commission list.
Call of the Lost: How to Unlock and RewardsNestbound Bird Rewards
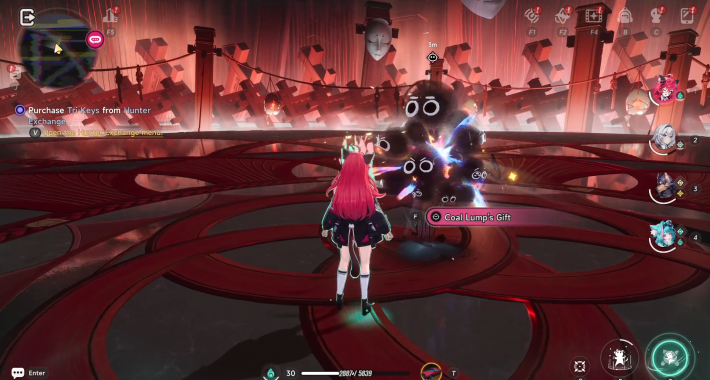
Defeating the Nestbound Bird in Anomaly Hunt rewards you with "Coal Lump's Gift" which gives you Nest Guard Fragments, an item used for character progression. Use your Stamina regularly to farm these materials.
Hunt Rewards List
 Nest Guard Fragment
 Magic Thread
 Tears Beneath the Mask
Nestbound Bird Boss Strategy
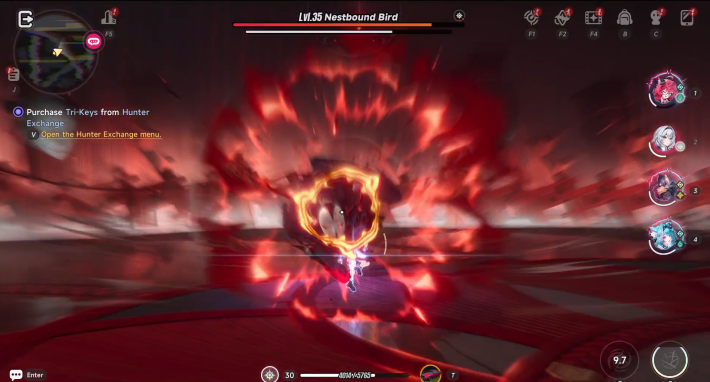
Deals Very High Damage
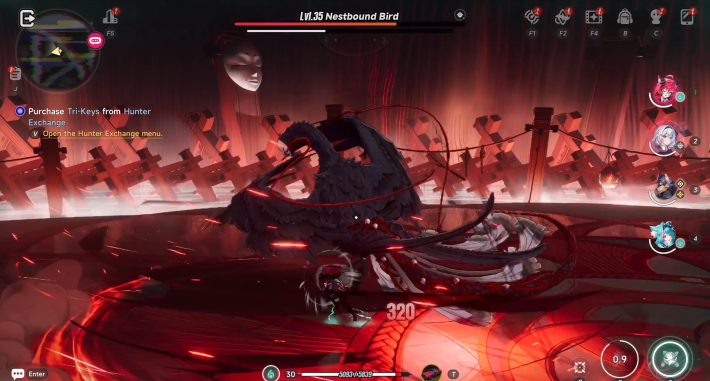
The Nestbound Bird deals extremely high damage, especially with its melee attacks. You can be defeated in just a few hits, so focus on timing Critical Dodges and Parry Attacks to safely deal damage.
Cosmos Attribute Is Effective
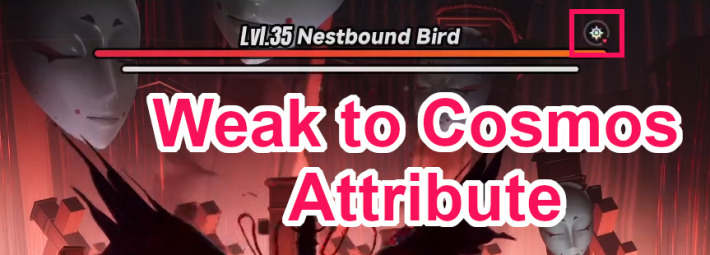
The Nestbound Bird’s weakness is the "Cosmos" Attribute. Using characters that match this weakness helps break its defenses more efficiently, so prioritize including Cosmos Attribute units in your team.
Recommended Team Composition
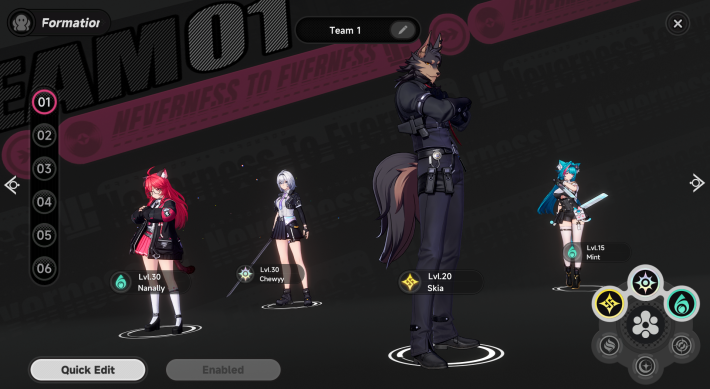
A team built around a Cosmos Attribute MC is highly recommended. For the remaining slots, include Lakshana or Anima Attribute characters to activate Esper Cycle effects like "Remora" or "Blossom."
Charge Composition
| DPS | Anima Esper Ability | Lakshana Esper Ability | Survival |
 Esper Zero Esper Zero |  Nanally Nanally |  Hathor Hathor |  Fadia Fadia |
This setup focuses on maximizing Esper Zero’s Charge mechanics. By activating Remora with Hathor and pairing with Nanally, you can consistently deal high damage.
Tips for Beating Nestbound Bird
Focus on Your Critical Dodge
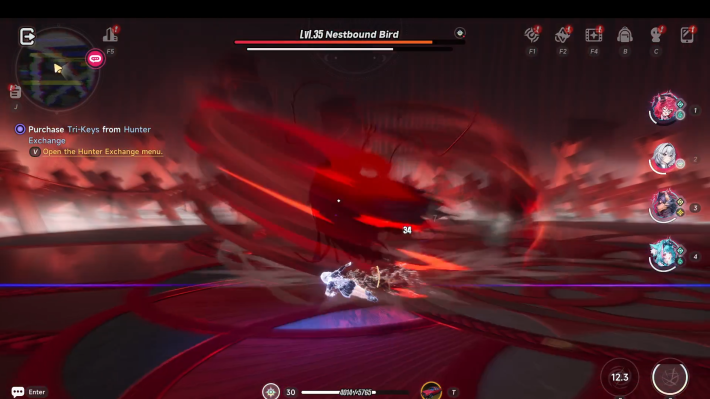
The Nestbound Bird moves slowly but frequently chains multiple skills. Among these, its charge and dive attacks deal extremely high damage, so focus on activating Critical Dodges and counterattacks rather than trading hits.
Get Close and Perform a Parry Attack
To trigger a Parry Attack, land a Basic Attack or skill as the red circle contracts. However, since the Nestbound Bird often jumps or retreats during special skills, time your attack as it lands or Dodge toward it to reliably trigger the Parry.
Dodge Multi-Hit Attacks Below Half HP
Once the boss drops below around half HP, its patterns change. It begins using tracking projectiles and circular AoEs at your feet, both hitting multiple times. Avoid overcommitting to attacks, focus on Dodging first, then counter with Critical Dodge.
Increased Attacks at High-Risk Commission Difficulty III


Difficulty increases the number of attacks, so be prepared for changing the timings of your dodges and counterattacks.
Nestbound Bird Phase 1 Moves
Double Wing Swipe Attack
This attack swings both wings twice in succession. The timing is easy to read, so perform two Critical Dodges in a row and counterattack.
Stomp into Circular AoE Attack
The boss jumps, then follows up with a stomp and circular AoE. Both have clear delays, making this a good opportunity to practice and land Critical Dodges.
Bird Summon Pattern Before AoE
In some cases, small birds appear first and create tracking AoEs at your feet. To avoid getting clipped by the stomp, keep moving and prioritize Dodging the birds.
Double Feather Toss into Stomp Attack
The boss floats, fires feathers forward, then ends with a stomp. Since it stays airborne, focus on Dodging first and counter after the final stomp.
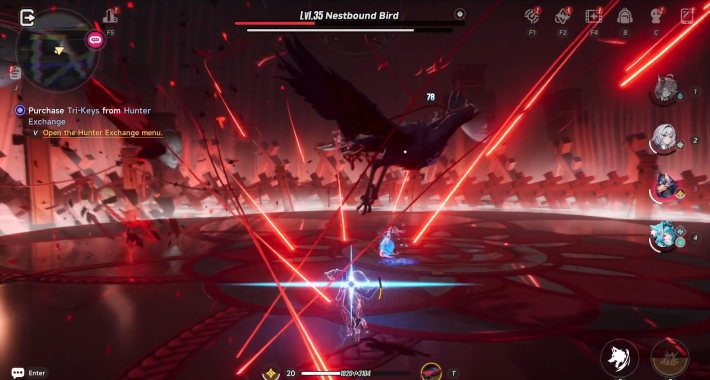
Ground Tremor into Bird Charge Attack
The boss triggers two ground tremors, followed by birds charging at you. While the tremors are easy to avoid, the final charges can come from off-screen, so stay alert and be ready to Dodge again.
Triple Beam into Stomp Attack
The boss floats and fires three beams from a mask. Dodge as the beam expands and flashes to trigger Critical Dodge, then counter after the final stomp.
Charge → Triple Beam → Charge Attack
The boss charges, fires triple beams, then follows with another charge. Avoid the beams with Critical Dodge, and during the final charge, timing a Parry as it lands will down the boss.
Dodging Is Also a Safe Option
The Parry timing here is tight, so if consistency is an issue, it’s perfectly fine to play safe and Dodge everything instead.
Backstep Into Special Skill Charge
This attack begins with the boss spreading its wings and stepping backward before launching into a special charge. Perform a Critical Dodge during the backstep, then close the distance quickly to reliably land a Parry Attack on the incoming charge.
Critical Dodge Pattern
If your Critical Dodge during the backstep creates distance instead, stay calm and prepare for the follow-up. Since there is enough time before the charge connects, watch the boss’s movement and respond with another well-timed Dodge.
Multi-Hit Screech Into Missiles
The boss unleashes a multi-hit screech followed by tracking missiles from behind. Both hit rapidly, and getting caught once can lead to heavy damage, so continuously spam Dodge and focus entirely on avoiding damage during this sequence.
Nestbound Bird Phase 2 Moves
Closing Wall and Mask Beam Attack
This phase triggers when the boss reaches around 50% HP. The arena gradually shrinks while beams fire from two masks. Stay aware of positioning, Dodge the beams, and be ready for additional beams coming from random angles near the end.
Two Tracking Attacks Into Stomp
The boss floats, performs two tracking attacks, then finishes with a stomp. Since getting hit once often leads to follow-up damage, prioritize Dodging until the full sequence ends.
Parry Timing on Final Stomp
The boss jumps high, making the timing harder to read. However, landing a specific attack right as it hits the ground will trigger a Parry Attack. If you have room to spare, this is worth going for to gain an advantage.
Tears Beneath the Mask GuideNTE Related Articles
Return to HomeRecommended Articles
Recommended Guide Articles
 Early Game Guide
 Mid-Game Guide
 Daily Things to Do
 Team Building Tips
 Hunter Level
 Appraisal Level
 Anomaly Commission List
 Beyond the Rails
 Get Chiz for Free
 Get Free S-Rank Arcs
 Mall Guide
 Oracle Stone
 Interactive Map
 Best In-Game Purchases
 How to Min-Max Consoles
 Hunter Exchange
 Latest Updates
Database
 All Items List All Items List |  All Furniture List All Furniture List |  Fish List Fish List |
 Vehicles List Vehicles List |  Hidden Achievements Hidden Achievements |  Voice Actor Cast Voice Actor Cast |
 Outfits and Skins Outfits and Skins |  Arcs Weapon List Arcs Weapon List |  All Cartridges List All Cartridges List |
 Gacha Machine Locations Gacha Machine Locations |  Achievements List Achievements List |

