


Prologue I: Unforeseen Yet Foretold Guide for NTE (Neverness to Everness). See character trials, choosing appraiser, username, combat tutorial, boss fight, and more about Episode 0!
Table of Contents
| Previous/Next Story | |
| - | Prologue II: Good Business, Better Treasure Walkthrough |
| Related Articles | |
| Main Story Walkthrough | Side Quest Walkthrough |
Unforeseen Yet Foretold Overview
| Start Conditions | None |
| Required Hunter Level | None |
Unforeseen Yet Foretold - Part 1
- Character Trial: Lacrimosa
- Character Trial: Skia
- Character Trial: Fadia
- Listen to Nelly's introduction
- Go to the elevator with Nelly
- Enter the Director's Office
- Enter your desired Username
- Enter the Frame
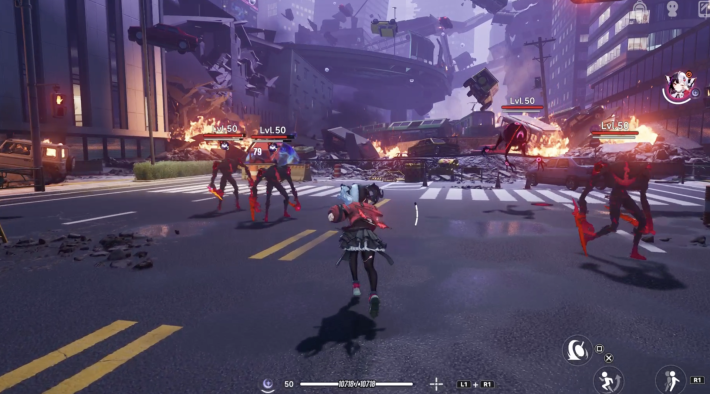
Follow the on-screen tutorial and battle freely as Lacrimosa. A cutscene will play after you continue battling for a while.
After the cutscene, you will switch to controlling Skia. Continue to battle freely as you did before.
After the cutscene, you will switch to controlling Fadia. Continue to battle freely as you did before.
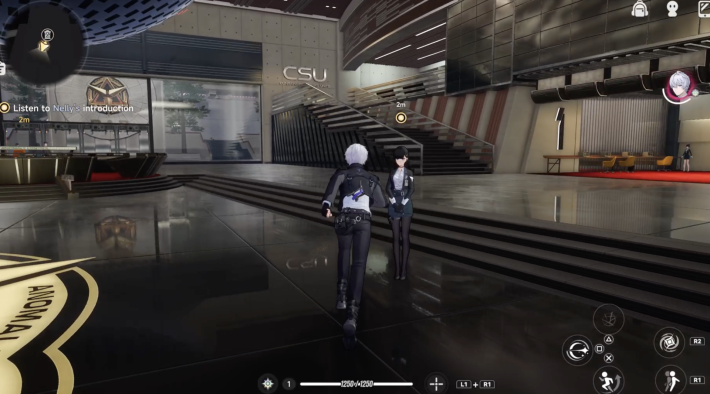
After the cinematic cutscene ends, head toward Nelly in the back.
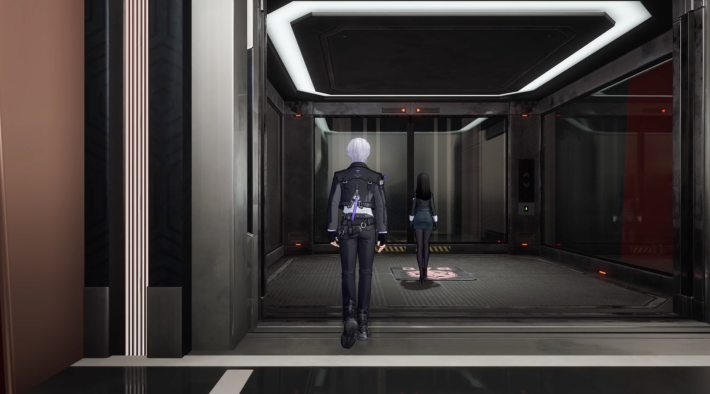
After the event, proceed to the back and head to the elevator at the top of the stairs.
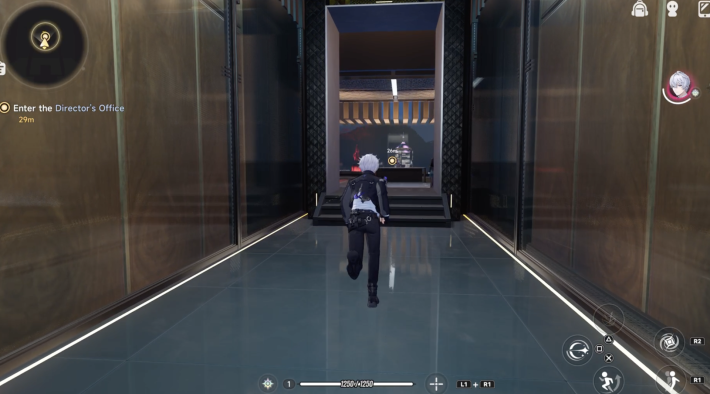
After the event in the elevator, proceed to the back and head to the Director's Office.
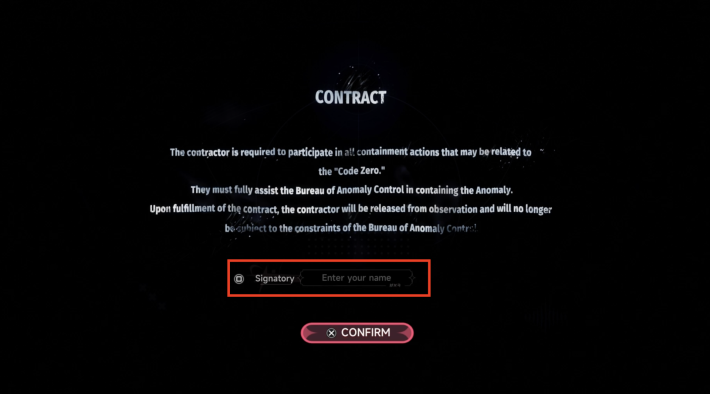
During the conversation, you will be prompted to enter a name. Enter your name to proceed.
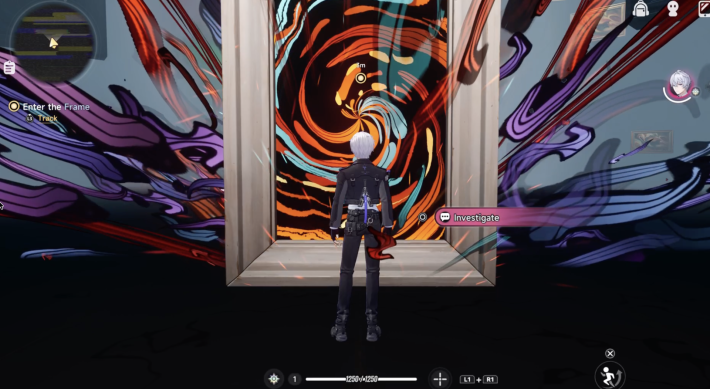
After the event, investigate the Frame in front of you and enter it.
Unforeseen Yet Foretold - Part 2
Walkthrough Chart
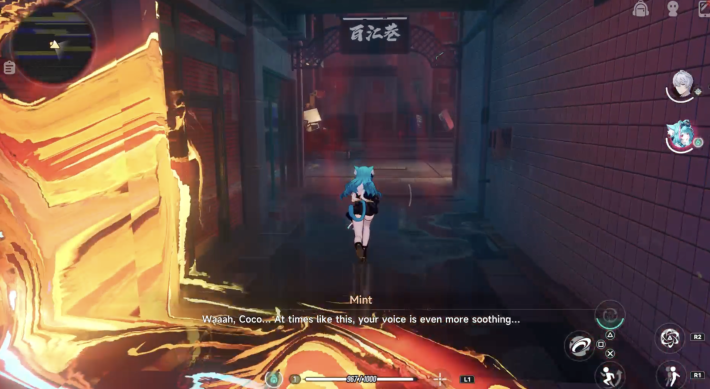
- Find Mint
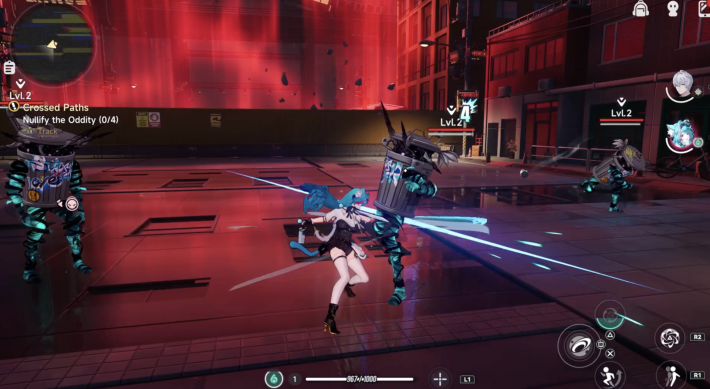
- Eliminate the Oddity in front of you
- Find the Nexus
- Eliminate the newly appeared Oddity
- Continue searching for the Nexus
- Enter the tunnel
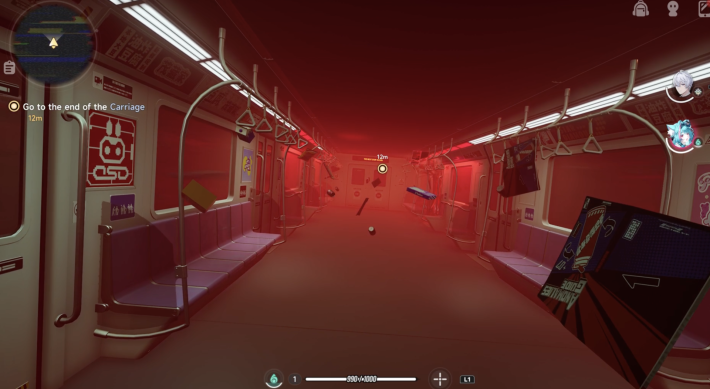
- Go to the end of the carriage
- Investigate the door
- Eliminate the obstructing Oddity
- Explore the area ahead
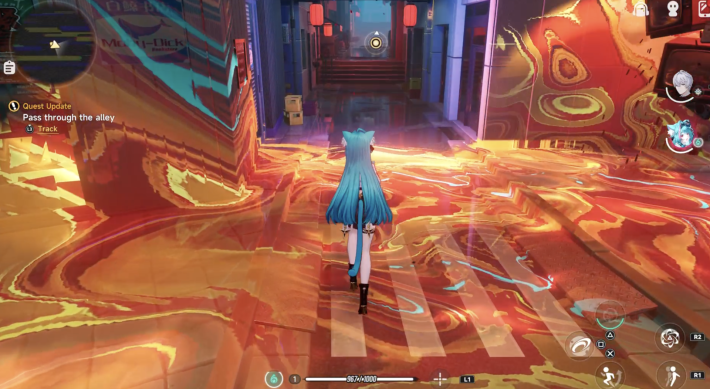
- Go through the passage
- Eliminate the Oddity
- Investigate the lit corner
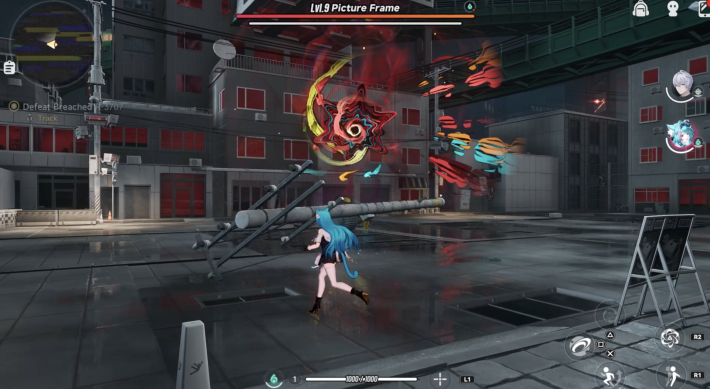
- Defeat the oddity called Picture Frame
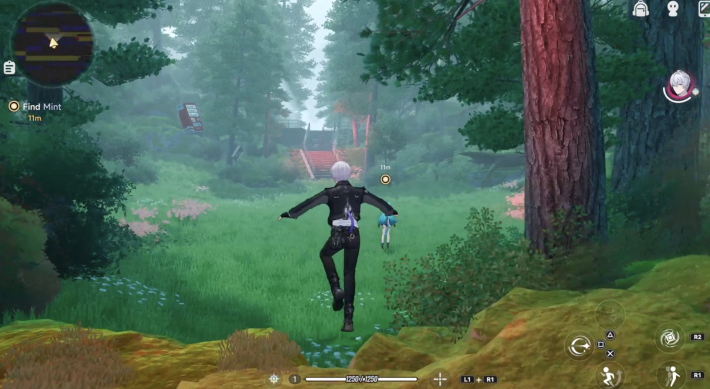
Once you are inside the Frame, proceed to the back and head toward Mint.
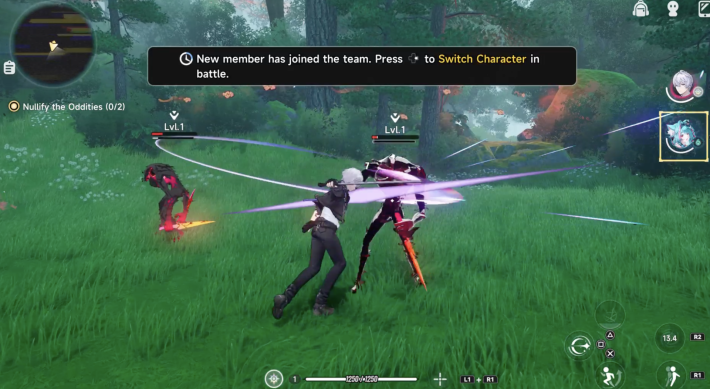
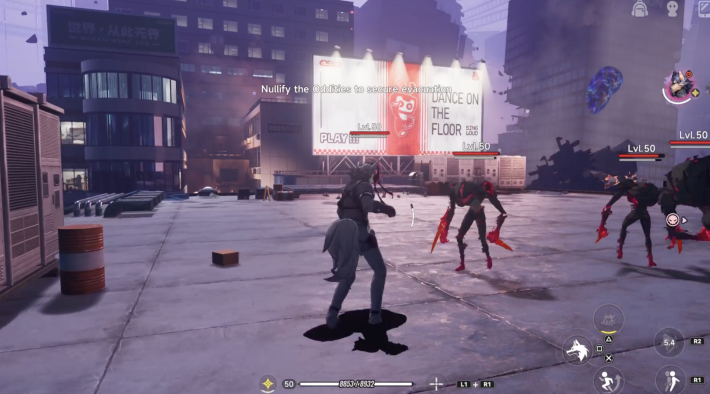
After finishing the conversation with Mint, defeat the Oddity in front of you.
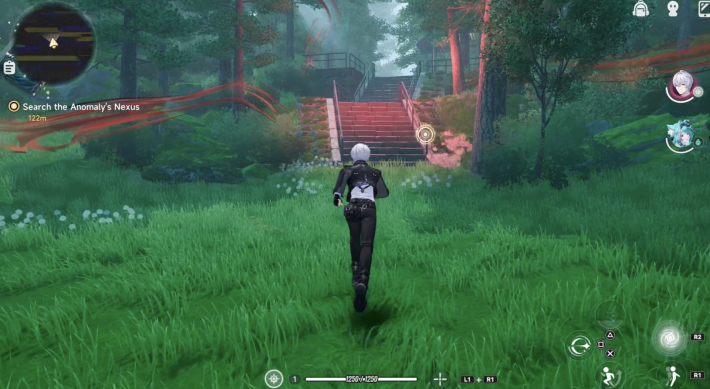
After defeating the Oddity, follow the quest marker and proceed to the back.
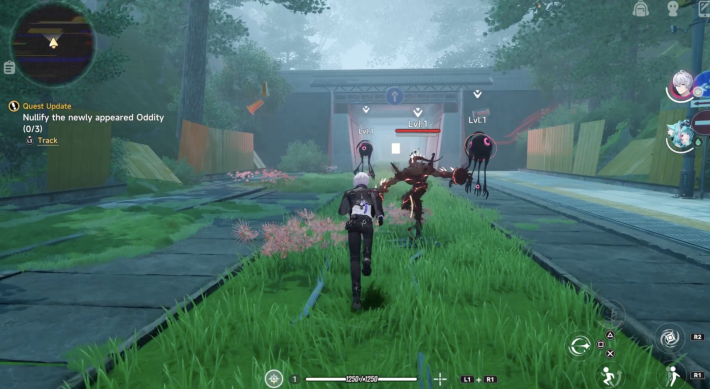
Follow the tutorial and defeat the Oddity that appears ahead.
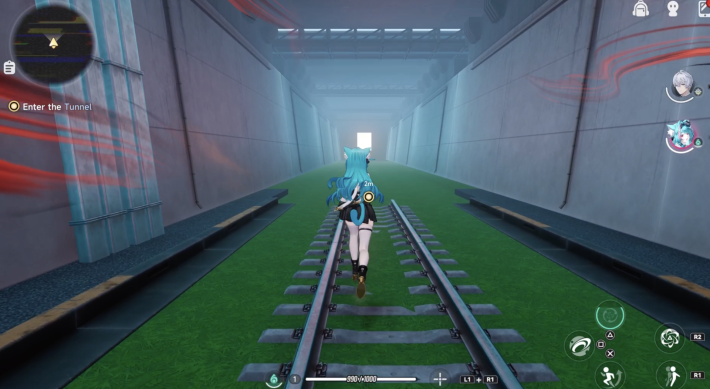
After defeating the Oddity, head toward the tunnel in the back.
Once inside the tunnel, move forward and proceed to the back.
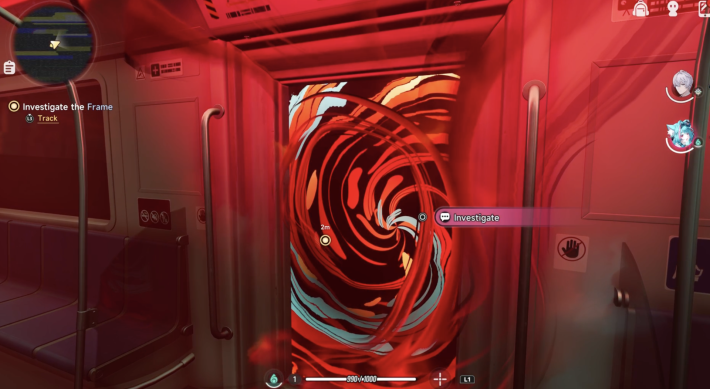
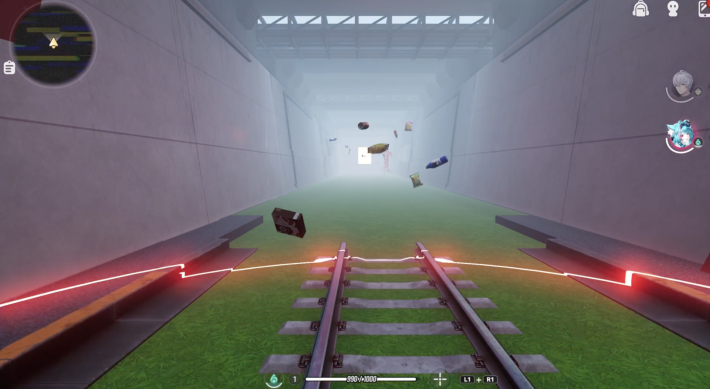
When the door in the back moves, proceed further in, then investigate the Frame on your right.
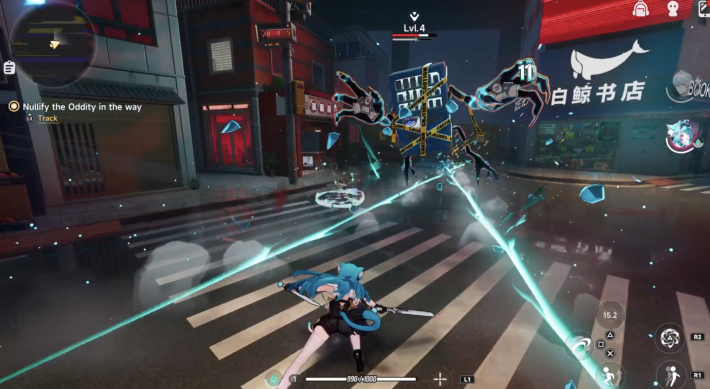
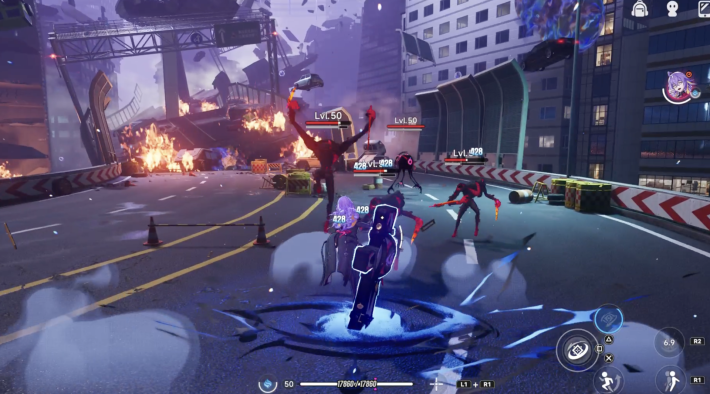
An Oddity will appear as you proceed. Defeat them all.
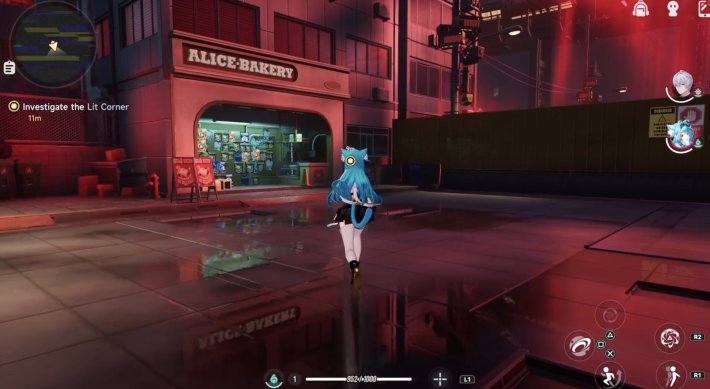
After defeating the Oddity, move to the front of the shop with the flyers on it.
NTE Related Articles
Return to HomeRecommended Articles
Recommended Guide Articles
 Early Game Guide
 Mid-Game Guide
 Daily Things to Do
 Team Building Tips
 Hunter Level
 Appraisal Level
 Anomaly Commission List
 Beyond the Rails
 Get Chiz for Free
 Get Free S-Rank Arcs
 Mall Guide
 Oracle Stone
 Interactive Map
 Best In-Game Purchases
 How to Min-Max Consoles
 Hunter Exchange
 Latest Updates
Database
  All Items List All Items List |  All Furniture List All Furniture List |  Fish List Fish List |
 Vehicles List Vehicles List |  Hidden Achievements Hidden Achievements |  Voice Actor Cast Voice Actor Cast |
 Outfits and Skins Outfits and Skins |  Arcs Weapon List Arcs Weapon List |  All Cartridges List All Cartridges List |
 Gacha Machine Locations Gacha Machine Locations |  Achievements List Achievements List |

