


Return unlock conditions and walkthrough for NTE: Neverness to Everness. Covers Return (Side Quest) walkthrough chart and rewards. Use this guide for Return in NTE.
Table of Contents
Return - How to Unlock
How to Unlock
| Category | Side Quest (We! Are! One!) |
|---|---|
| How to Unlock | After completing Episode: Prologue II - Good Business, Better Treasure |
Where to Accept
| Location | |||
|---|---|---|---|
| Hethereau-Old Town-Bridge Crossings-Fox Window Street | |||
| Location | |||
【NPC】  | 【Map】 | ||
Return can be accepted at Hethereau-Old Town-Bridge Crossings-Fox Window Street.
Return Guide
Return Walkthrough Chart
- Go to Fox Window Street in Bridge Crossings
- Take a photo
- Head to the shoot location
- Comfort a downcast Ruddy
- View the 3 photos
- Inspect the box 3 times
- Look for Danzaburou
- Ask around
- Search for traces of Auddy and Danzaburou
- Take away Danzaburou's hoarded supplies
- Defeat the transformed Danzaburou
- Deliver the movie tickets
- Adjust the time and meet the trio
- Advance the quest until they become Cerberus
- Head to the Photo Studio
- Take a photo with Cerberus

NTE's "Return" can be accepted by talking to Ruddy on Fox Window Street in Bridge Crossings.

After your conversation with Ruddy, take a photo and talk to him again to advance the quest.

As the quest progresses you'll head to a CM shoot, but the time is restricted. If it's outside the specified time, adjust the clock first. Tracking the quest will adjust the time automatically.

Follow the quest marker — getting close to the shoot location triggers the event. Afterwards, talk to Ruddy first, then to Nydia inside the shop to advance.

Follow the quest marker to where Ruddy is. Listening to him there leads you to head to his home.

Ruddy's home is on the rooftop of a building a short distance away.

Follow the quest markers to check the photos at 3 locations. Talking to Ruddy after viewing them sets you off to look for the missing photos.

To search for traces of the photos, you must face the marked box and use the Search command. Inspect the box in front of Ruddy 3 times, then talk to him again.

As the quest progresses, you'll set out to look for Danzaburou. Ruddy is at the spot the quest marker leads you to — find and talk to him.

There's a Teleport Point (Phone Booth) near the next quest marker, so if it's already activated, using it saves time.

Question the people nearby. Follow the quest markers and listen to what they say.

Once the questioning is done, you'll search for him together with Auddy. Follow the quest markers to his hideout.

There's a section where you chase Auddy, but it's fine if you get separated. After the on-screen text, head to the quest marker that appears.

After moving to the foot of the mountain, use the Move command. Here you need to use the Move command 4 times.

Combat begins against Danzaburou, who has transformed into an enemy. He's a single target with a low level, so the fight itself is easy.

After the fight, talk to Auddy to return the recovered photos to Ruddy, then deliver the tickets to Buddy. Head toward the quest marker.

Handing the tickets to Buddy advances the quest, but the next stage has a time restriction. Adjust the time to proceed. Tracking the quest will adjust the time automatically.

After moving to the quest marker, you'll need to wait briefly while they dig up a Soul Extra. No time adjustment is needed — simply waiting a moment will advance the quest.

After waiting, advancing the quest will turn the trio into Cerberus. Continue listening to advance the quest.

Afterwards, you'll head to the Photo Studio. Since it's far away, make use of Teleport Points.

Enter the Photo Studio and advance the quest to take a photo. Take a photo together with Cerberus, then talk to them to clear the Side Story.
Return: Reward
| Reward | "Triple-Fripple" Sightseers ×1 Hunter Level EXP ×250 Annulith ×30 Fons ×10,000 Senior Hunter Guide ×6 Colorless Dye ×6 Beetle Coin ×20,000 |
|---|
NTE Related Articles
Return to HomeRecommended Articles
Recommended Guide Articles
 Early Game Guide
 Mid-Game Guide
 Daily Things to Do
 Team Building Tips
 Hunter Level
 Appraisal Level
 Anomaly Commission List
 Beyond the Rails
 Get Chiz for Free
 Get Free S-Rank Arcs
 Mall Guide
 Oracle Stone
 Interactive Map
 Best In-Game Purchases
 How to Min-Max Consoles
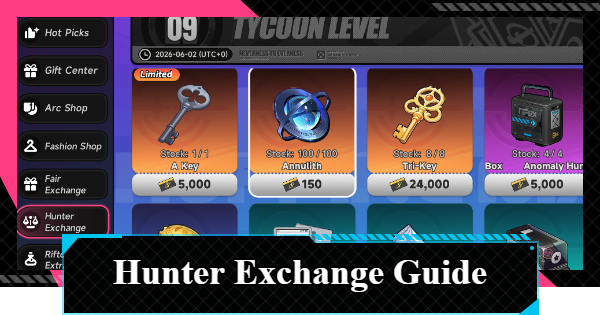 Hunter Exchange
 Latest Updates
Database
 All Items List All Items List | 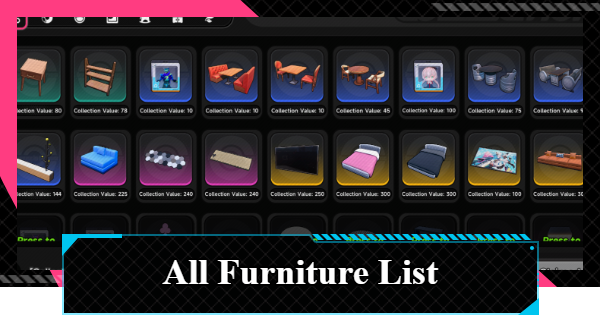 All Furniture List All Furniture List |  Fish List Fish List |
 Vehicles List Vehicles List |  Hidden Achievements Hidden Achievements |  Voice Actor Cast Voice Actor Cast |
 Outfits and Skins Outfits and Skins |  Arcs Weapon List Arcs Weapon List |  All Cartridges List All Cartridges List |
 Gacha Machine Locations Gacha Machine Locations |  Achievements List Achievements List |

