Area Defense Guide for Arknight: Endfield. Includes tower and base defense tips, how to unlock, strategies, and how to defeat the enemies!
Table of Contents
Area Defense Stage Guides
Valley Pass
Originium Science Park
Jingyu Valley
Area Defense - Strategy Tips
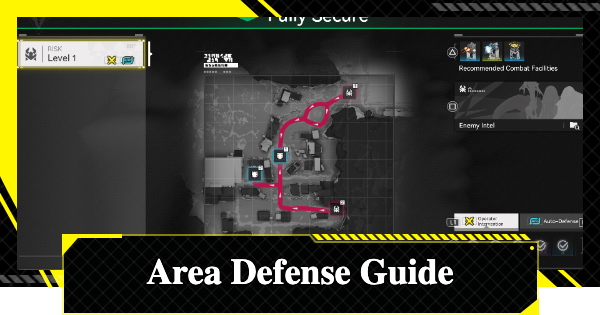
Check the Enemy Routes

The map on the Security Terminal screen shows the Command Core's position, enemy spawn points, and enemy invasion routes (red lines). Place Combat Facilities on the red lines to protect the Command Core.
Place the Turrets Near Merge Points

![]()
Due to the limited placement capacity for Combat Facilities, turrets must be positioned strategically along enemy paths. By placing turrets at overlapping enemy routes, you can maximize coverage and defend your base more efficiently while using fewer structures.
Check Enemy Information

Some enemies possess unique abilities. The optimal Combat Facilities will vary based on the enemy types, the Command Core’s location, and the selected Danger Level, so review these factors in advance. Enemy details can be checked via Enemy Intel when accessing the Early Warning Terminal.
Unlock the AIC Combat Plans

To create Combat Facilities, you need to unlock all the AIC Combat plans to get the machine blueprints. High-performance Combat Facilities are required to clear Auto-Defense with high Danger Levels, so if you don't have the ones you need yet, make sure to upgrade and unlock your AIC Plans accordingly.
Combat Facilities from Other Regions
| Marsh Gas MK I | HE Grenade Tower |
 |  |
Combat Facilities unlocked through Industrial Plans in other regions can also be used for Base Defense. For example, the Marsh Gas MK I and HE Grenade Tower unlocked in Wuling can be manufactured and installed in Valley IV. You can also bring them in your Backpack.
Automated Industry Complex (AIC) Guide
Finish All Operator Interventions First

![]()
If there are multiple Risk Levels, clearing the Operator Intervention will unlock the next Risk Level. By finishing all Operator Interventions first and increasing the placement limit, you can clear Auto-Defense more easily.
Area Defense (Assault) Unlock Conditions
Complete the Defense Construction

![]()
You can unlock Area Defense by finishing the 'Defense Construction' sub-quest. This mission triggers once your Valley Pass base reaches Level 2. If it’s not available yet, focus on upgrading your base first to meet the requirements.
Area Defense (Base Defense) Rewards
Efficiently Increases Stock Bill Production

Clearing the Area Defense (Assault) will increase the production efficiency of Stock Bills for that base. The effect is temporary for Manual Intervention, but clearing an Auto-Defense will make the effect permanent.
Auto-Defense Clear Grants Permanent Boost

Clearing an Auto-Defense permanently increases Stock Bill production efficiency. If multiple Danger Levels are cleared, the highest multiplier takes priority, making higher-level Auto-Defenses more effective for boosting production.
Higher Levels Greatly Boost Stock Bill Efficiency

![]()
At Level 3, use Operator Intervention to efficiently increase Stock Bill earnings within a few runs. Once your setup is strong enough, unlock and transition to Auto-Defense to maintain peak production efficiency without manual input.
Clearing Operator Intervention Unlocks Auto-Defense


For each Risk Level, you cannot immediately challenge the Auto-Operation. The system is designed to clear the Operator Intervention first, so that you can finally unlock the Auto-Defense option.
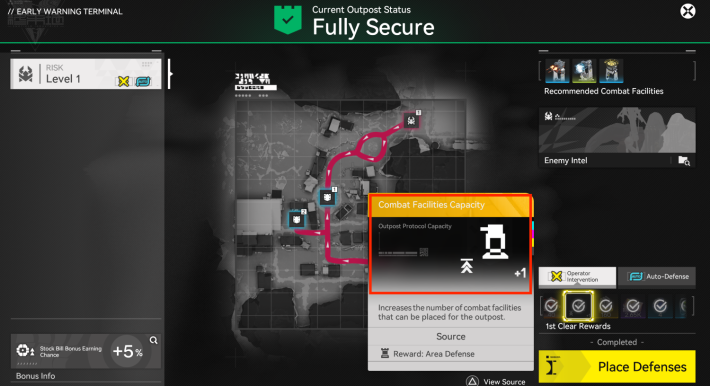
Clear the Operator Intervention to Increase Limit
![]()
Completing the Operator Intervention for the first time will give you Oroberyl and T-Creds, but the most notable reward that you will get is the Combat Facilities Capacity, which increases the number of combat facilities that can be placed within your outpost.
Early Warning Terminal Locations
Three Locations

Security Terminals are located in three places: Valley Pass, Originium Science Park, and Jingyu Valley. There is one icon for each base, so check their locations on the map.
Valley Pass

![]()
The Security Terminal in Valley Pass is located to the northeast of the Sub-PAC.
Originium Science Park

![]()
The Security Terminal in Originium Science Park is located to the east of the Sub-PAC.
Jingyu Valley

The Security Terminal in Jingyu Valley is located to the southwest of the Sub-PAC.
What is Area Defense?
Tower Defense Using Combat Facilities

Area Defense is a tower defense mode where you deploy Combat Facilities to protect the Command Core from incoming enemies. Each enemy that reaches the Command Core reduces its durability, and the mission fails if durability reaches zero. Higher Danger Levels cause greater durability loss per enemy.
Mission Fails if Any Command Core Is Destroyed
Some operations require you to protect multiple Command Cores from enemies. If even one of them has its durability reduced to zero, it will still be considered a failure, so make sure to arrange your Combat Facilities effectively to stop enemies from destroying the base's core.
Intervene With Your Operators
With Operator Intervention, you don't have to rely solely on your Combat Facilities. By involving your entire team in an active combat, you can successfully clear stages even with fewer defenses. Your characters' training levels are the key to making up for any missing facilities.
Clear Using Auto-Defense

![]()
Clearing the Auto-Defense for each Risk Level will increase your Stock Bill production. Since your Operators cannot be involved during the battle, make sure to place your turrets/combat facilities near the enemy pathways accordingly.
Related Arknights: Endfield Articles
Back to Top PageTier List
 Characters Tier List
 Reroll Tier List
 Best Weapons Tier List
Gacha Information
 Which Banner Should You Pull?
 Gacha Pity System & Rates
 Gacha Currency
 Basic Headhunting Permit
Recommended Articles
 Early Game Guide
 Redeem Codes List
 How to Add Friends
 Points of No Return
 Authority Level Guide
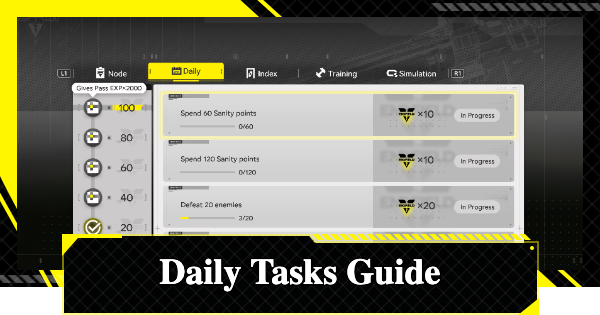 Daily Tasks To Do
 Starter Banner Best Weapon
 How to Farm T-Creds
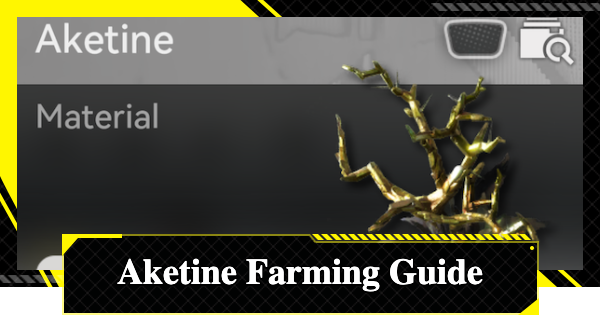 How to Get Aketine
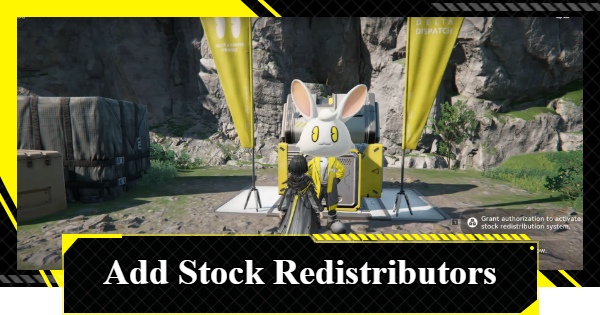 How to Get 2 Stock Redistributors
 Depot Nodes Location
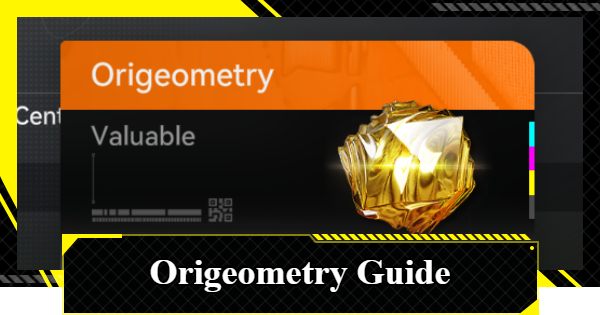 How to Get Origeometry
 Monthly Pass Guide
 Trust & Operator Gift Guide
Events
  Umbral Monument Event Guide Umbral Monument Event Guide |  Survive the Gas Survive the Gas |  Unorthodox Tactics Unorthodox Tactics |
 Ballista and Axe Ballista and Axe |  Bolts and Shadows Bolts and Shadows |  Rampaging Shields Rampaging Shields |
 Rock Solid Rock Solid |  Supply: Exploration Day Supply: Exploration Day |
Things to Know Before Release
 Release Date Release Date |  How to Pre-Download How to Pre-Download |  PS5 Pre-Order Bundle PS5 Pre-Order Bundle |
 How to Link Account How to Link Account |  Is Cross-Play Available? Is Cross-Play Available? |  How to Reroll How to Reroll |
 Operator Class Guide Operator Class Guide |
 Combat System Guide
 How to Win Battles
 Dodge and Perfect Dodge
 Elemental Weakness Chart
 Arts Reactions / Physical Status
 Team Composition Tips
 Best Team Comps
 Potential
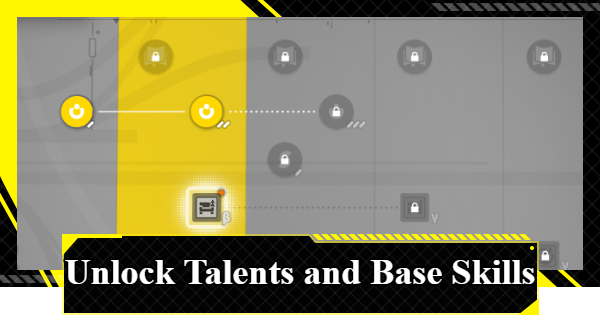 Talents and Base Skills
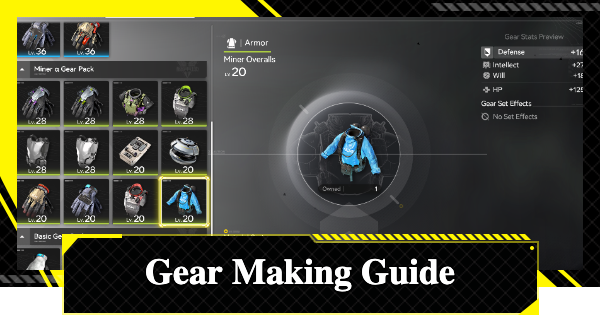 How to Craft Gear
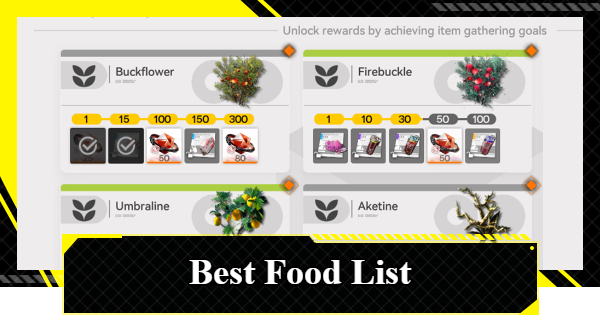 Best Food List
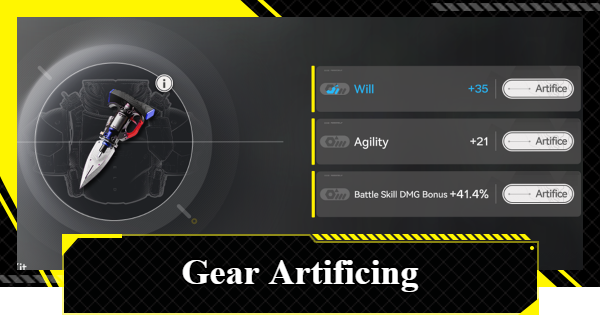 Artificing and Stats Priority
 All Fast Travel Points
 Protocol Datalogger
 Aurylene
 Interactive Map
 Ferrium Ore Map Location
