 Aris
Aris
 Sunran
 Mon
Mon Tue
Tue Wed
Wed Thur
Thur Fri
Fri Sat
Sat Sun
Sun Physical
 Magic
Magic Tank
Tank Death
Death Gaze
Gaze Ox
Ox Iron
Iron Leo
Leo Ast
Ast Cali
Cali Fire
Fire Water
Water Light
Light Dark
Dark Earth
Earth Gold
Gold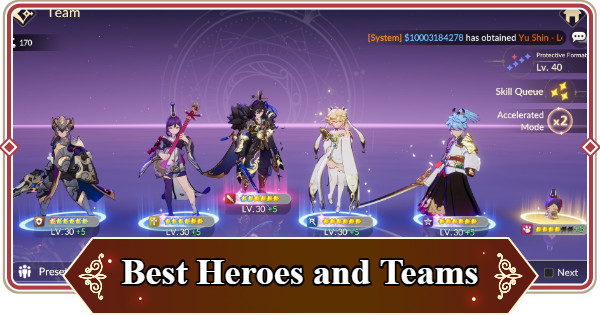
Best Team Composition Examples for Seven Knights Re:Birth (SKRE). Use this as a reference to check team composition examples for raid, dungeon, adventure, arena, & infinite tower.
Table of Contents
| Team Party Variations | |||
|---|---|---|---|
Best Team Composition Overview
 Note! Note! | With the meta evolving alongside new character releases, the listed teams below should be treated as conceptual examples. These team compositions function as reference examples, emphasizing strategy over permanence. Adjust the team as needed across various content. |
|---|
Best Team Composition for Adventure


Team Example for Normal Mode
| Front | Front | Front | Front | Back |
|---|---|---|---|---|
 Evan EvanTank |  Yui YuiHealer |  Lina Lina Rachel RachelBuffer / Debuffer (Flex Slot) |  Ace AceDebuffer (Flex Slot) | `Lu BuFreyja Main DPS |
| Key Point |
|---|
|
In the early stages of Normal Adventure Mode, it’s best to use one AoE damage dealer together with a DEF debuffer like Ace. Heroes such as Lina are also strong options since they can cover multiple roles.
In later stages, enemies begin to inflict Crowd Control effects, making it important to bring the right Immunity.
Team Example for Nightmare Mode
Freyja Burst Teams
(Recommended for Round 1)
| Front | Front | Front | Front | Back |
|---|---|---|---|---|
| MercureVanessa Crowd Control |  Xiao Qiao Xiao Qiao Victoria| Victoria| | Kyrielle Damage Buffer | Freyja Damage Dealer | Yeonhee Damage Dealer |
Death Team
(Recommended for Round 2)
| Front | Front | Front | Front | Back |
|---|---|---|---|---|
 Rosie Platin Rosie PlatinTank | YuiAliceLina Healer | Aquila Inflict | Inflict |
Physical Team (Optional)
| Front | Front | Front | Front | Back |
|---|---|---|---|---|
| Xiao QiaoVictoria| | YuiLina Healer | EileeneKagura Crowd Control/Buffer |  BiscuitAce BiscuitAceDebuffer (Flex Slot) | Lu Bu Damage Dealer |
| Key Point |
|---|
|
Nightmare Mode requires two teams per stage, making it crucial to have a wide variety of heroes to progress. It’s recommended to prepare one Physical team and one Magic team to ensure you have enough buffers and debuffers for both.
▼Tap for Nightmare Farm Tier ListBest Team Composition for Raids

Team Example for Destroyer Gaze

| Front | Front | Front | Front | Back |
|---|---|---|---|---|
Evan  Sieg SiegTank Stun Immunity | Yui  Ariel ArielBurn Immunity | Rachel Debuffer | Biscuit AceVanessa Debuffer / Buffer (Flex Slot) |  Shane Shane  Jupy JupyMain DPS |
| Key Point |
|---|
|
Include heroes with Stun and Burn Immunity and a high-damage single-target Physical attacker, with a debuffer if possible. Biscuit's slot is flexible; if your team is struggling, you can swap her for a Tank or Healer.
Team Example for Ox King

| Front | Front | Front | Front | Back |
|---|---|---|---|---|
 Daisy Daisy  Black Rose Black RoseAoE DPS Petrify Immunity |  Karon KaronHealer Bleed Immunity | Lina Yui Healer | Biscuit Evan Debuffer / Tank (Flex Slot) |  Espada Espada  Snipper SnipperMain DPS |
| Key Point |
|---|
|
Include heroes with Bleed and Petrify Immunity with 1 AoE and Single Target Damage Dealer. Biscuit's slot is flexible; if your team is struggling, you can swap her for a Tank or Healer. Keep in mind that you should not bring a DEF Debuffer, as Ox King has 0 Defense.
Team Example for Iron Devourer

| Front | Front | Front | Front | Back |
|---|---|---|---|---|
| Victoria Paralysis Immunity |  Lucy LucyPoison Immunity |  AsuraBiscuit AsuraBiscuit Focus Target / Debuffer | LinaAceVanessa Buffer / Debuffer (Flex Slot) |  Pascal Pascal  Yuri YuriMain DPS |
| Key Point |
|---|
|
Include heroes with Paralysis and Poison Immunity with a high-damage single-target Magic Damage Dealer. Biscuit fulfills the same role as Asura but requires your Damage Dealer to have high Weakness Hit Chance.
If your team is struggling, you can swap a flex slot for a Tank or Healer. Keep in mind that Iron Devourer is immune to Physical Damage.
▲Back to Top| Related Articles | ||
| Destroyer Gaze | | |
Best Team Composition for Dungeons

Fire Particle Dungeon

Best Teams for Stage 15
The teams listed for Stage 15 can also be used effectively in lower difficulty stages.
Premium Team Setup
| Front | Front | Front | Front | Back |
|---|---|---|---|---|
 Ryan RyanBurn Immunity |  Spike SpikeInflict Freeze | Lania Inflict Freeze | Heavenia Inflict Freeze |  Gelidus GelidusInflict Freeze |
Standard Team Setup
| Front | Front | Front | Front | Back |
|---|---|---|---|---|
 Lina LinaHealer |  Yui YuiBurn Immunity and Healer |  Evan EvanTank | Lania Inflict Freeze | Heavenia Inflict Freeze |
Best Teams for Stage 10
The teams listed for Stage 10 cannot be used effectively in higher difficulty stages.
Best Magic Team
| Front | Front | Front | Front | Back |
|---|---|---|---|---|
| Ariel Burn Immunity | Victoria Magic Buff | Lina Heal and DMG Buff | Biscuit DMG Buff + DEF Debuff | Pascal DPS |
Best Physical Team
| Front | Front | Front | Front | Back |
|---|---|---|---|---|
| Yui Burn Immunity and Heals | Rachel DEF Debuff | Lina Heal and DMG Buff | Biscuit DMG Buff + DEF Debuff | Shane DPS |
| Key Point |
|---|
|
The enemy inflicts Burn and deals additional damage to targets with Burn, so having a countermeasure for Burn is essential. Include either Yui or Ariel for Burn Immunity, and if you lack the right characters, adding Heroes that inflict Freeze is also helpful.
Water Particle Dungeon

Best Teams for Stage 15
The teams listed for Stage 15 can also be used effectively in lower difficulty stages.
Poison Team
| Front | Front | Front | Front | Back |
|---|---|---|---|---|
| Lina Healer |  Lania LaniaFreeze Immunity | Inflict Poison | Inflict Poison |  Bai Jiao Bai Jiao Healer Inflict Poison |
Standard Team Setup
The teams listed for Stage 15 can also be used effectively in lower difficulty stages.
| Front | Front | Front | Front | Back |
|---|---|---|---|---|
| Lina Healer | Bai Jiao Healer Inflict Poison | Lania Freeze Immunity | Catty Chloe Chloe Unable to Recover | Inflict Poison |
Best Teams for Stage 10
The teams listed for Stage 10 cannot be used effectively in higher difficulty stages.
Physical Team
| Front | Front | Front | Front | Back |
|---|---|---|---|---|
Freeze Immunity | Chloe Support Unable to Recover | Lina Buffer Flex Slot | Biscuit Flex Slot (Debuffer/Buffer) | Shane Damage Dealer |
Magic Team
| Front | Front | Front | Front | Back |
|---|---|---|---|---|
| Freeze Immunity | Chloe Support Unable to Recover | Lina Buffer Flex Slot | Biscuit Flex Slot (Debuffer/Buffer) | Pascal Damage Dealer |
| Key Point |
|---|
|
The example party above is for clearing the Water Particle Dungeon. At lower difficulties, you can manage without Chloe's 'Unable to Recover,' but Chloe becomes increasingly important at higher levels.
Earth Particle Dungeon

Best Teams for Stage 15
The teams listed for Stage 15 can also be used effectively in lower difficulty stages.
Premium Burn Team
| Front Row | Front Row | Front Row | Front Row | Back Row |
|---|---|---|---|---|
 Sieg SiegStun Immunity |  Lina LinaDefense Reduction |  Rachel RachelInflict Burn |  Biscuit BiscuitDEF Debuff | Inflict Burn |
Standard Team Setup
| Front Row | Front Row | Front Row | Front Row | Back Row |
|---|---|---|---|---|
 Stun Immunity | Lina Defense Reduction | Rachel Inflict Burn | Biscuit DEF Debuff |  Inflict Burn |
Best Teams for Stage 10
The teams listed for Stage 10 cannot be used effectively in higher difficulty stages.
Best Magic Team
| Front Row | Front Row | Front Row | Front Row | Back Row |
|---|---|---|---|---|
| Evan Stun Immunity | Lina Heal + DMG Buff |  Victoria VictoriaMagic Buff | Biscuit DMG Buff + DEF Debuff |  Pascal PascalDPS |
Best Phyiscal Team
| Front Row | Front Row | Front Row | Front Row | Back Row |
|---|---|---|---|---|
| Sieg Stun Immunity | Lina Heal + DMG Buff | Rachel DEF Debuff | Biscuit DMG Buff + DEF Debuff |  Shane ShaneDPS |
| Key Point |
|---|
|
Evan, available at the start, has Stun Immunity. Form a party with one healer and three attackers from your roster. If you don't have Rachel, include a separate debuffer.
Light Particle Dungeon

Best Teams for Stage 15 New!
The teams listed for Stage 15 can also be used effectively in lower difficulty stages.
Premium Team
| Front | Front | Front | Front | Back |
|---|---|---|---|---|
 Chloe ChloeShock Immunity | Multi-hit | Multi-hit |  Joker JokerBuff Removal + Multi-hit | Bai Jiao DoT |
Standard Team Setup
| Front | Front | Front | Front | Back |
|---|---|---|---|---|
| Chloe Shock Immunity | Debuff Removal | Multi0hit | Joker Buff Removal + Multi-Hit | Bai Jiao DoT |
Best Teams for Stage 10
| Front | Front | Front | Front | Back |
|---|---|---|---|---|
| Chloe Shock Immunity |  Lina LinaHeal |  Evan EvanTank |  Yeonhee YeonheeHigh hit counts (3 times) | Joker Buff Removal + High hit counts (3/7 times) |
| Key Point |
|---|
|
The example party above is for clearing the Light Particle Dungeon. If you have other heroes with multi-hit attacks, consider placing them in Rachel’s slot.
Dark Particle Dungeon

Best Teams for Stage 15 New!
The teams listed for Stage 15 can also be used effectively in lower difficulty stages.
Bleed Team
| Front | Front | Front | Front | Back |
|---|---|---|---|---|
| Lina Healer | Death Immunity and Bleed | Bai Jiao Healer Inflict Bleed | Freyja Inflict Bleed | Bi Dam Inflict Bleed |
Standard Team Setup
| Front | Front | Front | Front | Back |
|---|---|---|---|---|
| Lina Healer | Bai Jiao Debuff Removal Inflict Bleed (Bai Jiao only) | Inflict Bleed | Death Immunity and Bleed | Bi DamFreyja Inflict Bleed |
Best Teams for Stage 10
The teams listed for Stage 10 cannot be used effectively in higher difficulty stages.
Best Magic Team
| Front | Front | Front | Front | Back |
|---|---|---|---|---|
Death Immunity and Bleed | Lina Heal + DMG Buff | Chloe Debuff Removal | Biscuit DMG Buff + DEF Debuff | Pascal DPS |
Best Physical Team
| Front | Front | Front | Front | Back |
|---|---|---|---|---|
Death Immunity and Bleed | Lina Heal + DMG Buff | Chloe Debuff Removal | Biscuit DMG Buff + DEF Debuff | Shane DPS |
| Key Point |
|---|
|
It's essential to include Leo for his Death Immunity, and it's even better if you can include multiple heroes who can inflict Bleed. When the enemy uses its Defense Reduction skill, remove it quickly with Debuff Removal.
Gold Dungeon

Best Teams for Stage 15 New!
Standard Team Setup
| Front | Front | Front | Front | Back |
|---|---|---|---|---|
| Lina Buffer and Debuffer | Buffer |  Biscuit BiscuitDebuffer | Biscuit Buffer | Pascal Damage Dealer |
Best Teams for Stage 10
Listed below are some powerful team setups that can help you clear the Gold Dungeon effectively. You can still adjust and use the party that best fits your playstyle, but we recommend these builds as a reference.
Physical Team
| Front | Front | Front | Front | Back |
|---|---|---|---|---|
 Eileene Eileene Buffer Flex Slot | Lina Buffer Flex Slot | Rachel Debuffer | BiscuitAce  Vanessa Vanessa Flex Slot (Debuffer/Buffer) | ShaneJupy Damage Dealer |
Magic Team
| Front | Front | Front | Front | Back |
|---|---|---|---|---|
| Ariel Buffer Flex Slot | Victoria Buffer Flex Slot | Lina Buffer Flex Slot | BiscuitAceVanessa Flex Slot (Debuffer/Buffer) | PascalYuri Damage Dealer |
| Key Point |
|---|
|
For the Gold Dungeon, it is best to focus solely on maximizing your damage output to quickly defeat the boss within the time limit.
Best Team Composition for Arena
F2P Starter Team
| Front Row | Front Row | Front Row | Front Row | Back Row |
|---|---|---|---|---|
 Ace Ace DPS |  Evan Evan Tank |  Rachel Rachel Support DPS |  Ariel Ariel Support |  Karin Karin Revive |
A beginner-friendly team built entirely from free heroes unlocked at the start. Ideal for climbing early ranks without relying on summons. This setup balances survivability, healing, and damage output.
Sustain Team
| Front Row | Front Row | Front Row | Front Row | Back Row |
|---|---|---|---|---|
 Rudy Rudy Tank |  Alice Alice Support |  Lina Lina Support |  Sun Wukong Sun WukongDamage Dealer Support |  Pallanus Pallanus Karma Karma Trude Trude Sung Jinwoo Sung JinwooDamage Dealer |
| Note! | Trude will require Transcendence 6 to perform at her full potential. Until then, Teo serves as a strong alternative DPS option. |
|---|
This team focuses on survivability access to Buff Removal, ideal for extended fights and outlasting burst comps. Best against fragile burst teams or single DPS comps.
Note that the Sustain team requires significant investment across all heroes, including Transcendence 6 for Rudy, Lina, Alice, and either Karma or Trude. Platin also benefits from reaching Transcendence 2 for an additional instance of healing.
Recommended Pets
| Pick One | ||
|---|---|---|
| Karam | Paragon | |
Melia Magic Team
| Front Row | Back Row | Back Row | Back Row | Back Row |
|---|---|---|---|---|
 Melia Melia Tank |  Mercure Mercure Sub DPS |  Kyrielle Kyrielle Vanessa Vanessa CC |  Freyja Freyja Damage Dealer/Buff Removal |  Juri Juri YeonheeSung Jinwoo YeonheeSung Jinwoo DPS |
With the release of Melia, magic teams have once again seen a resurgence, with Melia easily countering Trude in the late game. The heroes recommended above are interchangeable and can be adjusted as needed depending on your Transcendence.
Recommended Pets
| Pick One | ||
|---|---|---|
| Yeonji | ||
Physical Team
| Front Row | Front Row | Front Row | Front Row | Back Row |
|---|---|---|---|---|
 Elysia Elysia Tank/Cleanse |  Fai Fai Amelia Amelia Colt Colt Lu Bu Lu Bu Debuff/CC |  Kagura Kagura Randgrid Randgrid CC (Petrify) CC Immunity Debuff Removal | Trude TeoFreyja TeoFreyja Branze & Bransel Branze & Bransel DPS/Tank |  Kyle Kyle DPS |
| Note! | Trude will require Transcendence 6 to perform at her full potential. Until then, Teo serves as a strong alternative DPS option. |
|---|
A Physical Arena team that combines frontline durability, AoE burst damage, and strong crowd control. This composition is designed to hold steady in both early and late-game fights by controlling the battlefield while dealing high burst damage.
The choice between Amelia, Colt, and Fai will depend on which heroes you have available and which one has the highest investment. Additionally, if you have Trude or Branze & Bransel at Transcendence 6, you can replace Teo.
Recommended Pets
| Pick One | |
|---|---|
| Eiren | Sherry |
Universal Team
| Front Row | Front Row | Front Row | Back Row | Back Row |
|---|---|---|---|---|
| Alice Lina Support |  Radgrid RadgridTank |  Gelidus GelidusCrowd Control Damage Dealer | Sun Wukong Damage Dealer Support | Pallanus Damage Dealer |
Radgrid is the newest addition to the Universal Team and perfectly synergizes with the current top meta picks such as Gelidus, Sun Wukong, and Pallanus.
This is an example of a tank team leaning towards Support types. Depending on your Transcendence, Lina can also be a formation candidate. The biggest advantage of this formation is that the Incoming Healing Boost effect applies to everyone.
Recommended Pets
| Pick One | ||
|---|---|---|
| Karam | Paragon | |
Best Hero Tier List & Character Ranking
▲Back to Top| Related Articles | ||
|---|---|---|
| Arena Guide | Advanced Arena | Guild War Guide |
| Total War Guide | ||
Best Team Composition for Infinite Tower

Infinite Tower Team Example
| Front | Front | Front | Front | Back |
|---|---|---|---|---|
| Evan Tank | EileeneYu Shin Flex Pick | LinaYui Healer | Biscuit AceVanessa Def Debuffer | Yeonhee Damage Dealer |
For Infinite Tower, it’s important to review the enemy lineup on each floor and adjust your team accordingly. Notably, floors 80 to 90 feature enemies that can inflict Death, making it essential to include Leo in your team.
▼Tap for Infinite Tower Tier ListBest Team Composition for Castle Rush

Magic Team Example
| Front | Front | Front | Front | Back |
|---|---|---|---|---|
| Evan Immunity Slot (Flex Slot) | Support Sub-DPS | Lina Buffer Healer | Biscuit AceVanessa Def Debuffer | Main DPS |
Physical Team Example
| Front | Front | Front | Front | Back |
|---|---|---|---|---|
| Evan Immunity Slot (Flex Slot) | Lina Buffer Healer | Rachel Debuffer | Biscuit AceVanessa Def Debuffer | Main DPS |
Castle Rush teams often shift depending on the boss. Make sure to check Enemy Info and Castle conditions when selecting Heroes for your team. You can check our full guide for each Castle Rush below.
▲Back to Top▼Tap for Castle Rush Tier List| Team Party Variations | |||
|---|---|---|---|
Related Seven Knights Re: BIRTH Articles
 ▶Back to Top Page
Ranking Articles
| Ranking Articles | ||
|---|---|---|
 Best Hero Tier Best Hero Tier |  Reroll Tier Reroll Tier |  Best Pet Tier Best Pet Tier |
Recommended Articles
 Latest News & Updates
 Coupon Codes
 Daily Things to Do
 Solo Leveling Collaboration
 Hero Guesser Game
 Player Profile Introduction Card Maker
 Sudden Raid Guide
 Should You Pull for Aris and Rudy?
 Aris - Features and Release Date
 Sunran - Features and Release Date
 What is Abyssal Conquest
 Early Game Guide
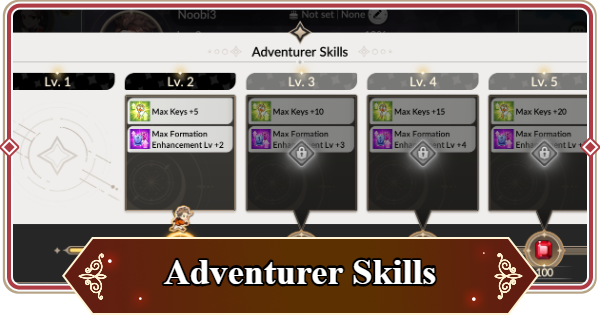 Adventurer Skills
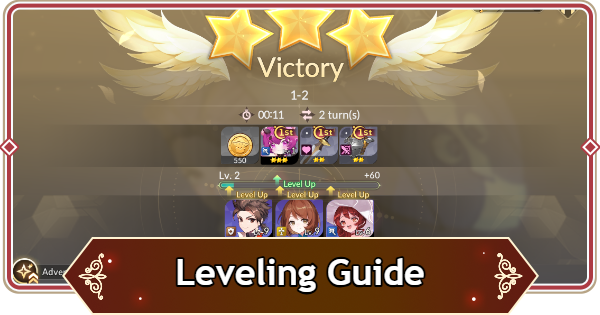 Level & Ruby Farming
 Error Guide
 Battle Statistics
 Gold Farming
 Raid Ruby Farming
 Power Up Dungeon Ruby Farming Guide
 Accessory Guide
 Fodder Hero
 Equipment Preset
 Enhance Guide
 Weakness Hit
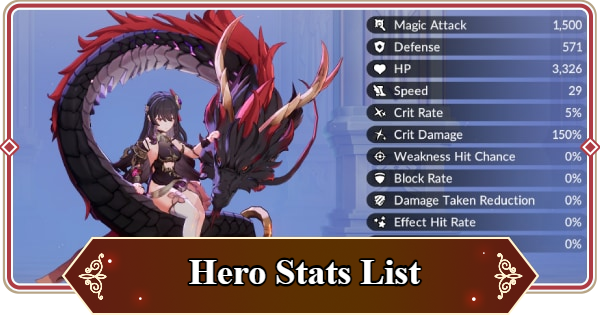 Hero Stats Guide
 Upgrade Equipment
 Reroll Guide
 Low Rarity Heroes
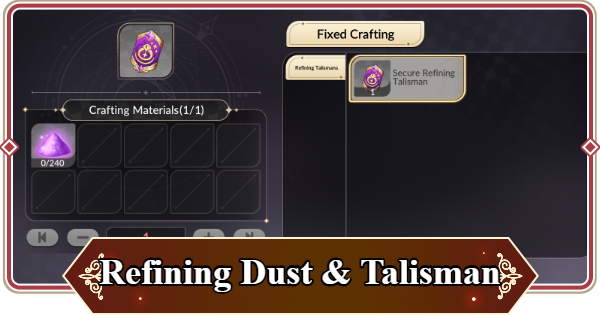 Refining Dust and Secure Refining Talisman Guide
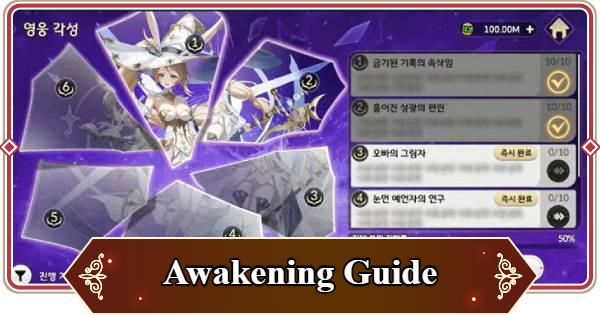 What is Awakening?
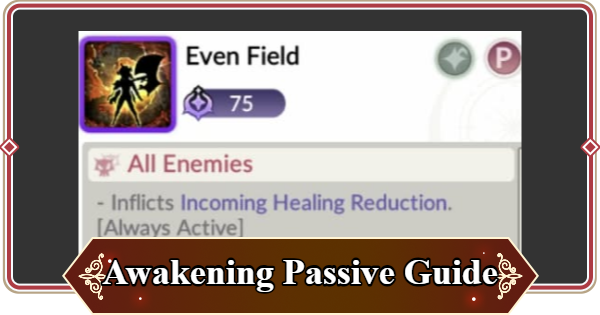 Awakening Passive Guide
 Ally Role Support Guide
 Dedicated Equipment Guide
 Crush Guide
 Damage Amplification Guide
 Resilience Guide
 Rejuvenate Guide
 Tuning Guide
 Guild Guide
 Arena Guide
 Guild War Guide
 Real Time Arena
 Seven Knights Cup
 Advanced Arena
 Formation Guide
 Party Guide
 Magic Team Party
 Tank Team Party
 Death Team Party
 Physical Team Party
 Pet Guide
 7K Chess
 Story Event
 Gacha Animation Effects
 Relay Purchases
 Web Shop Guide
 Shop Guide
 Best Premium Shop
Dungeon, Raids, and Towers
| Tower Guides | |
|---|---|
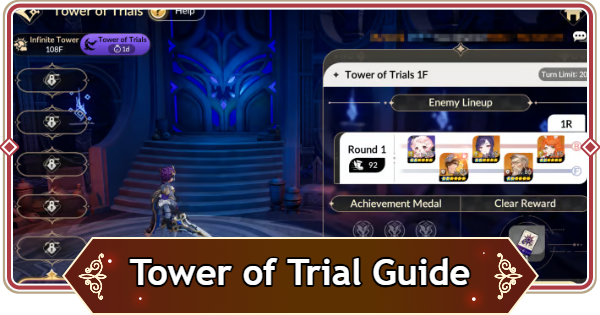 Tower of Trials Tower of Trials | 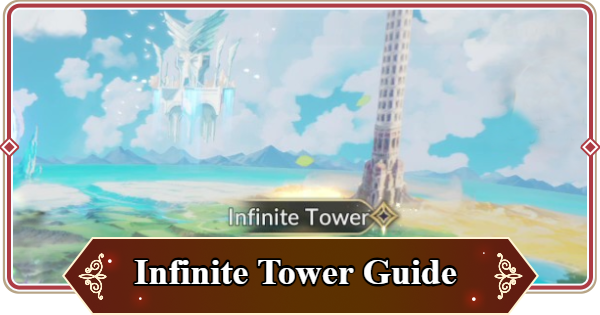 Infinite Tower Infinite Tower |
 Teo
Teo Kyle
Kyle Yeonhee
 Karma
Karma God of Destruciton
| Lists | ||
|---|---|---|
| All Characters | Voice Actor List | Status & Effects |
| Story Cinematics | ||

