 Aris
Aris
 Mon
Mon Tue
Tue Wed
Wed Thur
Thur Fri
Fri Sat
Sat Sun
Sun Physical
 Magic
Magic Tank
Tank Death
Death Gaze
Gaze Ox
Ox Iron
Iron Leo
Leo Ast
Ast Cali
Cali Fire
Fire Water
Water Light
Light Dark
Dark Earth
Earth Gold
Gold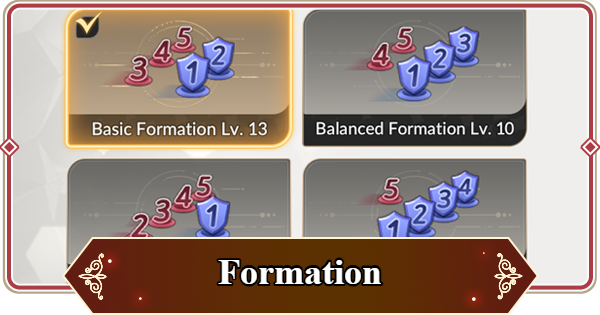
This article explains the formation types and how to enhance them in Seven Knights Re:Birth. Covering the effects of formations and the best hero types for your team in 7k Rebirth.
Formation Types and Effects
What Are Formations?

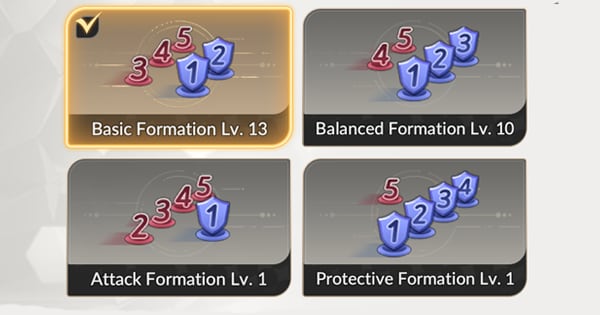
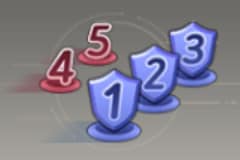
Formations determine hero placement in a team, which becomes available after clearing Adventure 1-10. Each formation has a different Front Row/Back Row setup and provides unique stat boosts.
Formation Types and Effects
| Formation | Lv. 20 Effect Recommended Use |
 | 13% Defense for 2 Front Row heroes 8% Attack for 3 Back Row heroes - Until you have a solid roster in the early game - When you have 3 attackers |
 | 8% Defense for 3 Front Row heroes 13% Attack for 2 Back Row heroes - Until you have a solid roster in the early game - For higher attacker damage |
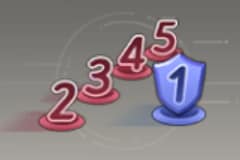 | 26% Defense for 1 Front Row hero 6.5% Attack for 4 Back Row heroes - Best used with a complete roster - When one Defender can tank all the hits - For compositions with many attackers - For maximized DMG (e.g., in Castle Rush) |
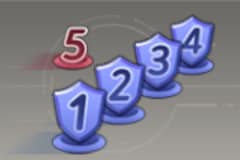 | 6.5% Defense for 4 Front Row heroes 26% Attack for 1 Back Row hero - Best used with a complete roster - Farm with AoE hero in the back row - When you want one attacker to deal high DMG - For compositions with many supporters |
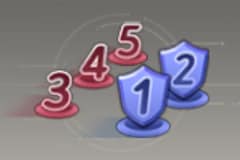
There are four formation types. Heroes in the Front Row are more likely to be attacked, so place high-Defense heroes there. In the early game, Basic and Balanced formations are easiest to use, but as your roster grows, Attack and Defense formations become more effective.
 | When leveling up with Repeat Battle, the Defense formation is efficient: place a high-damage attacker in the Back Row and fill the four Front Row slots with switch-in heroes to level. |
|---|
Hero Types & Recommended Placement
| Type | Characteristics | Placement |
| Attack | High-damage Physical attacker. Has low HP and Defense. | Back Row |
| Magic | High-damage Magic attacker. Has low HP and Defense. | Back Row |
| Defense | A tank with high HP and Defense. Has low attack power. | Front Row |
| Support | A supporter with relatively high HP and Defense. Has somewhat low attack power. | Front Row/Back Row |
| Universal | Balanced between attack and defense. | Front Row/Back Row |
Attack and Magic types are generally best placed in the Back Row, while Defense types belong in the Front Row. Universal types can be positioned based on your team's needs. Support types have high Defense but low Attack; they're suited for the Front Row, though placing them in the Back Row can help them continue supporting without being defeated.
| A hero's type is shown by the icon next to their Rank star (★). You can also filter heroes by type on the Team Formation screen. |
|---|
How to Enhance Formations
Enhance from Formation Selection
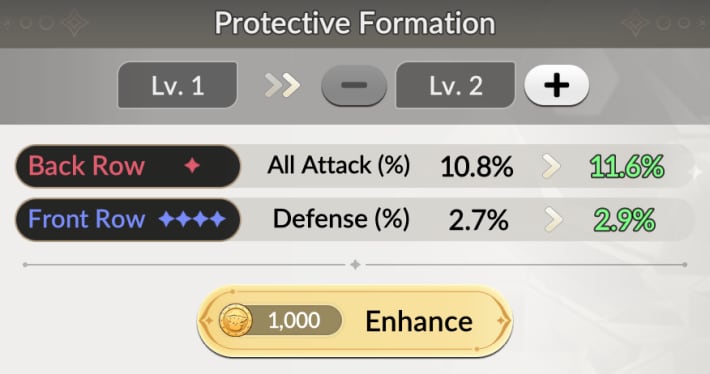
Open the team screen from Adventure, Arena, or other modes, then tap the Formation icon in the top right. The formation selection screen will open, where you can spend Gold to level up each Formation.
Enhance Cap Rises with Adventurer Skill
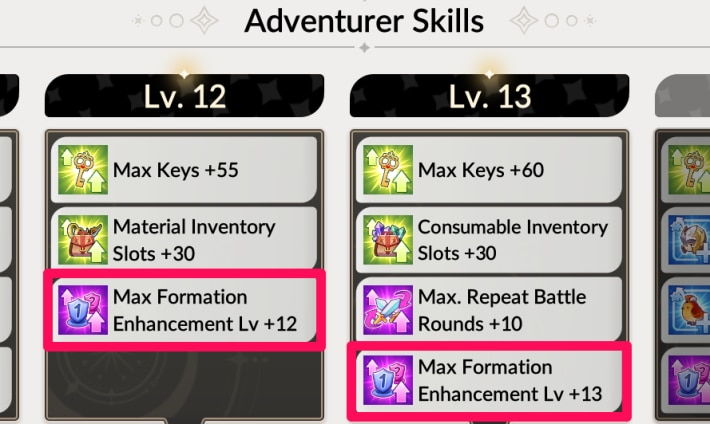
Each time your Adventurer Skill (player level) increases by 1 through Adventure progression, the formation level cap also rises by 1. The maximum formation level is 40.
How to Level Advanturer Skill Fast
Team Examples by Formation
Basic Formation (2 Front Row)
| Front Row | Front Row | Back Row | Back Row | Back Row |
|---|---|---|---|---|
 Evan EvanTank |  Karin KarinHealer |  Snipper SnipperPhysical Attack |  Ariel ArielMagic Attack |  Rachel RachelPhysical Attack |
Basic Formation is ideal for deploying three attackers and is recommended for early-game use until your roster is more developed.
Balanced Formation (3 Front Row)
| Front Row | Front Row | Front Row | Back Row | Back Row |
|---|---|---|---|---|
| Evan Tank | Karin Healer | Snipper Physical Attack Sub-DPS | Ariel Magic Attack Main DPS | Rachel Physical Attack Main DPS |
The Balanced Formation is useful for spreading out incoming damage. This is especially effective if your tank or healer gets defeated in the Basic Formation, as it helps distribute attacks more evenly across your team.
Additionally, because the Attack Boost per Back Row hero is higher than in Basic Formation, Balanced Formation is a good choice if you acquire a hero with exceptionally high damage early on.
Attack Formation (1 Front Row)
| Front Row | Back Row | Back Row | Back Row | Back Row |
|---|---|---|---|---|
| Evan Tank | Karin Healer | Snipper Physical Attack | Ariel Magic Attack | Rachel Physical Attack |
As its name suggests, Attack Formation focuses on offense, concentrating attacks on a single Front Row hero. It's effective when you have a strong, well-developed tank or want to maximize your team's damage output, such as in Castle Rush.
Defense Formation (4 Front Row)
| Front Row | Front Row | Front Row | Front Row | Back Row |
|---|---|---|---|---|
| Evan Tank | Karin Healer | Snipper Physical Attack Sub-DPS | Ariel Magic Attack Sub-DPS | Rachel Physical Attack Main DPS |
Defense Formation lets four high-defense heroes spread out incoming damage, reducing the chance of defeat. It's ideal for boss battles where durability is key or when you want to maximize a single powerful attacker's damage..
| When leveling up with Repeat Battle, Defense Formation is effective: place a high-damage DPS in the Back Row and fill the four Front slots with the heroes you want to train. This formation isn't just for endurance fights. |
|---|
Related Seven Knights Re: BIRTH Articles
 ▶Back to Top Page
Ranking Articles
| Ranking Articles | ||
|---|---|---|
 Best Hero Tier Best Hero Tier |  Reroll Tier Reroll Tier |  Best Pet Tier Best Pet Tier |
Recommended Articles
 Latest News & Updates
 Coupon Codes
 Daily Things to Do
 Solo Leveling Collaboration
 Hero Guesser Game
 Player Profile Introduction Card Maker
 Sudden Raid Guide
 Should You Pull for Aris and Rudy?
 Aris - Features and Release Date
 Early Game Guide
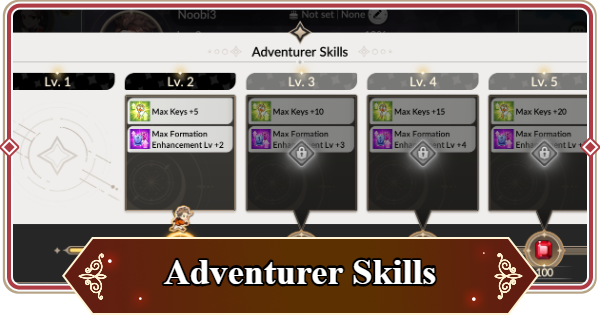 Adventurer Skills
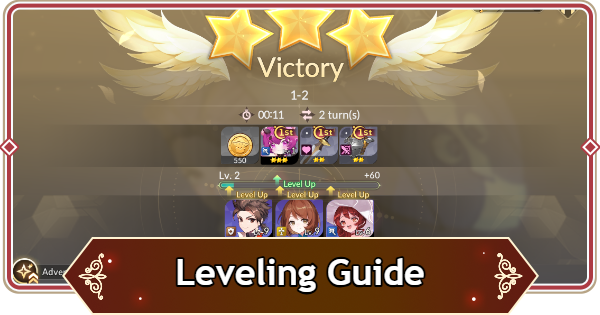 Level & Ruby Farming
 Error Guide
 Battle Statistics
 Gold Farming
 Accessory Guide
 Fodder Hero
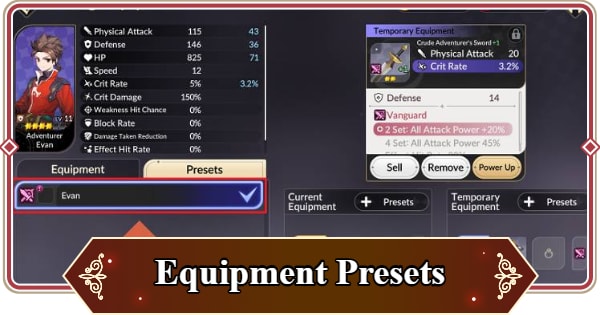 Equipment Preset
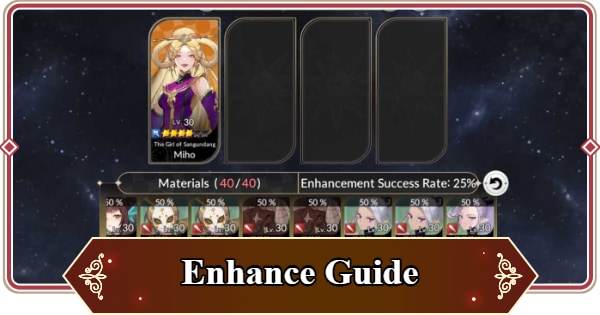 Enhance Guide
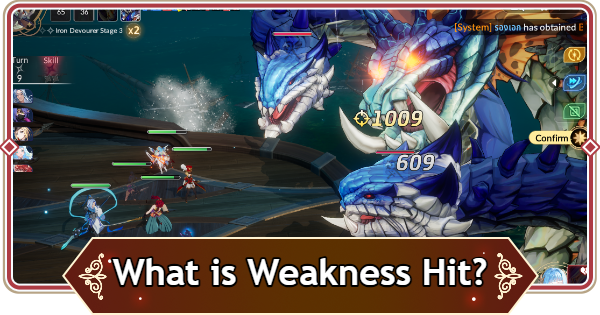 Weakness Hit
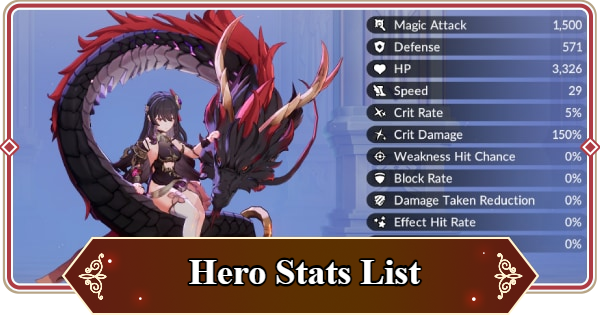 Hero Stats Guide
 Upgrade Equipment
 Reroll Guide
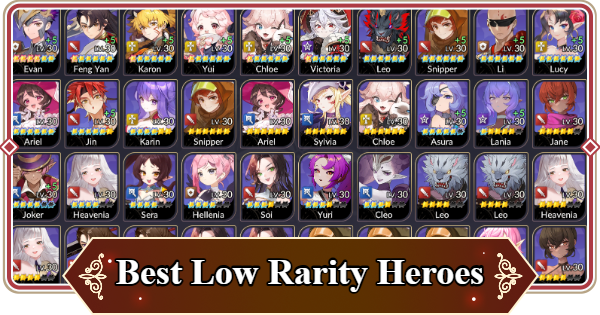 Low Rarity Heroes
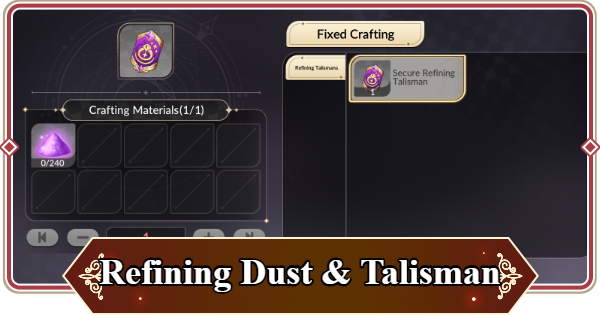 Refining Dust and Secure Refining Talisman Guide
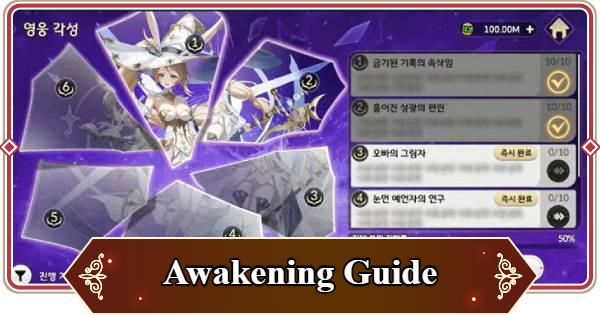 What is Awakening?
 Dedicated Equipment Guide
 Crush Guide
 Damage Amplification Guide
 Resilience Guide
 Rejuvenate Guide
 Tuning Guide
 Guild Guide
 Arena Guide
 Guild War Guide
 Real Time Arena
 Seven Knights Cup
 Advanced Arena
 Party Guide
 Best Heroes & Teams
 Magic Team Party
 Tank Team Party
 Death Team Party
 Physical Team Party
 Pet Guide
 7K Chess
 Story Event
 Gacha Animation Effects
 Relay Purchases
 Web Shop Guide
 Shop Guide
 Best Premium Shop
Dungeon, Raids, and Towers
| Tower Guides | |
|---|---|
 Tower of Trials Tower of Trials |  Infinite Tower Infinite Tower |
 Teo
Teo Kyle
Kyle Yeonhee
 Karma
Karma God of Destruciton
| Lists | ||
|---|---|---|
| All Characters | Voice Actor List | Status & Effects |
| Story Cinematics | ||

