


Learn how to get the Wakemaker in Subnautica 2, where to find all fragment locations, what materials you need to craft it, and how to recharge it.
Table of Contents
What Is the Wakemaker in Subnautica 2?


The Wakemaker is a wrist-mounted tool that significantly increases your swimming speed when equipped. It is Subnautica 2's equivalent of the original game's Seaglide. It also has built-in toggleable lights, making it a functional replacement for the Flashlight and freeing up an inventory slot.
It is one of the best early-game tools. Faster swimming means less time exposed in open water and more ground covered per dive, especially important before you have the Tadpole.
| Note! | The Wakemaker cannot be crafted at the Lifepod Fabricator. You need a powered Fabricator inside a base you have built. Set up a small base with Solar Panels first. |
|---|
All Wakemaker Fragment Locations
| Wakemaker Fragment Location |
|---|
Fragment 1 96m Northwest of the Lifepod. 96m Northwest of the Lifepod.Coordinates: -340334, 424659, -1805 Look for a rock formation with coral domes. The fragment is inside one of the wrecked crates. |
Fragment 2 120m West of the Lifepod. 120m West of the Lifepod.Coordinates: -346664, 427898, -5223 Located near Fragment 1's location. You need to swim down to a crevice to find the fragment. |
Fragment 3 178m Northwest of the Lifepod. 178m Northwest of the Lifepod.Coordinates: -353897, 430546, -5294 Down a cliff marked by a noticeable Cicada hull-frame wreck. The fragment is inside a crate blocked by a viral bloom, which you’ll need to clear using a Sonic Resonator. |
Fragment 4 190m Southeast of the Lifepod 190m Southeast of the LifepodCoordinates: -319240, 426963, -1470 Next to a large, distinct three-legged coral dome. The fragment is inside a crate. Watch out for Hammerheads and Nibbler Mangos in the area. |
Fragment 5 207m North of the Lifepod 207m North of the LifepodCoordinates: -330648, 413497, -3431 Under a plateau with lights and a platform. The fragment is inside a crate. Watch out for Nibbler Mangos. |
Fragment 6 208m Northeast of the Lifepod 208m Northeast of the LifepodCoordinates: -320969, 420611, -2319 On the sandy seabed. Look for a rectangular platform with scattered boxes. The fragment is spilling out of a half-buried box on the sand. |
Fragment 7 223m East of the Lifepod 223m East of the LifepodCoordinates: -317059, 442721, -2826 Look for a strong downward current and ride it until you reach the previous colonists’ observation platforms. The fragment is on top of one of the crates. |
Fragment 8 Camp One, 266m Northeast of the Lifepod Camp One, 266m Northeast of the LifepodCoordinates: -328166, 410889, -2202 Enter the hatch on the left between the two Plateaus. Follow the corridor and turn right. The fragment is on the tilted wall. |
Scanning 3 Wakemaker fragments unlocks the blueprint. Eight fragments are scattered around the starting area, so you have plenty of options. All of the easiest ones are within 200 meters of the Lifepod.
How to Craft the Wakemaker

| Item | Ingredients | Station |
|---|---|---|
| Wakemaker | Silver x1 Wiring Kit x1 Grease x1 Basic Battery x1 | Fabricator |
All four ingredients require some preparation. Here is how to get each one:
| Ingredient | How to Get It |
|---|---|
| Silver |  Usually found in cave walls and ceilings roughly 200m north of the Lifepod. Usually found in cave walls and ceilings roughly 200m north of the Lifepod. |
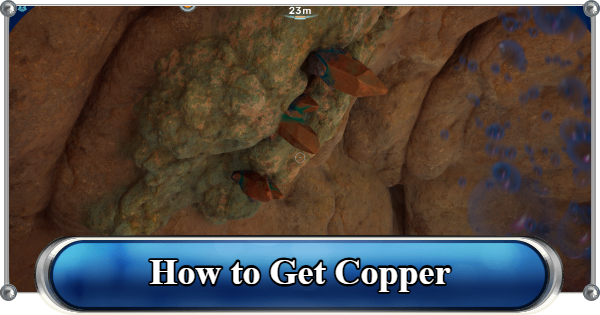
| Wiring Kit |  Crafted at a Fabricator using x1 Silver and x1 Copper Wire. Copper Wire is made from Copper ore. Crafted at a Fabricator using x1 Silver and x1 Copper Wire. Copper Wire is made from Copper ore. |
| Grease |  Crafted from x1 Lucifer Rotsac. Lucifer Rotsacs are bright bulb-like fauna growing on Cradle Shootroot plants. Crafted from x1 Lucifer Rotsac. Lucifer Rotsacs are bright bulb-like fauna growing on Cradle Shootroot plants. |
| Basic Battery |  Crafted at a Fabricator using x2 Copper and x1 Acidic Raion Pouch. Acidic Raion Pouches are purple, brain-like plants. Harvest with the Survival Multitool. Crafted at a Fabricator using x2 Copper and x1 Acidic Raion Pouch. Acidic Raion Pouches are purple, brain-like plants. Harvest with the Survival Multitool. |
How to Recharge the Wakemaker

The Wakemaker runs on batteries that drain with use. To swap it out, equip the Wakemaker on your hotbar and press R on PC or Up on the D-pad to open the reload menu. Select a charged battery from your inventory to slot it in. The depleted battery goes into your inventory.
| Tip! | Recharge depleted batteries at a Battery Terminal inside your base. Keep 2 to 3 spare batteries cycling in the terminal at all times so you can swap immediately once you run out. |
|---|
Related Articles
Recommended Guides
 Walkthrough (Early to Late-Game) Walkthrough (Early to Late-Game) |  Where to Go and What to Do Next Where to Go and What to Do Next |  Tadpole Pens: How to Open the Locked Door Tadpole Pens: How to Open the Locked Door |
 Plant Farming Guide Plant Farming Guide |  Cooking and Recipes Guide Cooking and Recipes Guide |  Best Biomods Best Biomods |
 Best Tadpole Upgrades Best Tadpole Upgrades |  Metal Farm Guide Metal Farm Guide |
| Progression & Priorities | ||
|---|---|---|
 Early Game Early Game |  Mid-Game Mid-Game |  Endgame Endgame |
Lists
 All Leviathans All Leviathans |  All Items List All Items List |  Biomes & PoI List Biomes & PoI List |
 Blackbox List Blackbox List |  Recipe Data Cards (Blueprints) Recipe Data Cards (Blueprints) |  Vehicle List Vehicle List |
 Buildings & Facilities List Buildings & Facilities List |  Best Base Locations Best Base Locations |  Best Tools to Craft Best Tools to Craft |
 Salt
Salt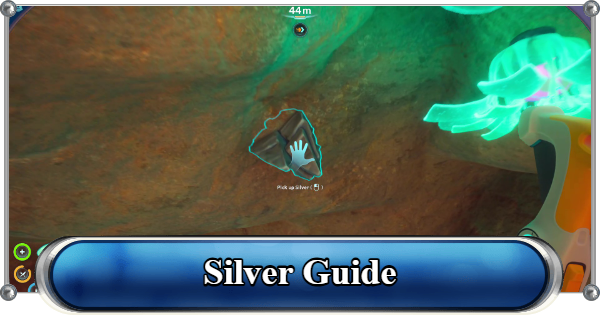 Silver
 Copper
 Lead
Lead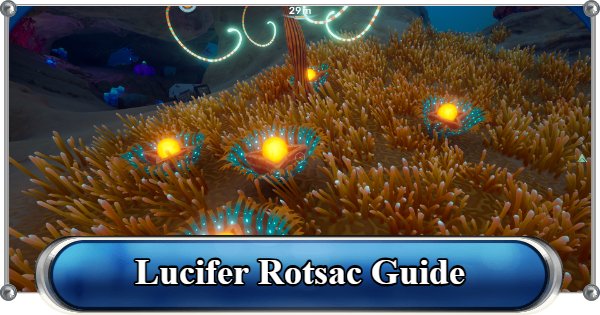 Lucifer Rotsac
 Conduit Crystals
 Creature Enamel
 Enameled Glass
 Troilite
 Celestine
 Multiplayer Guide
 How to Eat Food (Digestion)
 How to Craft Items
 Drinking Water Guide
 How to Craft Air Tank?
 How to Get Basic Fins
 Scanner Station Guide
 How to Manage Your Oxygen?
 Base Guide
 Alien Ruins
 How to Use Coordinates
 Tadpole Guide
 How to Get More Storage
 How to Get a Rebreather
 Bioscanner Guide
 Night Survival Guide
 How to Heal
 Angel Comb Guide
 How to Power Your Base
 How to Recharge Batteries and Tools
 How to Get the Repair Tool
 World Tree Guide
 Flashlight Guide
 Strong Acid Guide
 How to Get Heat Tolerance
 Scanner Guide
 How to Get Tadpole Depth Module Mk. 2
 How to Get Fibrous Pulp
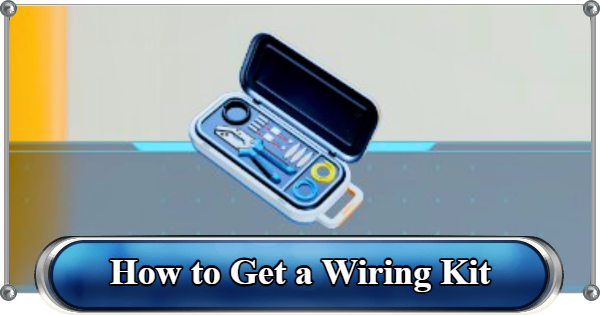 How to Get a Wiring Kit
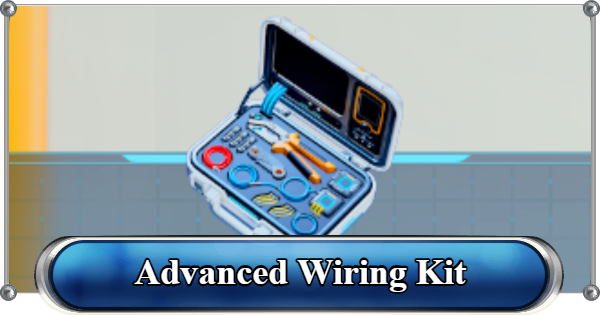 How to Get Advanced Wiring Kit
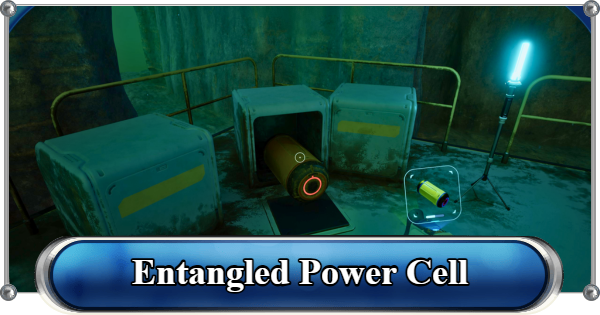 How to Get the Entangled Power Cell
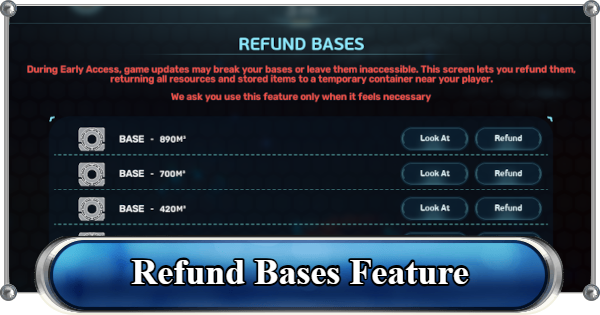 How to Refund Bases
 Specs Requirements
 New Game Features
 Is There Crossplay?
 Supported Devices
 Update & Roadmap
 How Long to Beat?
 Can You Play Subnautica 2 on PS5 and PS4?
 Is Subnautica 2 on Xbox?
 Is Subnautica 2 on Steam?
 Is Subnautica 2 on Switch?










