Stuck or lost underwater? Check out our quick checklist and progression tips to find blueprints, scan important items, track clues, and progress the story in Subnautica 2.
Table of Contents
Where to Go and What to Do Next
Explore Further from the Lifepod


If you are unsure where to go next, start exploring farther away from your Lifepod and push into unfamiliar territory. As you travel deeper into the ocean, your PDA will trigger warnings, notes, and signals whenever your sensors detect new biomes or important locations.
Upgrade Your Oxygen Supply

Keep in mind that deeper areas require better preparation. Exploring lower depths will demand more oxygen, stronger vehicles, and enough food and water to support longer expeditions. Make sure you are fully stocked before venturing too far from safety.
| Related Articles | ||
|---|---|---|
 How to Manage Your Oxygen How to Manage Your Oxygen |  All Recipes and Best Food All Recipes and Best Food |  How to Get Drinking Water How to Get Drinking Water |
Scan and Unlock Blueprints

Finding and scanning fragments is one of the most important parts of progression. Unlocking new blueprints gives you access to advanced tools and equipment, including key items like the Sonic Resonator, which is required to progress certain story objectives and access blocked‑off areas. Recovering blackboxes also moves the narrative forward, providing insight into the previous colonists and offering clues about their disappearance.
All Black Box LocationsScan Leviathans and Predators

Scanning the local flora and fauna is more than just adding a Databank entry. Once you unlock the Bioscanner and Biolab, the biological data you gather from predators and Leviathans becomes the foundation for Biomods, passive and active upgrades that can change how you play entirely. For example, the Electric Discharge Biomod requires scanning the Electric Geordie and releases an 800-volt pulse that deters predators.
| Tip! | Make a habit of scanning hostile creatures when the opportunity is safe to do so. Every scan is a potential Biomod you can configure at the Biolab. |
|---|
Find Angel Combs for Adaptations

Certain biomes contain environmental hazards that you cannot survive in at first. To safely explore these areas, you'll need to locate Angel Combs and unlock new Adaptations. Each Adaptation grants unique survival abilities that help you access deeper zones and continue progressing through the story.
Angel Comb: All Adaptations and LocationsFind Databank Entries

Your PDA features a Databank tab that stores logs containing important lore, survival tips, and progression clues that point toward new objectives. Scanning data terminals and collecting logs can help reveal new Blackboxes, facilities, and areas tied to the main story progression.
| Related Articles | ||
|---|---|---|
 Biomes Location and Points of Interests Biomes Location and Points of Interests |  All Black Box Locations All Black Box Locations |  Databank Entry Locations List Databank Entry Locations List |
Check Hints From NoA

You can use NoA to review your current hints and objectives whenever you are unsure what to do next. NoA is available from the start inside your Lifepod, and you can also craft additional units in your base to quickly review progression clues while exploring.
Walkthrough: Early to Late-Game ProgressionBuild a Base

A good base location comes down to access to resources, a reliable power source, and proximity to your current objectives. Solar Panels only work during daylight, so being near a strong ocean current for Hydroelectric Turbines is what keeps your base running around the clock. As you push into new biomes, thermal vents in the Graveyards biome become an additional power option. In areas without usable currents or heat sources, unlock a Bioreactor before you commit to building there.
| Related Articles | ||
|---|---|---|
 Best Base Locations Best Base Locations |  How to Power Your Base How to Power Your Base |  How to Build a Base How to Build a Base |
Farm Food With a Growbed

Hunger and thirst drain faster than most new players expect, and constantly stopping to chase fish breaks the pace of any expedition. The Growbed is an early-game structure that lets you plant crops directly at your base. Crops such as Acid Raion and Cradle Shootroot are the best choices because both yield materials used for batteries, first aid kits, and rubber, while also keeping you fed.
| Related Articles | |
|---|---|
| Cooking Guide - All Recipes and Best Food |  Farming Guide: Growbeds & Best Plants Farming Guide: Growbeds & Best Plants |
Set Up a Metal Farm

Some of the most important late-game materials, like Troilite and Atacamite, do not respawn in the world once you mine them out. The Metal Farm is the only way to keep producing them. It duplicates any ore you place inside it over time, which means a single Troilite deposit can keep going indefinitely once the farm is running.
Set one up as soon as you reach the Root Canyon and have the blueprint.
| Tip! | Do not spend your Troilite or Axum Bacterial Culture on anything else because those are the crafting materials for the farm itself, and they are in extremely short supply. |
|---|
Early Access Story Limitations
Campaign Structure

Subnautica 2 features a seamless, open-ended story that unfolds naturally through exploration instead of following a rigid chapter system. The narrative begins with an Alterra rescue operation aboard the flagship CICADA, which abruptly ends when your emergency pod crashes into an unexplored alien ocean.
Natural Story Stopping Point

Since the game is still in Early Access, the main storyline remains incomplete. The current build includes temporary progression limits that will expand over time through new biomes and major content updates.
Early Access Overview and Update RoadmapRelated Articles
Recommended Guides
 Walkthrough (Early to Late-Game) Walkthrough (Early to Late-Game) |  Where to Go and What to Do Next Where to Go and What to Do Next |  Tadpole Pens: How to Open the Locked Door Tadpole Pens: How to Open the Locked Door |
| Plant Farming Guide | Cooking and Recipes Guide | 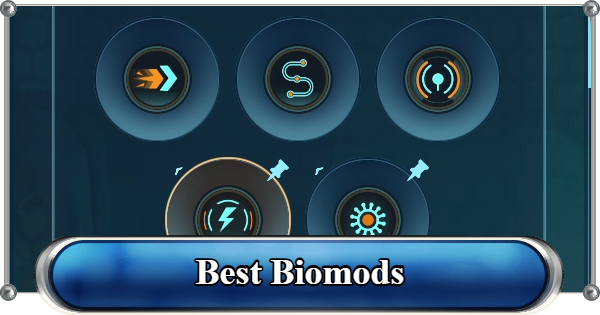 Best Biomods Best Biomods |
 Best Tadpole Upgrades Best Tadpole Upgrades | 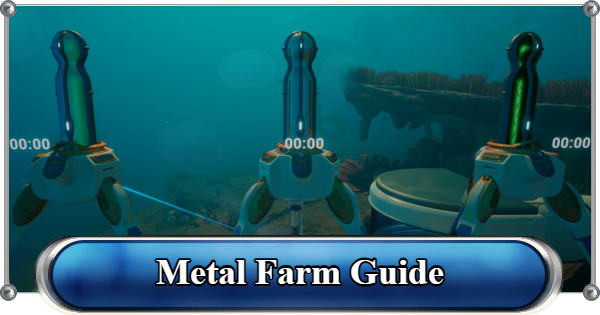 Metal Farm Guide Metal Farm Guide |
| Progression & Priorities | ||
|---|---|---|
 Early Game Early Game |  Mid-Game Mid-Game |  Endgame Endgame |
Lists
 All Leviathans All Leviathans |  All Items List All Items List | Biomes & PoI List |
| Blackbox List |  Recipe Data Cards (Blueprints) Recipe Data Cards (Blueprints) |  Vehicle List Vehicle List |
 Buildings & Facilities List Buildings & Facilities List | Best Base Locations |  Best Tools to Craft Best Tools to Craft |
 Salt
Salt Silver
 Copper
 Lead
Lead Lucifer Rotsac
 Conduit Crystals
 Creature Enamel
 Enameled Glass
 Troilite
 Celestine
 Multiplayer Guide
 How to Eat Food (Digestion)
 How to Craft Items
 How to Craft Air Tank?
 How to Get Basic Fins
 Scanner Station Guide
 Alien Ruins
 How to Use Coordinates
 Tadpole Guide
 How to Get More Storage
 How to Get a Rebreather
 Bioscanner Guide
 Night Survival Guide
 How to Heal
 Angel Comb Guide
 How to Recharge Batteries and Tools
 How to Get the Repair Tool
 World Tree Guide
 Flashlight Guide
 Strong Acid Guide
 How to Get Heat Tolerance
 Scanner Guide
 How to Get Tadpole Depth Module Mk. 2
 How to Get a Wakemaker
 How to Get Fibrous Pulp
 How to Get a Wiring Kit
 How to Get Advanced Wiring Kit
 How to Get the Entangled Power Cell
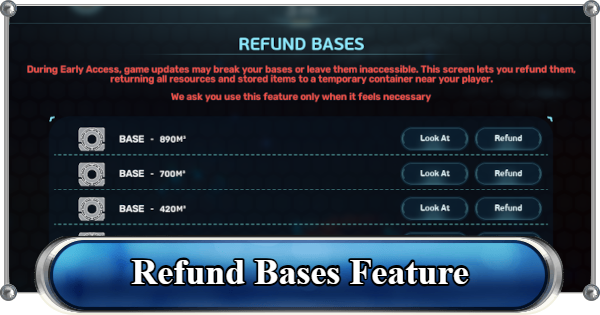 How to Refund Bases
 Specs Requirements
 New Game Features
 Is There Crossplay?
 Supported Devices
 Update & Roadmap
 How Long to Beat?
 Can You Play Subnautica 2 on PS5 and PS4?
 Is Subnautica 2 on Xbox?
 Is Subnautica 2 on Steam?
 Is Subnautica 2 on Switch?
