
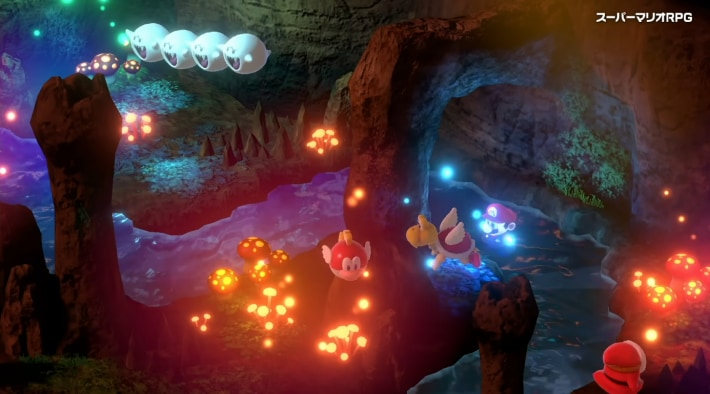
This is a guide for the Midas River course in Super Mario RPG Remake. It includes how to get 100 coins in the Mario RPG Midas River course, tips, and rewards, so please use it as a reference.
Table of Contents
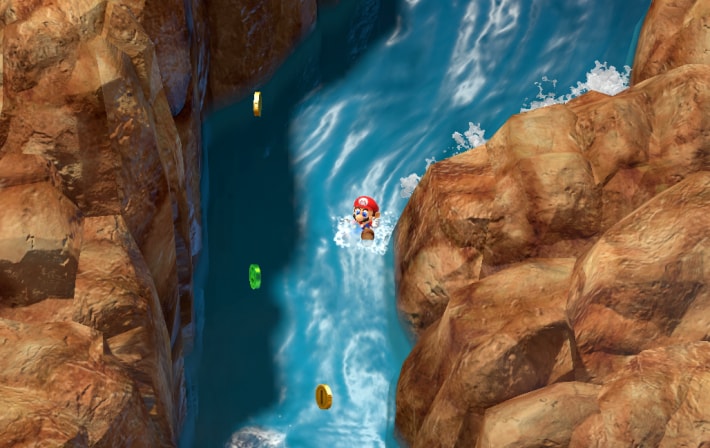
Summary of Part 1 (Waterfall Course) Strategy
100-Coin Strategy Video (Part 1 Course)
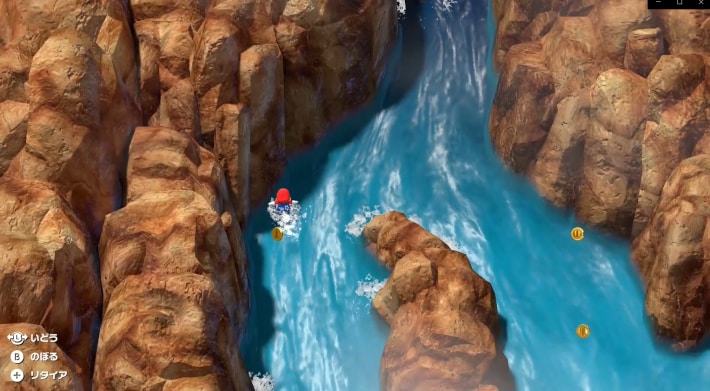
Part 1 Course Strategy Map


Tips for 100-Coin Strategy (Part 1 Course)
- Do not enter the holes
- At forks, take one path and return
- Mash the B button rhythmically
- Collect Frog Coins beforehand
| Maximum coins obtainable in Part 1 | 36 coins |
|---|
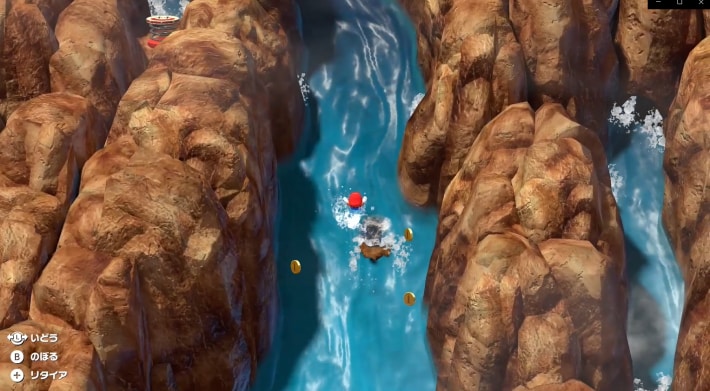
Do Not Enter the Holes
You'll get more coins by not entering the holes in the middle of the waterfall. If you enter a hole, you won't be able to clear with 100 coins. Proceed without entering any holes.
At Forks, Take One Path and Return
There are several places where the waterfall splits left and right. If you're aiming for 100 coins, at a fork, you'll need to collect the coins on one side and then mash B to return to the fork. Collect the coins on the fork that has coins higher up first, then head to the other fork.
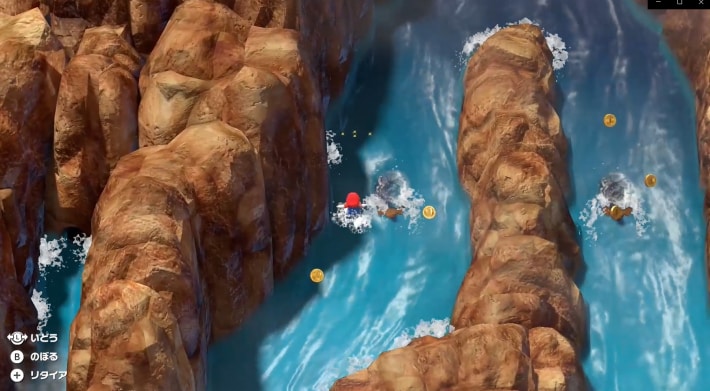
Mash the B Button 2-3 Times Rhythmically
Mashing the B button is essential for horizontal movement to clear with 100 coins, but mashing it 4 times will cause you to descend significantly. To move horizontally without loss, you need to rhythmically repeat 2-3 mashes.
Collect Frog Coins Beforehand
There's a Frog Coin in the middle of Part 1, but Frog Coins don't count towards your coin total, and you won't be able to achieve 100 coins in this state. Once collected, it will become a regular coin on subsequent attempts, so if you're aiming for 100 coins, collect it beforehand.
Difficult Sections Explained
| Video (Tap to Play) | Pattern |
|---|---|
 | Difficult Spot 1: Around the first hole Collect the coin to the upper left of the hole, move horizontally over the hole, and go right. |
 | Difficult Spot 2: First fork Take the 2 coins on the right fork, then move horizontally back to the left. |
 | Difficult Spot 3: Around the second hole Pass to the left of the hole, and once past it, go for the coin on the right. |
 | Difficult Spot 4: Second fork *Most Difficult Spot Take the 2 coins on the left and head to the right fork. This is the most precise part; a slight loss and you won't be able to return to the right. |
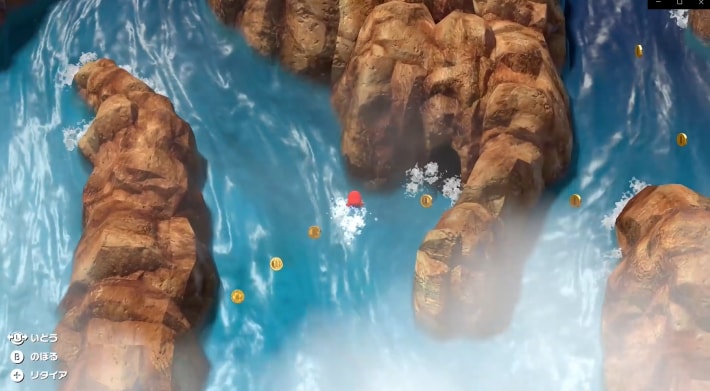 | Difficult Spot 5: Cave indentation You need to go for the coin in the cave indentation in the upper right. |
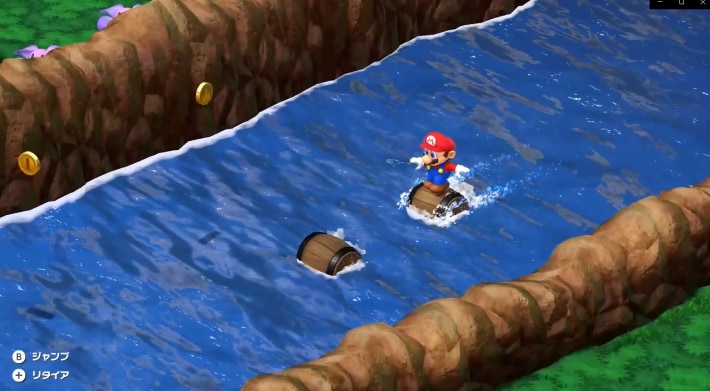
Summary of Part 2 (River Course) Strategy
100-Coin Strategy Video (Part 2 Course)
Tips for 100-Coin Strategy (Part 2 Course)
- Memorize the 3 movement patterns
- Jump immediately after hitting a barrel
- Only worry about fish during sets 3, 8, and 12
| Maximum coins obtainable in Part 2 | 64 coins |
|---|
Memorize the 3 Movement Patterns
The second part consists of sets of 4 or 5 coins, and there are a total of 3 patterns for these sets. Basically, memorize these 3 movement patterns and judge which pattern it is by looking at the initial placement of each set.
Pattern Summary
| Video (Tap to Play) | Pattern |
|---|---|
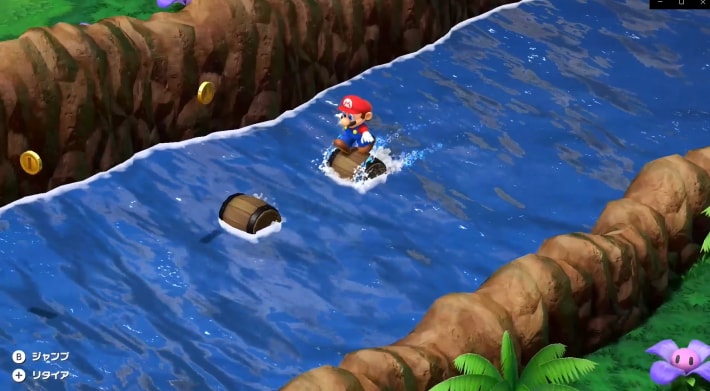 | Pattern 1 4 coins with no course change Just take the 4 coins as is, without changing course. |
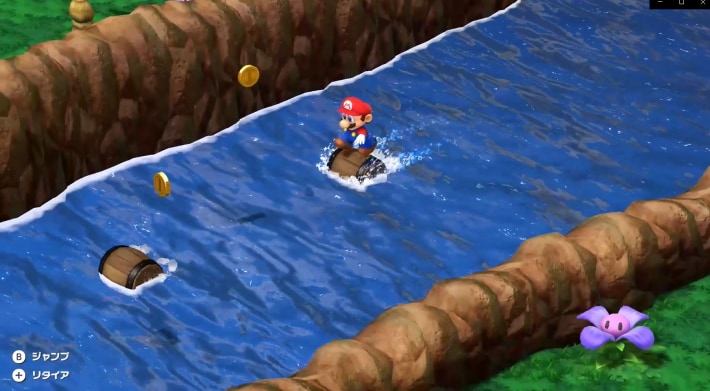 | Pattern 2 1 coin ⇒ Hit barrel ⇒ 4 coins After taking 1 coin, hit a barrel to change course and take 4 coins. |
 | Pattern 3 Hit barrel ⇒ 4 coins First, hit a barrel to change course, then take 4 coins. |
Pattern Table for Each Set
*Pattern table assuming sets of 4/5 coins.
Pattern Table (Tap to Expand/Collapse)| 1 | Pattern 1 | 2 | Pattern 2 |
|---|---|---|---|
| 3 | Pattern 1 ⇒ Avoid fish | 4 | Pattern 3 |
| 5 | Pattern 3 | 6 | Pattern 1 |
| 7 | Pattern 3 | 8 | Pattern 2 ⇒ Avoid fish |
| 9 | Pattern 1 | 10 | Pattern 3 |
| 11 | Pattern 2 | 12 | Pattern 1 ⇒ Avoid fish |
| 13 | Pattern 3 | 14 | Pattern 1 |
| 15 | Pattern 2 |
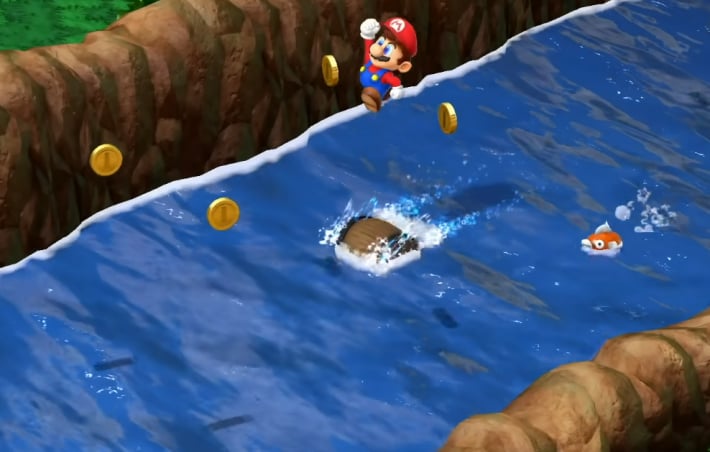
Jump Immediately After Hitting a Barrel
In Patterns 2 and 3, you change course by hitting a barrel, but if you don't jump immediately after changing course, you might miss coins or get hit by fish. This is the most precise point in the second part, so be conscious of jumping as quickly as possible after hitting a barrel.
Only Worry About Fish During Sets 3, 8, and 12
The fish that attack while you're jumping can be avoided if you jump at the correct timing, so you don't need to worry about them. In sets 3, 8, and 12, a fish will come after you jump 4 times, so you'll need to make a 5th jump only then.
List of Midas River Course Rewards
Midas River Course Rewards Summary
| Condition | Reward |
|---|---|
| 60 coins collected (first time) | 1 Frog Coin |
| 80 coins collected | 1 Frog Coin |
| 100 coins collected in one attempt | 5 Frog Coins |
1 Frog Coin for Every Certain Number of Coins Collected

In the Midas River course, you can get 1 Frog Coin for every certain number of coins you collect. You get 1 Frog Coin for 60 coins the first time, and 1 Frog Coin for every 80 coins thereafter.
*Any leftover coins are kept by Toad and will be added to your total on subsequent attempts.
5 Frog Coins for Collecting 100 Coins
If you collect all 100 coins, the maximum number obtainable in one attempt, you will receive 5 Frog Coins.
A Star Mark Appears on Your Play Record
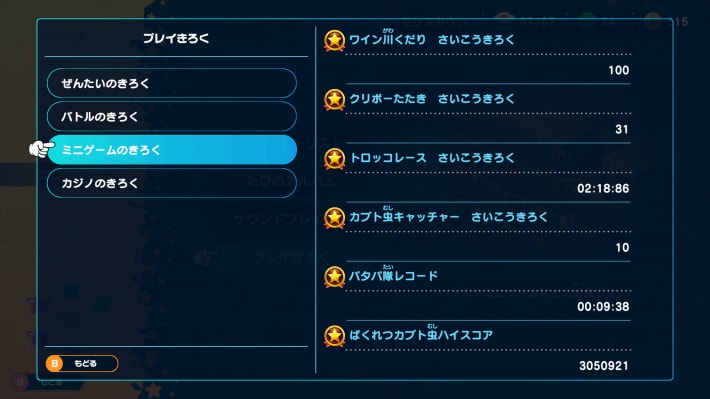
There are no separate rewards, but if you achieve 100 coins in one go, a ★ mark will be added to your play record, which becomes available after clearing the game.
How to Challenge the Midas River Course
First Attempt is During the Story
The Midas River course is a minigame you'll challenge during the story after defeating the boss of Kero Sewers. It's divided into a first part (waterfall course) and a second part (river course), where you collect up to 100 coins while going down the Midas River.
From the Second Attempt Onwards, Challenge from Midas River - Bank
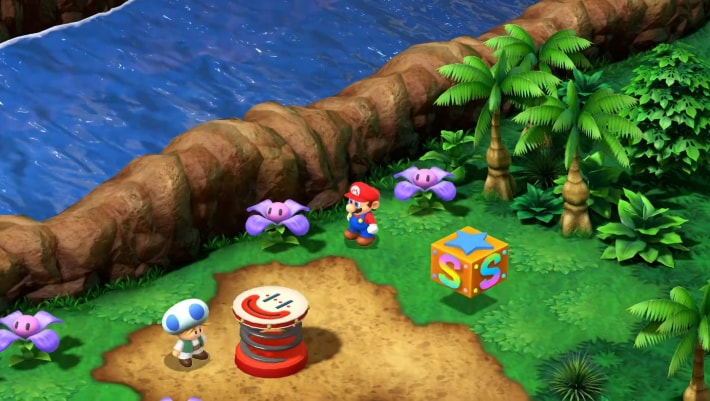
After the first attempt, you can challenge it from the 'Midas River - Bank' area. By talking to Toad and paying 30 coins, you can challenge it as many times as you like.
Challenge with a Carbo Cookie
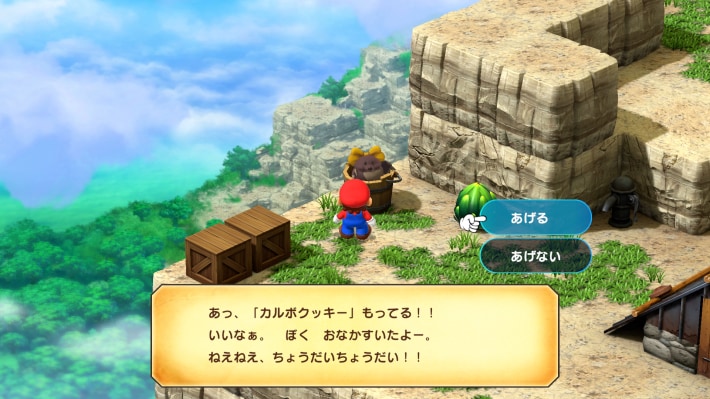
If you give a Carbo Cookie to the child to the left in the Mushroom Kingdom, there's a chance you can challenge the Midas River course. This version has a special specification where you can receive the collected coins directly as your own. However, since Carbo Cookies cost 500 coins to obtain, there's no particular advantage to aiming for this.