
This is a walkthrough chart for Super Mario RPG Remake up to the 7th Star Piece. It also introduces boss strategies and key points up to the 7th Star Piece.
Table of Contents
Walkthrough Chart up to the 7th Star Piece
| 1. |  Bowser's Castle | - Defeat Magikoopa - Obtain weapons for - Defeat Boomer- Defeat |
|---|---|---|
| 2. | Weapon World | - Defeat Count Down - Defeat Cloaker & Domino- Smithy |
Until Bowser's Castle is Cleared
You can go there using the Royal Bus in Nimbus Land.
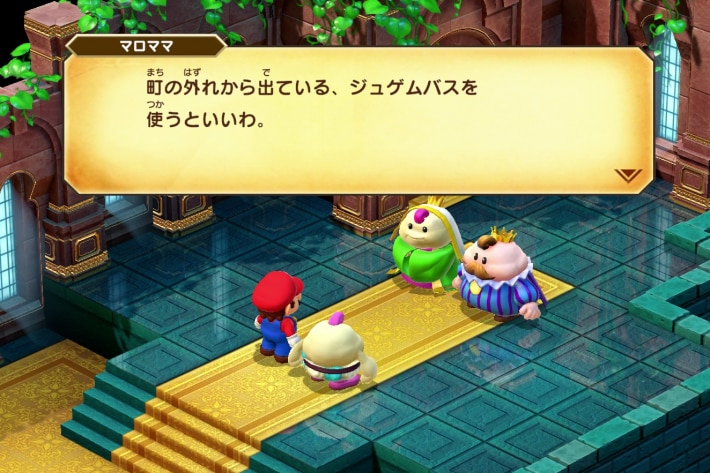
After reporting about the battle in Barrel Volcano and the remaining Star Pieces, you will be able to use the Royal Bus. After leaving the palace, go left and talk to the Royal Bus manager. This will allow you to go to Bowser's Castle.
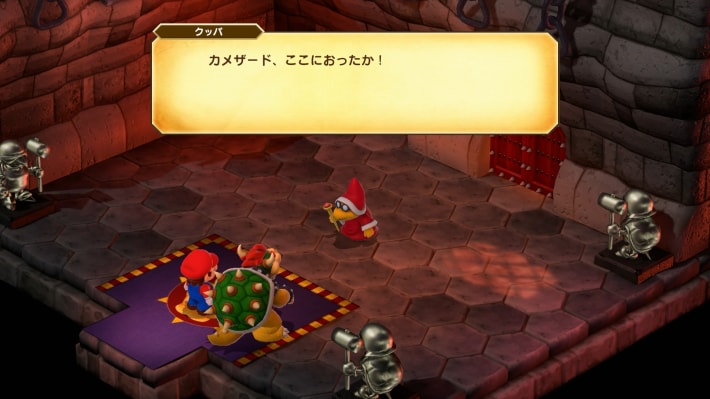
Proceed straight through the castle.
Once inside the castle, follow the path straight ahead. There is a donut bridge, so be careful not to fall.
Enemies may flee if Bowser is present
If Bowser is in the battle, Koopa Troopas and Goombas may flee. This is effective if you want to minimize battles with enemies, but it will also make it harder to level up, so if you want to earn experience points, remove Bowser from the party.
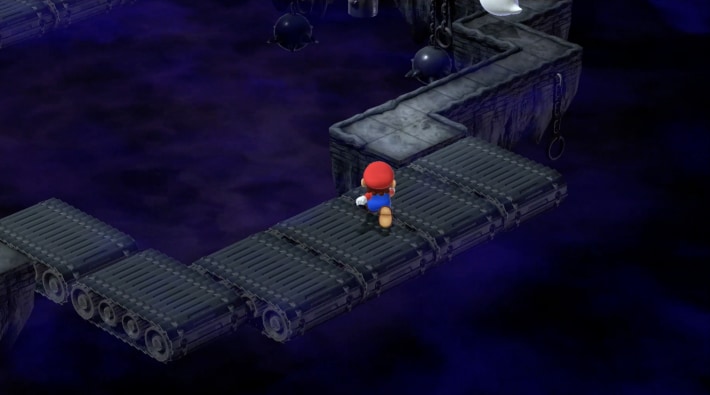
Proceed through the darkness.
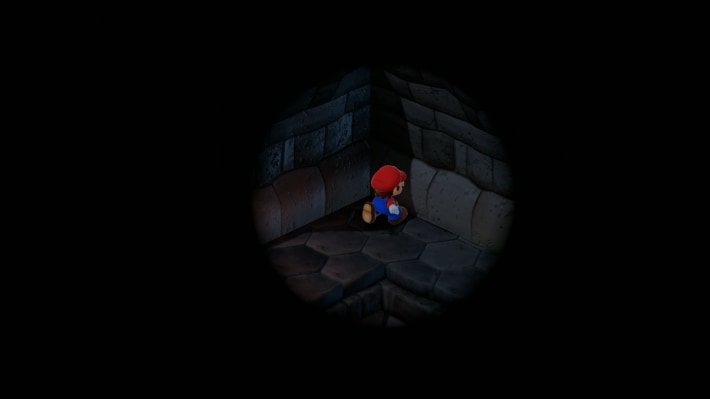
Follow the path and you will reach a dark area where you can only see around Mario. Enemies will appear suddenly, so if you want to avoid battles, proceed slowly.
There is a save point and Croco's shop.
After passing through the dark area, there is a save block and Croco's shop. Be sure to save, as there will be 6 doors and consecutive boss battles after this.
Hidden room in the bottom left
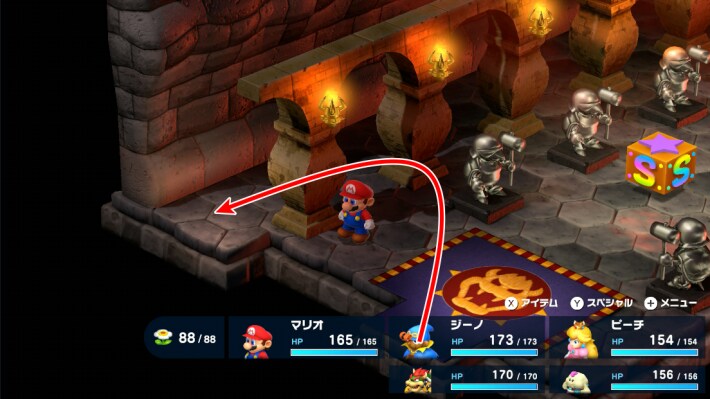
You can proceed to a hidden room from the bottom left corner of this room. Inside, there is an instant-use full recovery mushroom and 150 coins, so be sure to collect them.
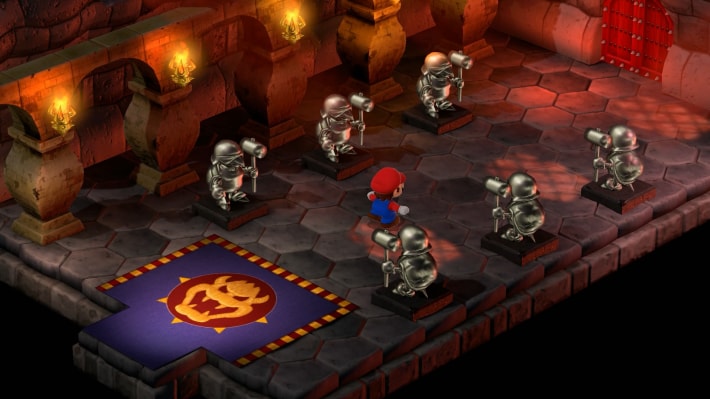
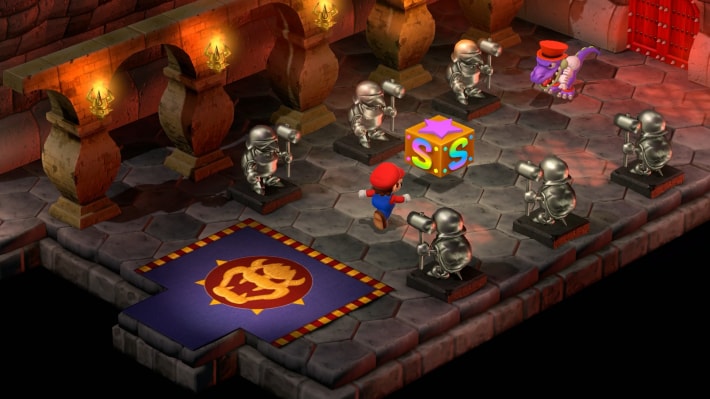
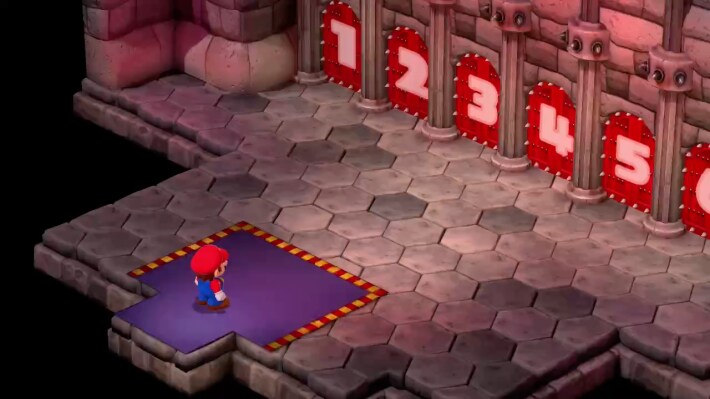
Conquer the 6 doors.
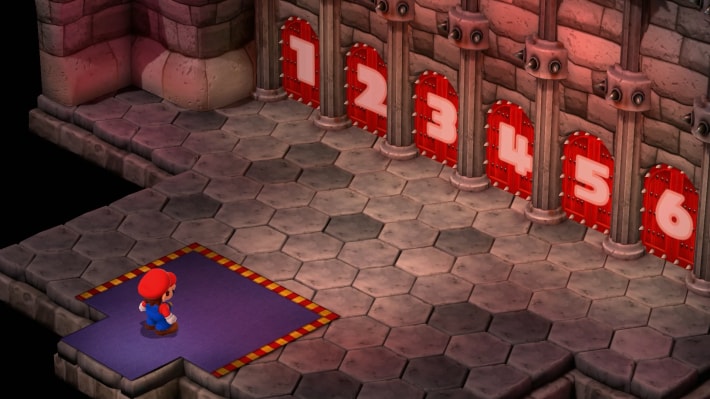
There are three types of courses behind the 6 doors: action courses, battle courses, and puzzle courses. Clearing 4 doors allows you to proceed to the next area. The course behind each door is random, and you won't know what's inside until you enter.
Area Features
| Action Course | - Easy if you are confident with Mario's controls - Excellent weapon for crossing magma |
|---|---|
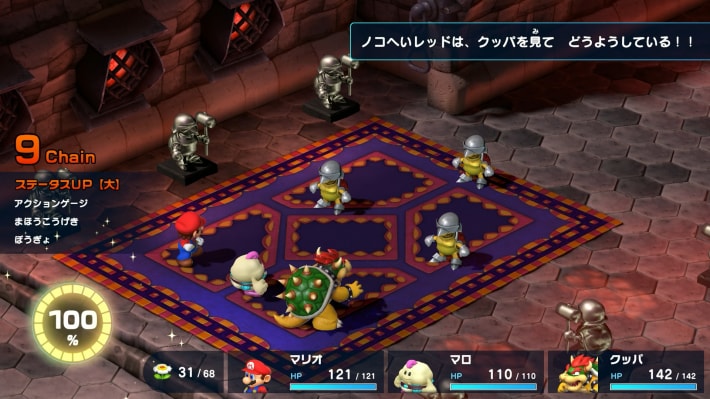
| Battle Course | - 12 consecutive battles with enemies - Easy if your party is strong enough - Excellent weapons in both rooms |
| Puzzle Course | - Easiest if you look up the answers - Rewards are mediocre |
Avoid difficult doors by giving up
Once you enter a door, you cannot exit, but if the content is difficult, you can give up by pressing the - button. Giving up will return you to the front of the door, so if you open a door you don't like, give up.
The items you receive differ.
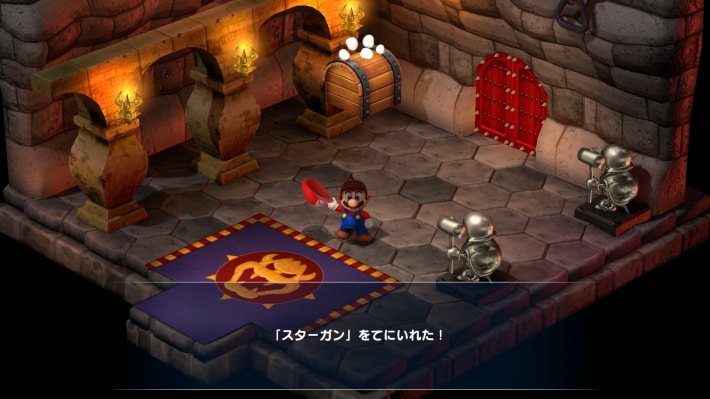
The items you receive differ depending on the course. Be sure to obtain the strongest pre-clear weapons: Drill Claw, Sonic Cymbal, and Star Gun.
Rewards by Course
| Battle Course | |
|---|---|
| First is Red Koopa Troopa | Star Gun (Geno's weapon) |
| First is Wonder Goomba | Drill Claw (Bowser's weapon) |
| Action Course | |
| First is board crossing | Sonic Cymbal (Mallow's weapon) |
| First is invisible floor | Super Slap Glove (Peach's weapon) |
| Puzzle Course | |
| First is coin collecting | Rock Candy |
| First is quiz | Rock Candy |
Fight Magikoopa
- Prepare for elemental attacks
- Defeat summons with normal attacks
- Be careful of area-of-effect attacks
Proceeding further will lead to a battle with Magikoopa. Magikoopa uses powerful elemental magic, so equip accessories that reduce elemental damage like the 'Safety Ring' or 'Booster's Charm'.
Free healing and infinite coins
After defeating Magikoopa, you can talk to it, and it will fully restore your HP and FP for free. It will also provide a treasure chest with infinite coins, so get coins if you need them.
Croco is in the left door
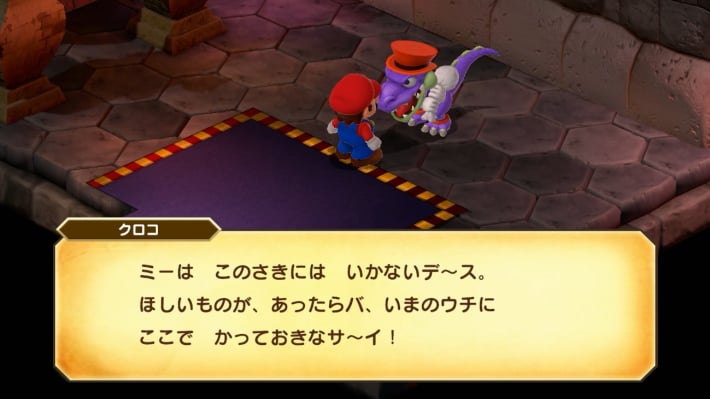
Croco is beyond the left door. You can buy the strongest exclusive armor for each character, so purchase and equip them.
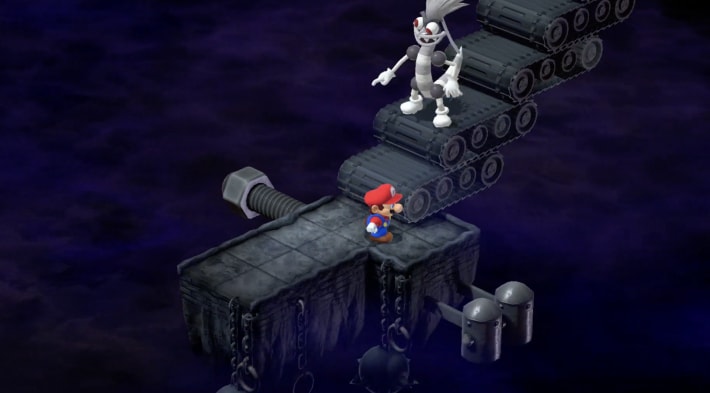
Proceed along the Thwomp path.
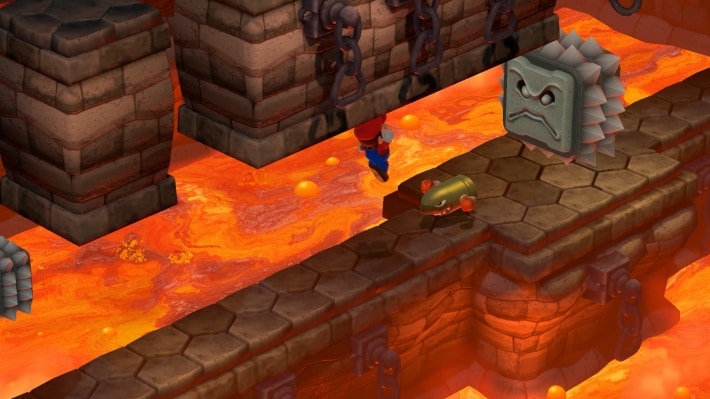
You cannot move the moment a Thwomp falls, and if crushed, you will be unable to move for a certain period. You can avoid the vibration by jumping, so jump frequently to proceed smoothly.
Fight Boomer

- Prepare for Shaker
- Stats change with color
Proceeding further leads to a battle with Boomer. Its attack and defense power differ depending on its body color, so fight while assessing it.
Fight Exor

- Counter magic with Mute
- Defeat the Left Eye to remove the barrier
- Geno Beam is effective against the main body
After defeating Boomer, you will immediately fight Exor. After defeating it, you can go to the final area, Weapon World.
Until Weapon World is Cleared
You can return to the world map using the jump pad.

After defeating Exor, your HP and FP will be fully restored, and you will move directly to Weapon World. If you want to replenish items, either use the nearby jump pad or exit from the menu to prepare.
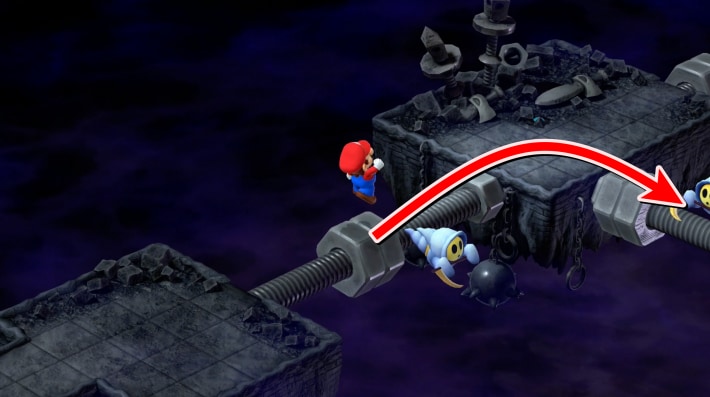
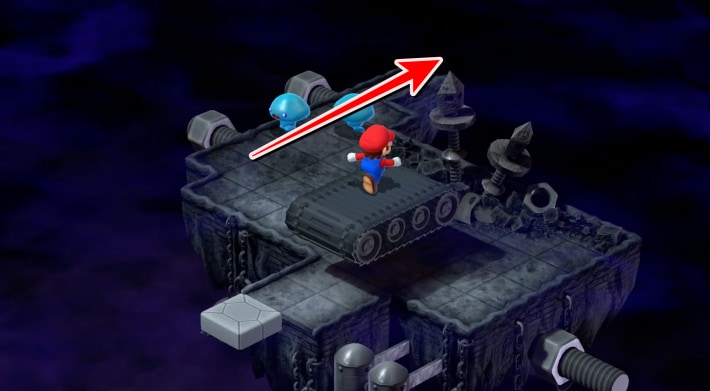
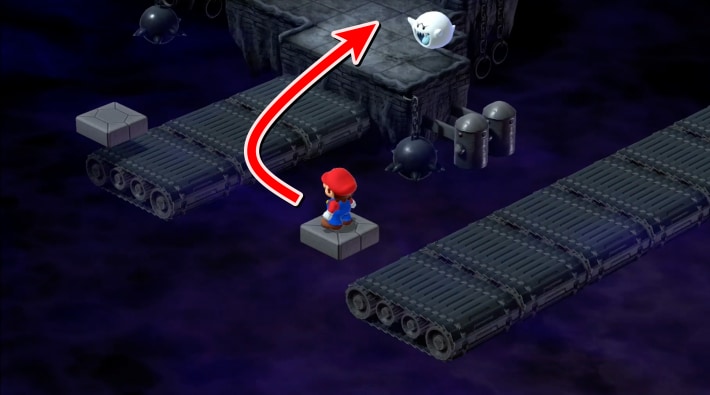
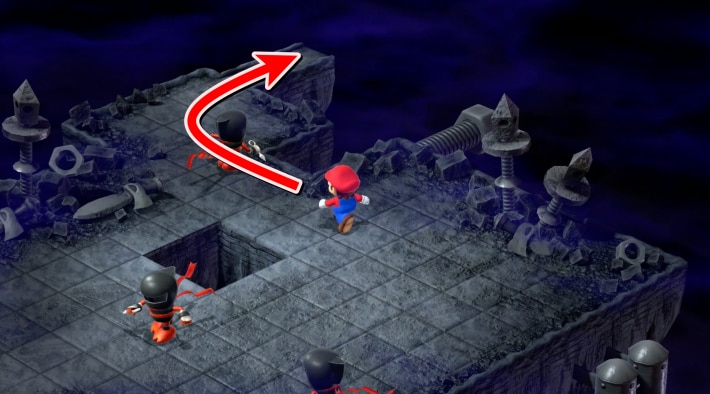
Proceed by jumping on the nuts.

In Weapon World, there are narrow screw paths that you cannot cross directly. Jumping on the nuts will move them, so advance the nuts and cross over them.
Return to the top with jump pad
If you fall from a nut, you can automatically return to the top using a jump pad.
At the fork, go right.
When you reach a fork in the nut path, proceed to the right.
Proceed straight along the nut.
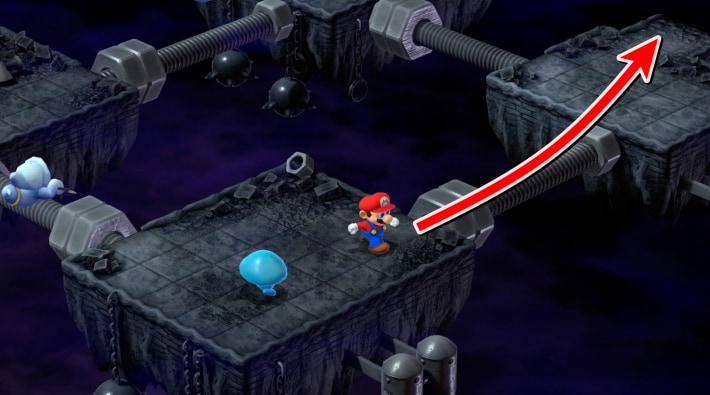
After going right, proceed straight along the next nut to the next area.
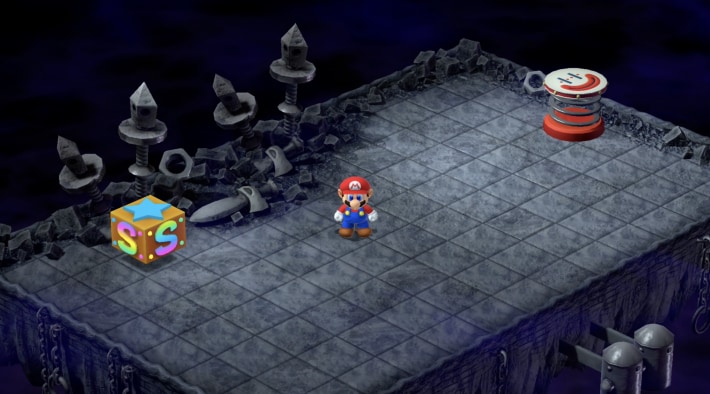
Press the green button to proceed.
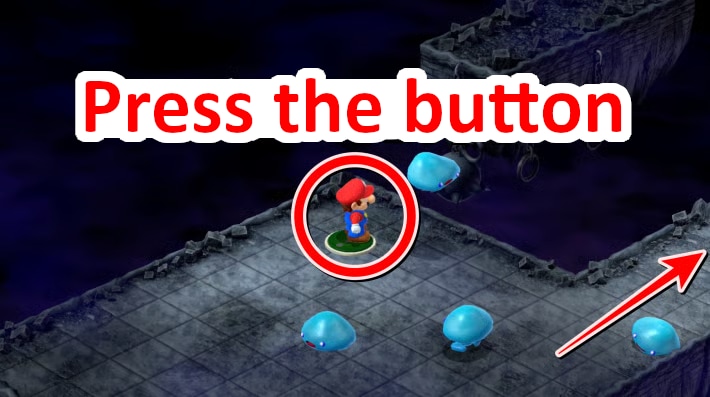
Pressing the green button will make a path appear, allowing you to proceed. Enemies will fall from the path above the button, so if you want to avoid battle, move away immediately after pressing the button.
Hidden treasure chest at the save point.
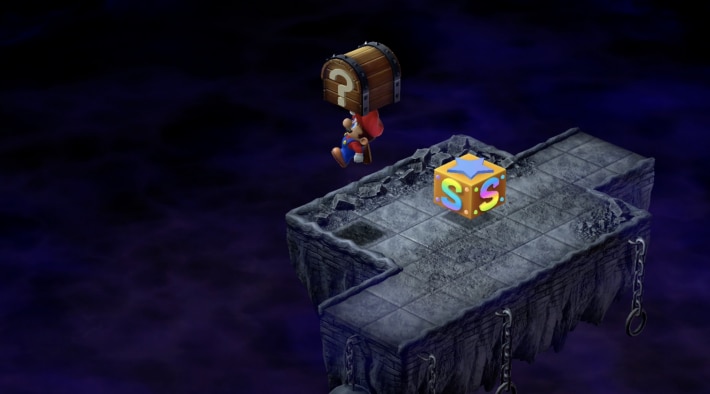
There is a hidden treasure chest to the bottom left of the save point, containing a full recovery mushroom. A boss battle awaits ahead, so recover and then save.
The 'Ultra Hammer' is in the next area
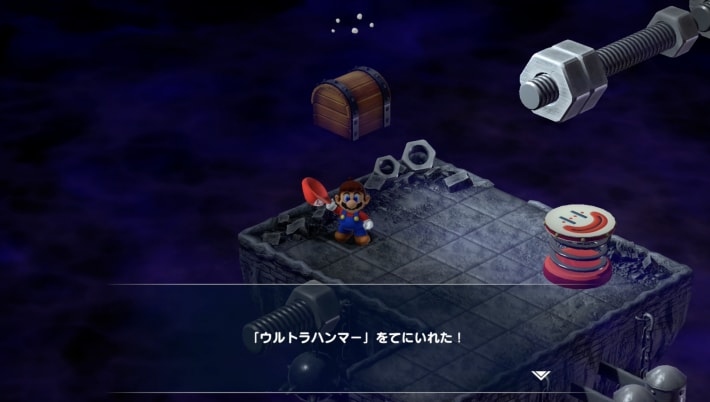
The treasure chest in the area one step ahead from here contains the 'Ultra Hammer'. If you have obtained the 'Lazy Shell' (weapon), you don't need to equip it, but if you haven't, it's a powerful weapon, so equip it.
Boss Battle: Count Down
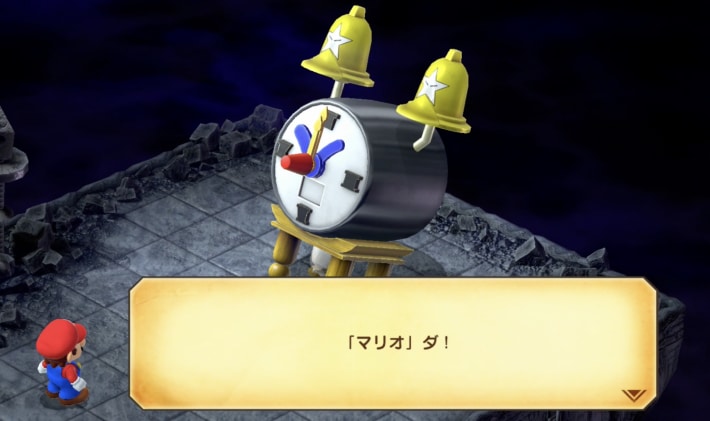
- Prepare for status ailments and instant death.
- Count Down has a fixed action order.
- Defeat Ding-A-Lings first.
- Fight while being aware of weaknesses.
Following the path will lead to a battle with the alarm clock-like boss, Count Down. If you defeat Count Down without defeating the Ding-A-Lings, you won't receive experience points and coins, so be sure to defeat the Ding-A-Lings first.
Save before proceeding
A save point will appear after defeating Count Down, so save before proceeding.
Go down in the conveyor belt area.
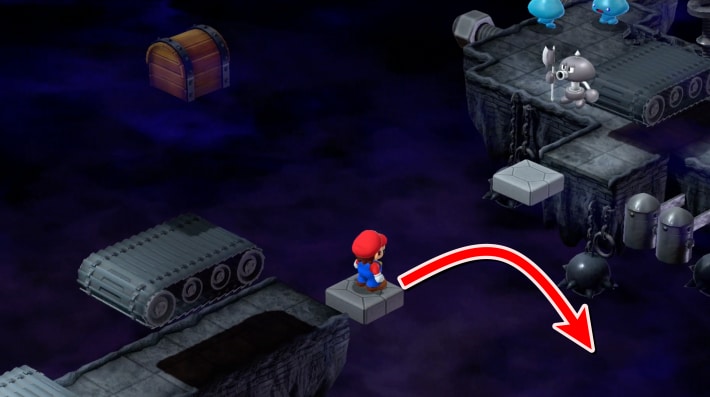
When the conveyor belt appears, you can go down from the location of the white plate. If you go down and proceed, there will be treasure chests with a Flower and a full recovery mushroom, so collect them and return using the jump pad.
Cross to the other side and proceed.
Once you cross to the other side, proceed from the far right.
Proceed while avoiding falling arrows.

In the area where many enemies flow from the conveyor belt, arrows will fall from the sky. If hit, you will be unable to move for a certain period, so proceed while avoiding arrows and enemies.
Proceed without falling from the conveyor belt.
Running against the flow of the conveyor belt will only keep you in place, so basically, proceed by jumping. Narrow paths without conveyor belts do not have pitfalls, so you can run through them without worry.
Get on the white plate to go to the other side.
Where the conveyor belt ends, get on the white plate to move to the other side. Then proceed to the right.
Climb the conveyor belt stairs.
In the next area, the conveyor belt is shaped like stairs. Mass-produced Speardovich will fall from above, so climb while avoiding them.
Proceed while avoiding Axem Rangers.
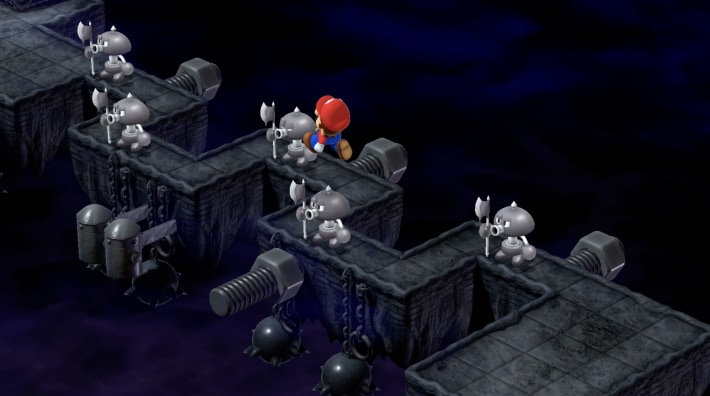
After climbing the conveyor belt stairs, Axem Rangers will appear on a narrow path. Proceed while avoiding them by jumping.
Defeat the falling Mass-produced Speardovich.

In the area where Mass-produced Speardovich fall onto blocks, defeating them will break the blocks, allowing you to fall down. A boss battle awaits below, so before that, proceed to the area in the far left.
There is a Flower and a full recovery mushroom
Proceeding to the area in the far left, there are two treasure chests containing a Flower and a full recovery mushroom. In preparation for the upcoming boss battle, recover and then return to the previous area to save.
Boss Battle: Cloaker & Domino
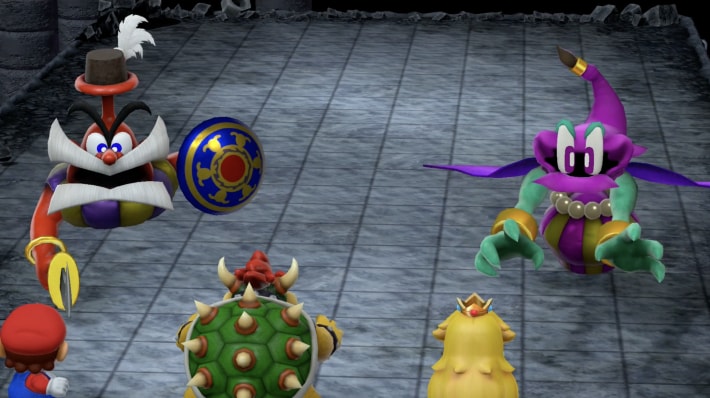
- Prepare for Fear.
- Defeat Domino first.
- Next, defeat Cloaker.
- Use physical and magical attacks appropriately.
Going down leads to the boss battle with Cloaker & Domino. Two enemies will appear, and defeating one will cause Earthlink to appear and merge with the remaining one. It is recommended to defeat them in the order of Domino -> Cloaker -> Earthlink.
After defeating the boss, return to save
From here on, it will be a boss rush, so after defeating Cloaker & Domino, enter the entrance of Weapon World once, go outside to save, and prepare items. You can return to the Weapon World entrance from the menu.
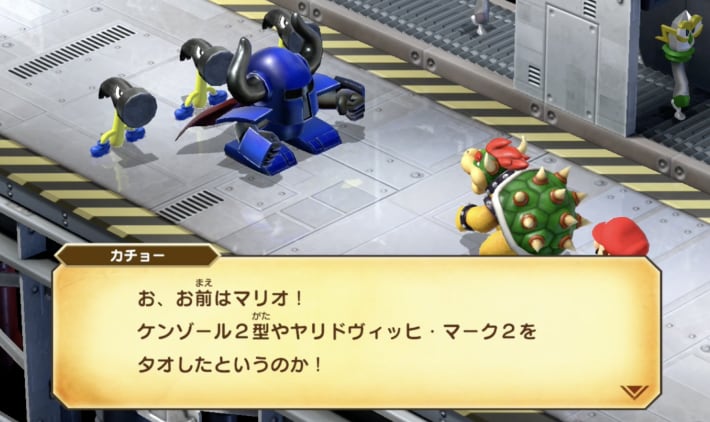
Boss Battle: Clerk
- Not a very strong enemy.
- Fear status is effective.
After an event, you will battle 3 'Mad Mallets', followed by consecutive battles with 'Clerk' + 2 'Mad Mallets'. However, they are not very strong enemies and can be easily defeated using Bowser's 'Terrorize' or Mallow/Geno's area-of-effect attacks.
Proceed a little further and Toad's shop will appear.
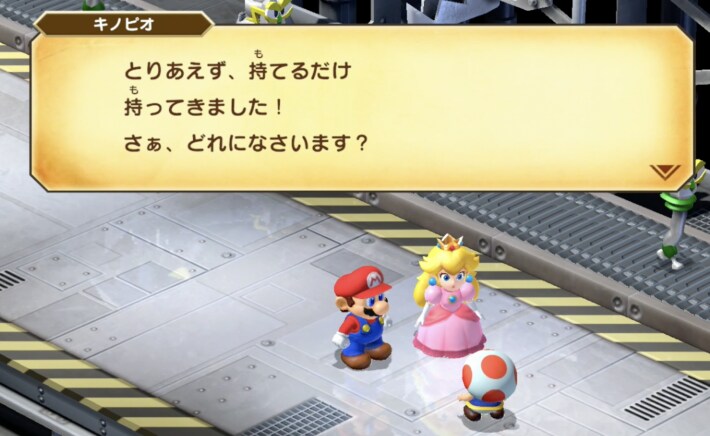
After defeating Clerk and proceeding a little, an event will occur, and Toad will appear to sell items. You can replenish recovery items here, and after finishing the shop conversation, you will receive 1 'Rock Candy'.
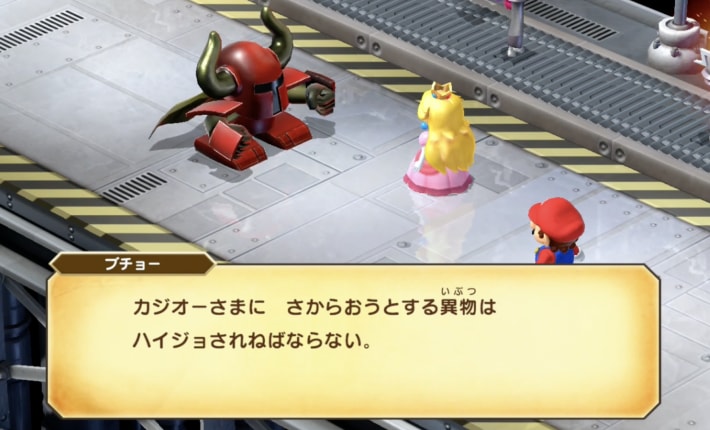
Boss Battle: Manager
- Fear status is effective.
- Pounders will revive if all are defeated.
Proceeding to the next area will lead to a battle with 'Manager' + 3 'Pounders'. Fear status is also effective here, but Pounders will reappear if all are defeated. If you want to reduce the damage taken, leave only one Pounder, defeat Manager first, and then defeat the remaining Pounder.
Boss Battle: Director
- Attack after inflicting Fear status.
- Poundettes will revive if all are defeated.
Proceeding to the next area will lead to a battle with 'Director' + 4 'Poundettes'. The basic strategy is the same as for 'Manager', but the number of enemies has increased, and their attack power is also higher. Defeat 2-3 Poundettes to reliably reduce the damage taken and fight.
Save before the tough enemy
After defeating Director and proceeding a little, a save point will appear. A tough boss awaits ahead, so save and, if necessary, go back to shop with Toad.
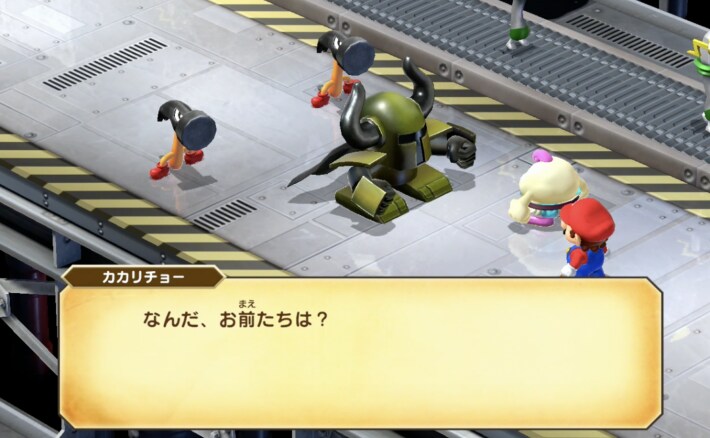
Boss Battle: Factory Chief & Gunyolk
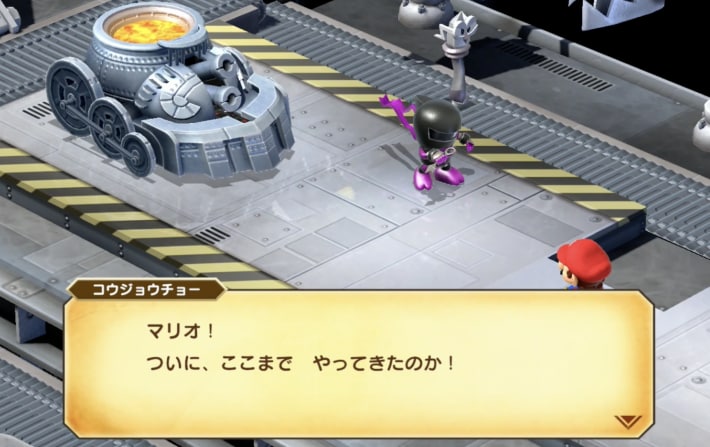
- Prepare for status ailments.
- Fight while healing HP generously.
- Fear status is effective.
- Defeat Factory Chief first.
Proceeding further leads to the boss battle with Factory Chief & Gunyolk. Unlike the boss rush so far, this is a tough enemy, so prepare thoroughly with accessories and fight.
Save before pressing the switch.
After defeating Factory Chief & Gunyolk, a green switch will appear, but before pressing it, return to the previous area and save.
Boss Battle: Smithy

- Prepare for status ailments.
- Defeat Smelter first.
- Fight while using Peach's group heal.
- Focus attacks on the head.
- Use Yoshi-Ade during the magic form.
The battle with the final boss, Smithy. Defeating him will clear Weapon World and lead to the ending.
Hidden Treasure Chests up to the 7th Star Piece
Weapon World Treasure Chest 1.
| Chest Contents | Mushroom (Instant) |
|---|---|
| How to Obtain/Location | Weapon World: Bottom left of the 2nd save point |
Equipment Update Summary up to the 7th Star Piece
Obtain powerful weapons from the 6 doors in Bowser's Castle
In Bowser's Castle, you can obtain powerful weapons for Geno, Bowser, and Mallow. They are beyond the 6 doors, and since you won't know which course it is until you enter, save just before.
Items Obtained by Course
| Battle Course | |
|---|---|
| First is Red Koopa Troopa | Star Gun (Geno's weapon) |
| First is Wonder Goomba | Drill Claw (Bowser's weapon) |
| Action Course | |
| First is board crossing | Sonic Cymbal (Mallow's weapon) |
| First is invisible floor | Super Slap Glove (Peach's weapon) |
| Puzzle Course | |
| First is coin collecting | Rock Candy |
| First is quiz | Rock Candy |
※ Peach's weapon, the 'Frying Pan', is stronger, so you don't need to get this one.
Update armor at the second shop in Bowser's Castle
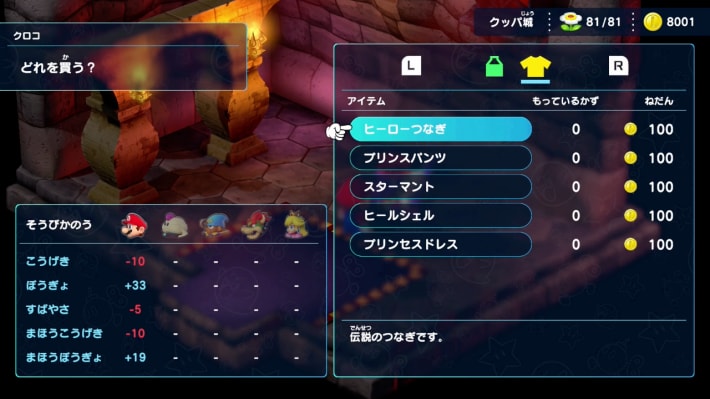
You can purchase the strongest defensive armor at Croco's second shop in Bowser's Castle.
Recommended Equipment to Purchase
| Armor | Brief Description/Required Coins |
|---|---|
| Hero Shirt | Strongest Mario-exclusive armor 100 Coins |
| Prince Pants | Strongest Mallow-exclusive armor 100 Coins |
| Star Cape | Strongest Geno-exclusive armor 100 Coins |
| Heel Shell | Strongest Bowser-exclusive armor 100 Coins |
| Royal Dress | Strongest Peach-exclusive armor 100 Coins |
There is an Ultra Hammer in Weapon World
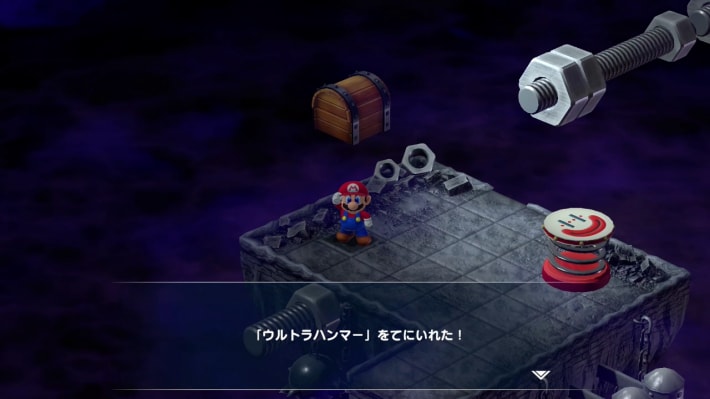
In Weapon World after Bowser's Castle, you can obtain Mario's weapon, the Ultra Hammer. However, since the Lazy Shell (weapon) is stronger, there is little merit in equipping it.