
This is a strategy guide for the Weapon World in Super Mario RPG Remake. It includes information on hidden treasure chests and sub-events in the Mario RPG Weapon World.
Table of Contents
Weapon World Strategy Party
Recommended Party
 MarioLazy Shell (Weapon)Hero ShirtSafety Badge
- BowserSpikeyHeal ShellZoom Shoes
- PeachFrying PanLazy Shell (Armor)Safety Ring
Many powerful enemies appear in the Weapon World. Equip Peach with the Lazy Shell (Armor) to increase her defense, and use the Safety Ring to prevent various status ailments, allowing her to act as a healer.
Weapon World Strategy Chart
Return to World Map via Jump Pad

After defeating Exor, your HP and FP will be fully restored, and you will move directly to the Weapon World. If you want to restock items, use the nearby jump pad or exit via the menu to prepare.
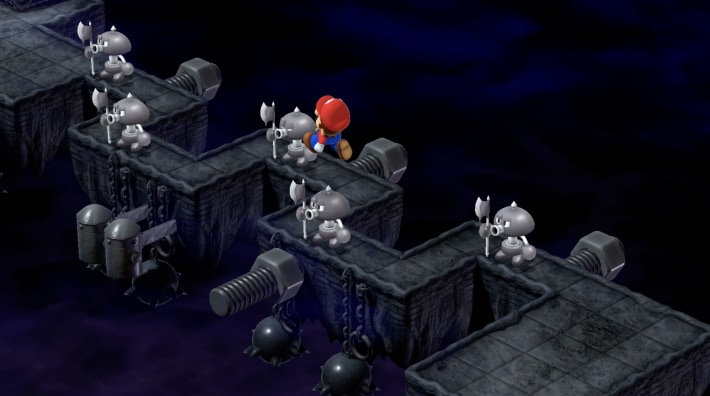
Proceed by Jumping on Nuts

In the Weapon World, there are narrow screw paths that you cannot walk on. By jumping on the nuts, the nuts will move, allowing you to cross over them.
If You Fall, a Jump Pad Returns You Up
If you fall off a nut, you can automatically return to the top via a jump pad.
At the Fork, Go Right
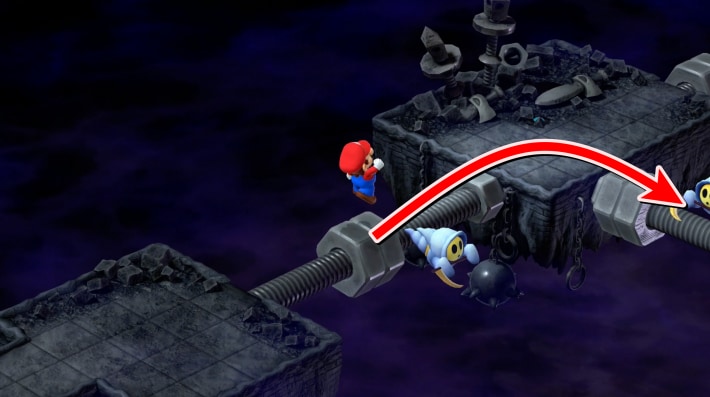
When you reach a fork in the nut path, proceed to the right.
Proceed Straight on the Nut
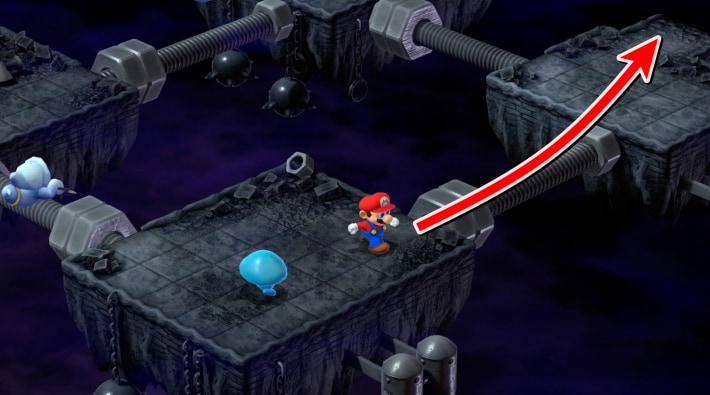
After going right, proceed straight on the next nut to reach the next area.
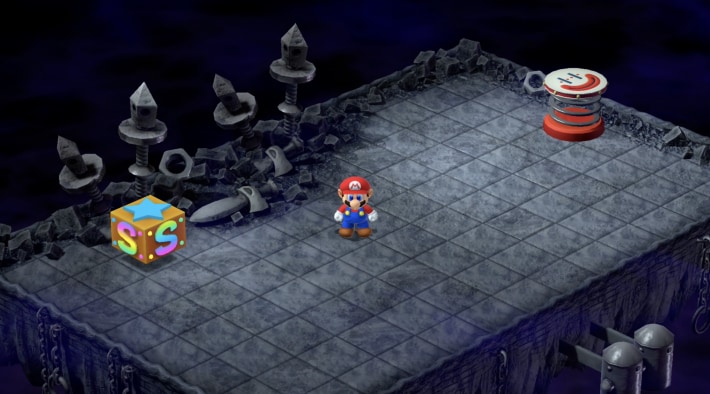
Press the Green Button to Proceed

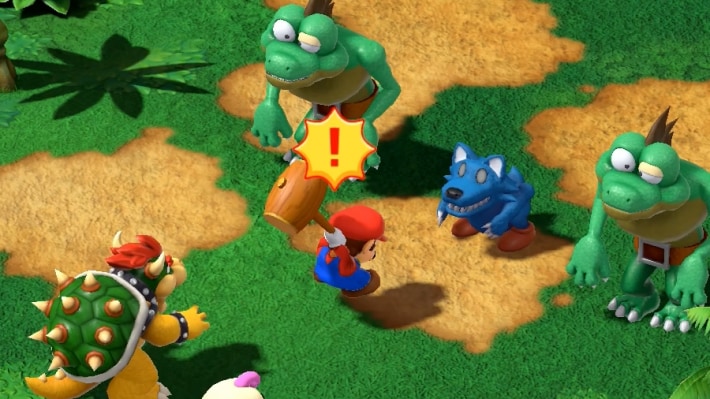
Pressing the green button will make a path appear, allowing you to proceed. Enemies will fall from the path above the button, so if you want to avoid combat, move away quickly after pressing the button.
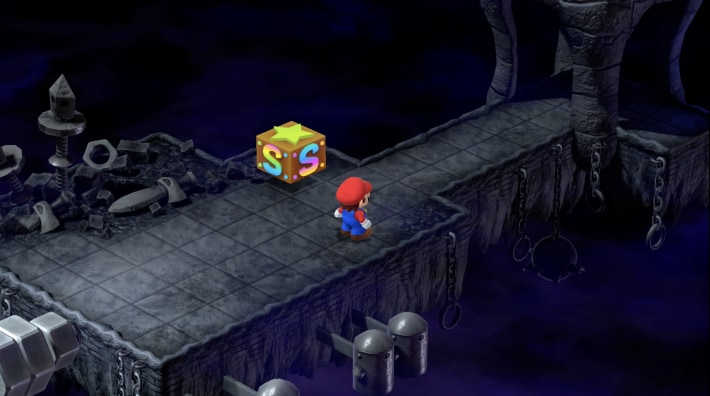
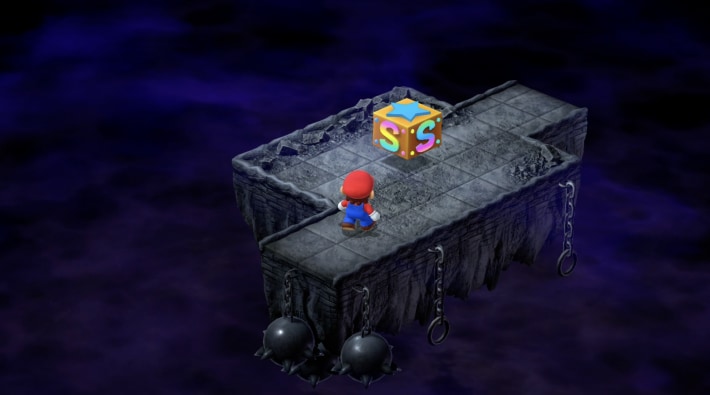
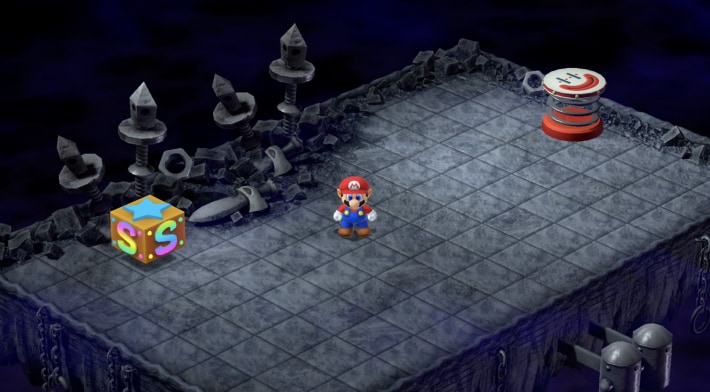
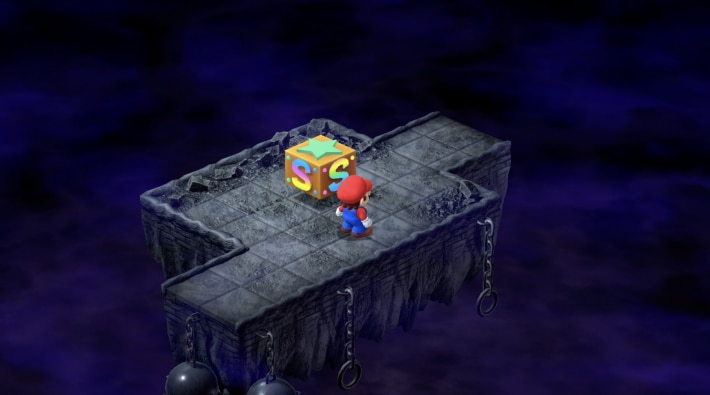
Hidden Treasure Chest at the Save Point
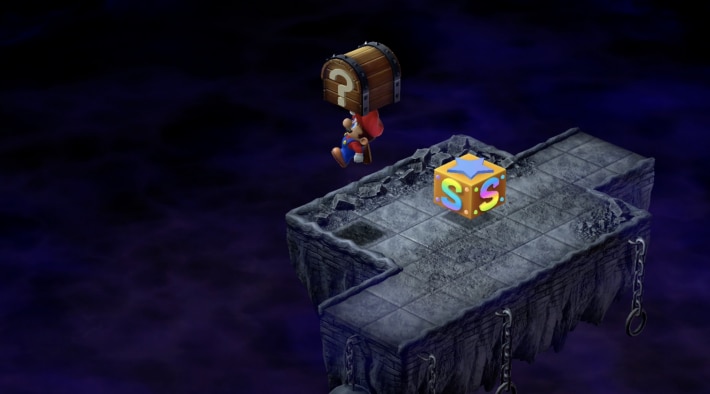
There is a hidden treasure chest to the bottom left of the save point, containing a full-heal Mushroom. A boss battle awaits ahead, so heal up and save.
"Ultra Hammer" in the Next Area
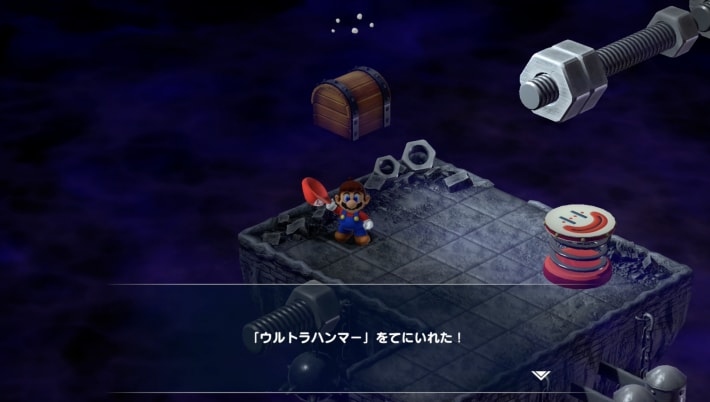
The treasure chest in the area one step ahead from here contains the "Ultra Hammer". If you have already obtained the "Lazy Shell (Weapon)", you don't need to equip it, but if not, it's a powerful weapon, so equip it.
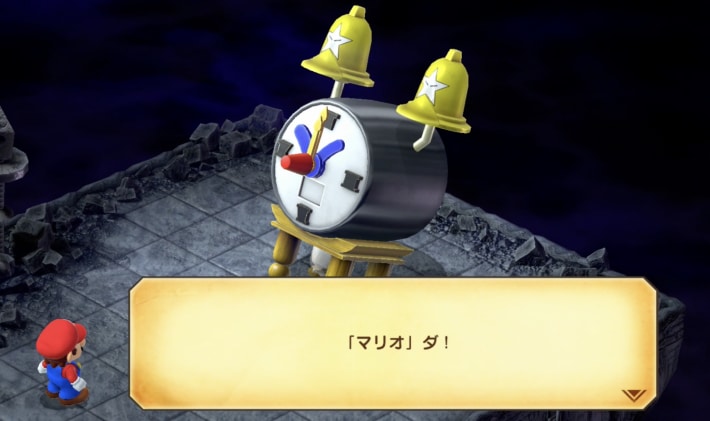
Boss: Count Down Battle
- Prepare for status ailments and instant death.
- Count Down has a fixed action order.
- Defeat the Ding-A-Lings first.
- Fight while being mindful of weaknesses.
Proceed along the path to battle the alarm clock-like boss, Count Down. If you defeat Count Down without defeating the Ding-A-Lings, you won't receive experience points and coins, so be sure to defeat the Ding-A-Lings first.
Save Before Proceeding
A save point will appear after defeating Count Down, so save before proceeding.
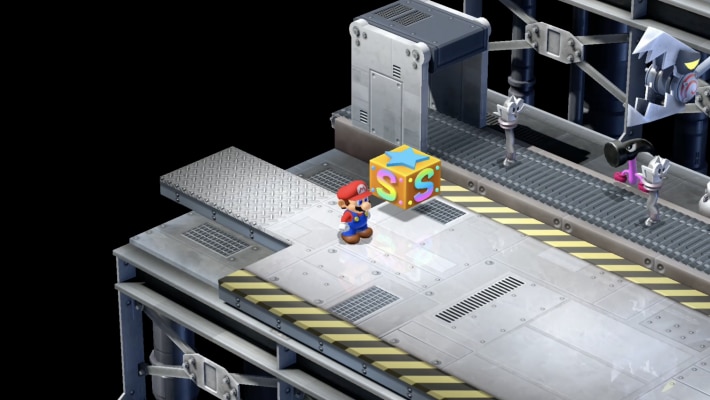
Descend in the Conveyor Belt Area
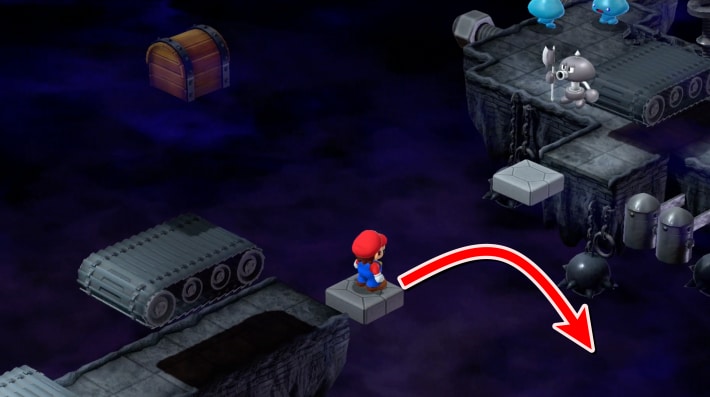
When conveyor belts appear, you can descend from the white platform. If you go down and proceed, you'll find treasure chests with a Flower and a full-heal Mushroom. Collect them and return using the jump pad.
Cross to the Other Side and Proceed
Once you've crossed to the other side, proceed to the far right.
Proceed While Dodging Falling Arrows
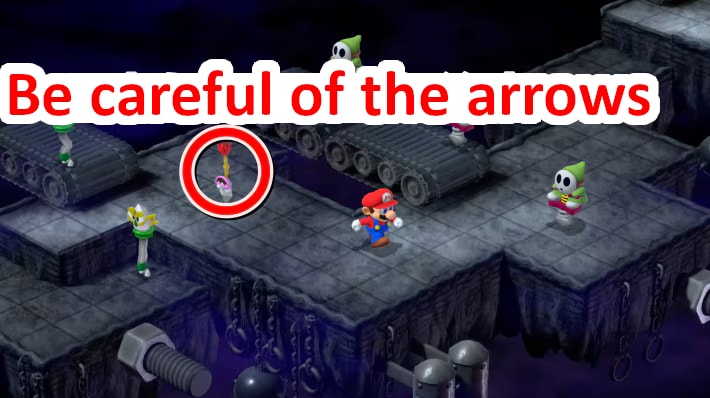
In the area where many enemies flow on conveyor belts, arrows will fall from the sky. If hit, you'll be unable to move for a certain period, so proceed while dodging arrows and enemies.
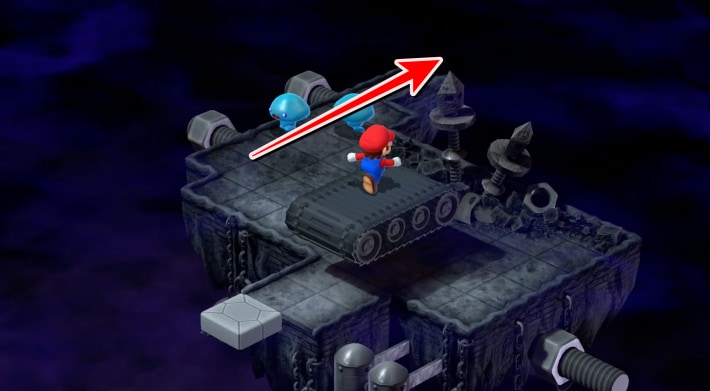
Proceed Without Falling Off the Conveyor Belt
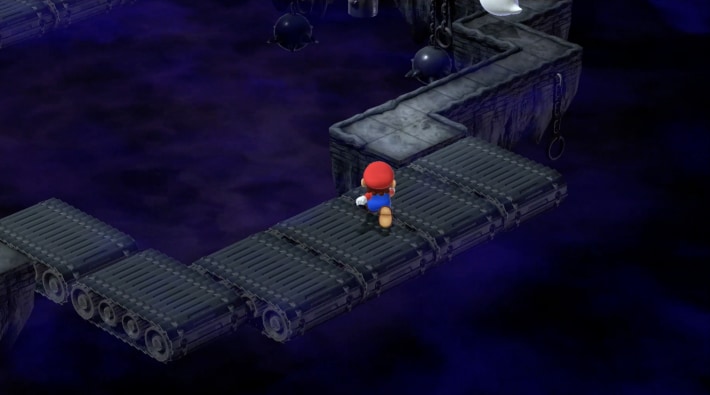
Running against the flow of the conveyor belt will only keep you in place, so generally, proceed by jumping. You won't fall off the narrow paths without conveyor belts, so feel free to run through them.
Ride the White Platform to the Other Side
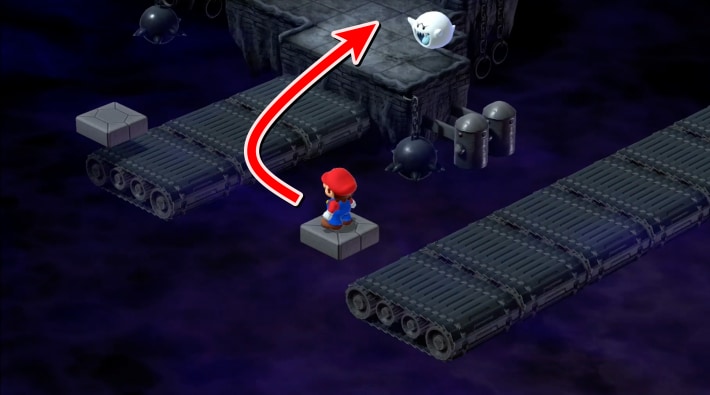
Where the conveyor belt ends, ride the white platform to move to the other side. Then proceed to the right.
Climb the Conveyor Belt Stairs
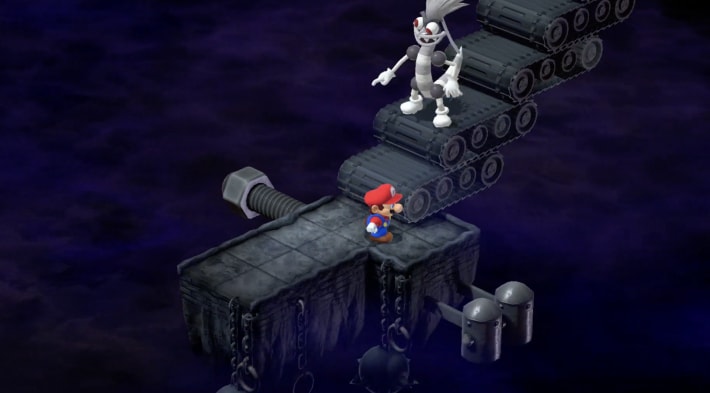
In the next area, the conveyor belt is shaped like stairs. Mass-Produced Bowyers will fall from above, so dodge them as you climb.
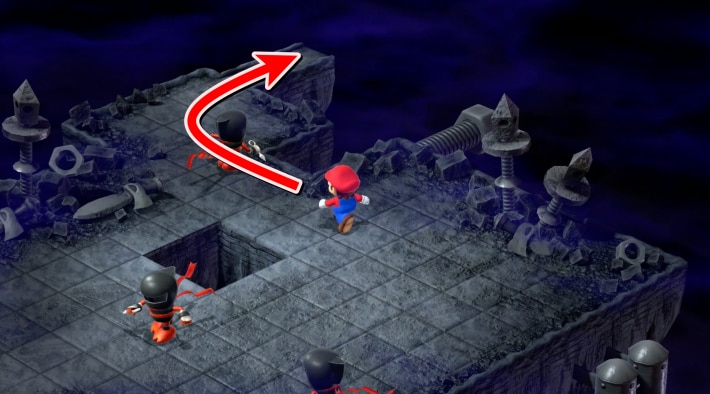
Dodge the Axem Rangers and Proceed
After climbing the conveyor belt stairs, Axem Rangers will appear on the narrow path. Dodge them by jumping and proceed.
Defeat the Falling Mass-Produced Yaridovich

In the area where Mass-Produced Yaridovich fall onto blocks, defeating them will break the blocks, allowing you to fall down. A boss battle awaits below, so before that, proceed to the area in the far left.
Flower and Full-Heal Mushroom Available
Proceeding to the far left area reveals two treasure chests containing a Flower and a full-heal Mushroom. In preparation for the upcoming boss battle, heal up, then return to the previous area and save.
Boss: Cloaker & Domino Battle
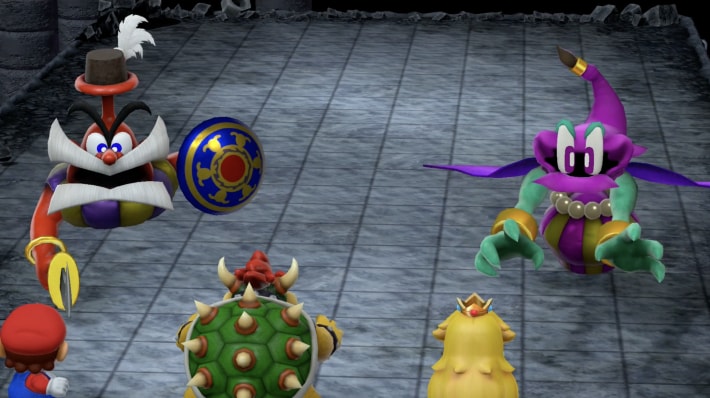
- Prepare for Fear status.
- Defeat Domino first.
- Then defeat Cloaker.
- Switch between physical and magical attacks.
Descending leads to a battle with bosses Cloaker & Domino. Two enemies will appear, and defeating one will cause Earth Crystal or Mad Mallet to appear and combine with the remaining one. It's recommended to defeat them in the order of Domino → Cloaker → combined form.
Return to Save After Defeating the Boss
A series of boss rushes will follow, so after defeating Cloaker & Domino, return to the entrance of the Weapon World, exit, and save or prepare items. You can return to the Weapon World entrance from the menu.
Weapon Factory Strategy Chart
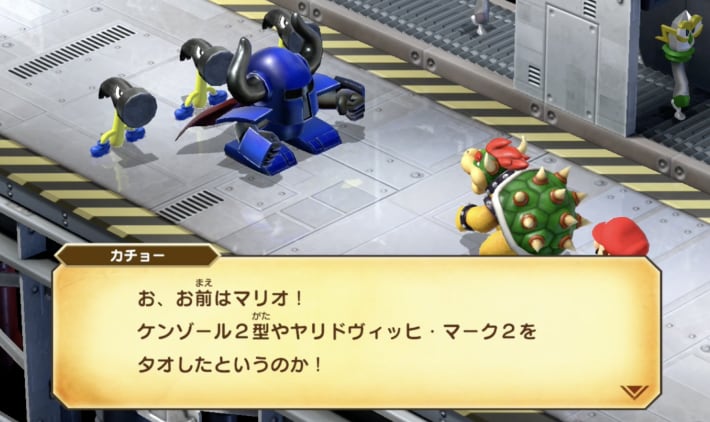
Boss: Clerk Battle
- Not a very strong enemy.
- Fear status is effective.
After an event, you will battle 3 Pounders, followed by a consecutive battle with Clerk + 2 Pounders. However, they are not very strong, and can be easily defeated using Bowser's "Terrorize" or Mallow/Geno's area-of-effect attacks.
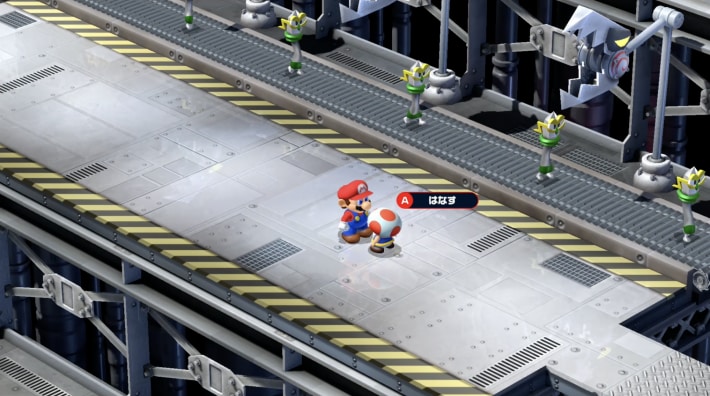
A Toad's Shop Appears Shortly After
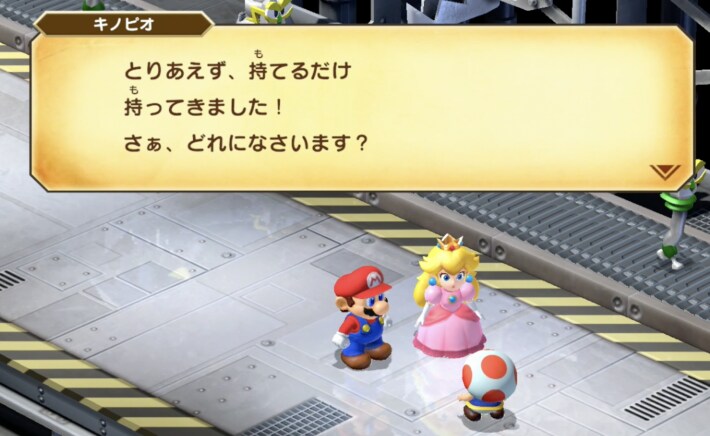
After defeating Clerk and proceeding a bit, an event will occur, and Toad will appear to sell items. You can restock healing items here, and after finishing shopping during the conversation, you will receive 1 Rock Candy.
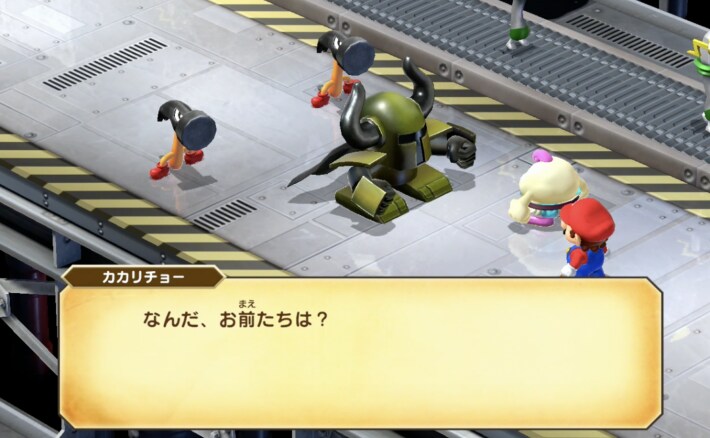
Boss: Manager Battle
- Fear status is effective.
- The Poundettes will revive if all are defeated.
Proceeding to the next area leads to a battle with Manager + 3 Poundettes. Fear status is also effective here, but the Poundettes will reappear if all are defeated. If you want to reduce incoming damage, leave only one Poundette, defeat Manager first, and then defeat the remaining Poundette.
Boss: Director Battle
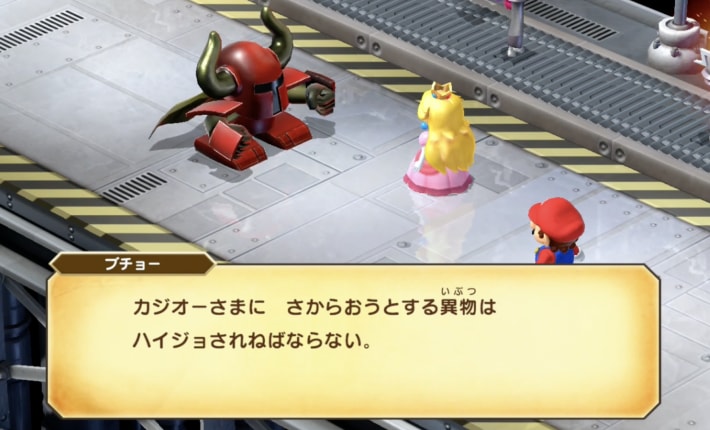
- Inflict Fear status before attacking.
- The Mallets will revive if all are defeated.
Proceeding to the next area leads to a battle with Director + 4 Mallets. The basic strategy is the same as for Manager, but the number of enemies has increased and their attack power is higher. Defeat 2-3 Mallets to reliably reduce incoming damage and fight.
Save Before the Tough Enemy
After defeating Director and proceeding a bit, a save point will appear. A tough boss awaits ahead, so save and, if necessary, go back to Toad to shop.
Boss: Factory Chief & Gunyolk Battle
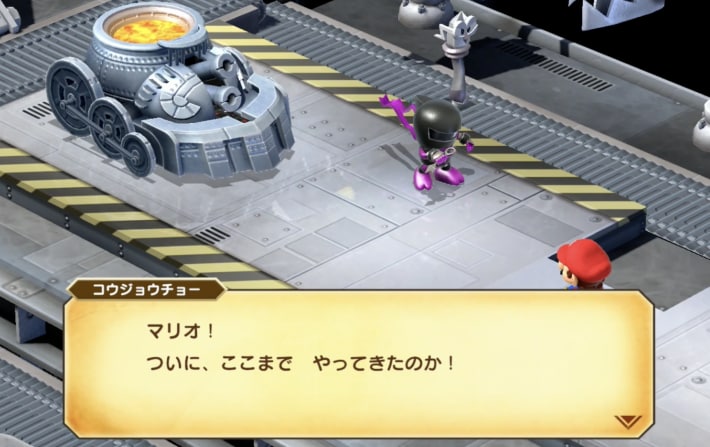
- Prepare for status ailments.
- Heal HP generously while fighting.
- Fear status is effective.
- Defeat Factory Chief first.
Proceeding further leads to a battle with bosses Factory Chief & Gunyolk. Unlike the previous boss rushes, this is a tough enemy, so prepare thoroughly with accessories and other items before fighting.
Save Before Pressing the Switch
After defeating Factory Chief & Gunyolk, a green switch will appear, but before pressing it, return to the previous area and save.
Boss: Smithy Battle

- Prepare for status ailments.
- Defeat the Smelter first.
- Use Peach's group heal while fighting.
- Focus attacks on the head.
- Use Red Yoshi Cookie during the magic form.
The final battle with Smithy. Defeating him clears the Weapon World and triggers the ending. After that, enjoy the Post-Game Content.
Equipment and Items Obtainable in Weapon World
Obtainable Equipment
- Ultra HammerAttack +70
 CharacterEffectNo special effectsSourceWeapon World: Obtain from a treasure chest beyond the second save point
Hidden Treasure Chest Locations and Contents
Weapon World Treasure Chest 1.
| Chest Contents | Mushroom (Instant) |
|---|---|
| How to Obtain/Location | Weapon World: Bottom left of the second save point |
Item Shop Product List
Weapon World Toad
Immediately after defeating the late-game boss "Clerk", Toad will arrive and you can purchase items.
| Product | Type | Price |
|---|---|---|
| Super Mushroom | Item | 10 Coins |
| Ultra Mushroom | Item | 39 Coins |
| Froggie Drink | Item | 6 Coins |
| Maple Syrup | Item | 15 Coins |
| Pick Me Up | Item | 3 Coins |
| Freshen Up | Item | 2 Coins |
| Party Cleanse | Item | 25 Coins |
Other Facilities
Save Block 1.
Located where you cross the first nut from the starting point.
Save Block 2.
Located in the area after creating a path with the green switch.
Save Block 3.
Located in the area after fighting Count Down.
Save Block 4.
Located beyond the conveyor belt zone.
Save Block 5.
Located in the area where you fight Director.