 Acambe
 Afra
Afra Agata
Agata Alexei
 Auguste
 Ayishah
 Beryl
Beryl Camelot
 Caris
Caris Ciri
Ciri Clara
Clara Cocoa
Cocoa Col
Col Credenza
 Dantalion
 Edda
Edda Estra
Estra Falin
Falin Faycal
 Flavia
 Garcia
 Geralt
 Gloria
 Guzman
 Hasna
Hasna Heshan
 Homa
Homa Iggy
Iggy Inanna
 Kianshir
 Kiya
Kiya Kvare
Kvare Layla
Layla Leonide
 LilyWill
 Lukamar
 Lutfi
Lutfi Luvata
 Magnus
 Maitha
 Marcille
 Miguel
 Momo
Momo Nergal
 NonoWill
 Nungal
 Nydia
Nydia Pamina
 Parsifal
 Pooch Runrun
 Rawiyah
 Rico
Rico Safiyyah
 Samantha
 SchackLulu
 Selina
 Senshi
 Shahnaz
 Shams
Shams Simona
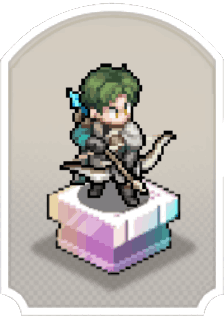 SP Faycal
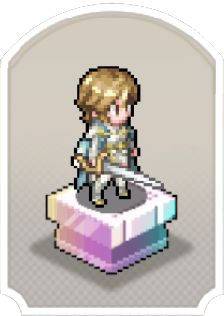 SP Inanna
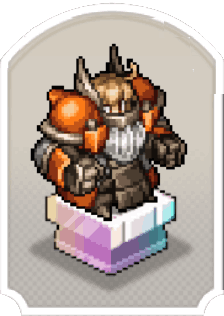 SP Maitha
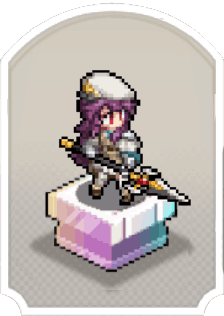 SP Nungal
 SP Rawiyah
 SP Safiyyah
 SP Samantha
 Taair
Taair Teadon
 Team Meteor
 Triss
Triss Tristan
 Xavier
 Yeganeh
 Yennefer
 Yserinde
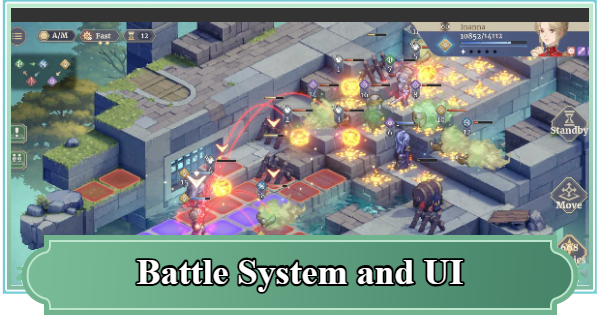
This is a guide for basic battles and the user interface in Sword of Convallaria (SoC). Read on to see the basics of combat, as well as the functions of all the on-screen buttons!
Table of Contents
Combat System Explained
- Top-Down, Turn-Based Battles
- Fight Using Skills and Tactics
- Numerous Win Conditions
- Interactable Terrain
- Utilize Role Matchups
- Health Dictates Damage
- Backtrack to Undo Actions
Top-Down, Turn-Based Battles

![]()
The combat system in Sword of Convallaria is a tile-tactic, turn-based simulation. In battle, the number of deployable characters depends on the stage, and the battle begins after you decide on your characters and their placement. During battle, characters take turns sequentially by moving to a tile and performing an action.
Turn Order is Determined by SPD
Characters act in order of their SPD stat. By building a team centered around characters with high SPD, you can launch preemptive attacks on the enemy and efficiently reduce their HP.
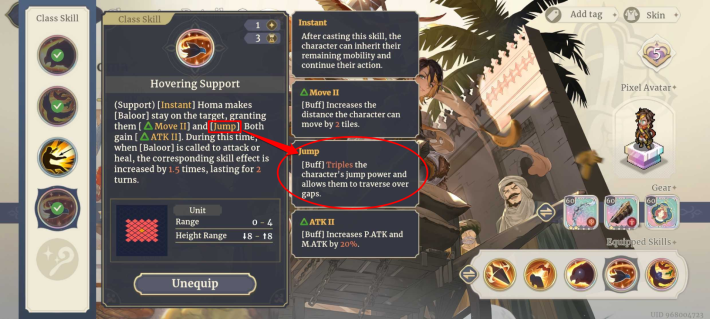
Fight Using Skills and Tactics

In battle, you can use the various Skills each character possesses to attack enemies or support allies. Consider the current state of the game, such as each character's position and HP, and use the appropriate Skills to gain an advantage in battle.
Change the Tide of Battle with Tactical Skills
By using Tactical Skills, you can attack, provide support, or activate gimmicks. Since you can deal damage without taking an attack from the enemy, they are powerful Skills that allow you to defeat enemies efficiently.
Numerous Win Conditions


Some stages have simple victory conditions like defeating all enemies, while others have more complex conditions depending on the stage, such as surviving for a certain number of turns or breaking through to a target point. It's important to select characters and use Skills that match the conditions, and to adapt to the stage.
Interactable Terrain
![]()
Stages are comprised of various terrains, such as stages with significant height differences, pitfalls, and interactable objects. Understand the terrain and how you can use it to your advantage is essential in some content.
Stage Objects and Gimmicks Guide
Move to High or Low Ground
Some characters and Skills have effects that can bypass height differences. In stages with significant height differences, deploying characters who can handle them allows you to maneuver advantageously.
Utilize Knockbacks
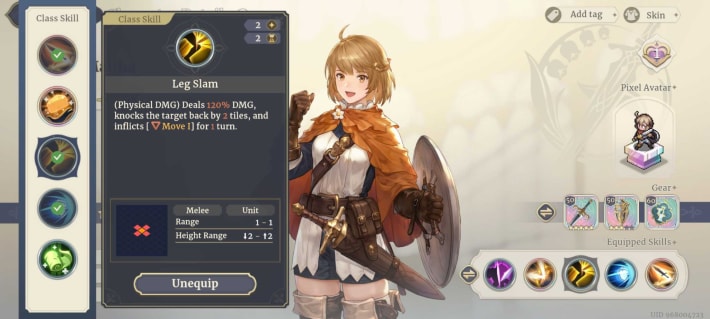
Knockback skills can push some enemies. Timely knockbacks can defeat enemies regardless of damage by pushing them out of bounds and into pits, deal damage by making them fall from high places, or cause collision damage by knocking them into walls or other characters.
Utilize Terrain Properties
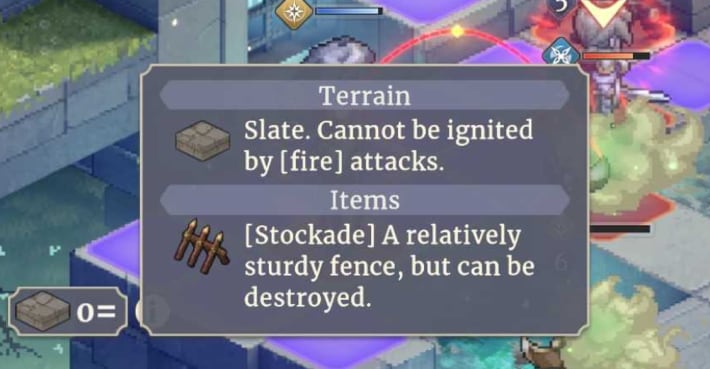
The properties of each terrain tile vary. The many types of terrain include [Burning], which deals DoT to units on top, and [Frozen], which reduces movement. Understand the properties of various terrains and use them to your advantage.
Utilize Role Matchups
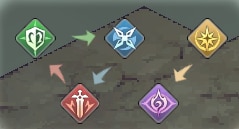
![]()
Each character is designated to a "Role" that determines their weaknesses and advantages. This is a very important mechanic that should not be overlooked, so learn it well to make battles easier.
Health Dictates Damage

When a character's HP drops to a certain percentage, they will suffer from either [Injured] or [Dying] effects, which decrease damage dealt and increase damage taken. This effect becomes stronger as the HP percentage decreases, so if your character becomes Injured, be sure to restore their HP.
List of HP States
| HP | Status |
| 100%-71% | Healthy - None |
| 70%-31% | Injured - Damage Dealt -20% - Damage Taken +20% |
| 30%-0% | Dying - Damage Dealt -30% - Damage Taken +30% |
Backtrack to Undo Actions
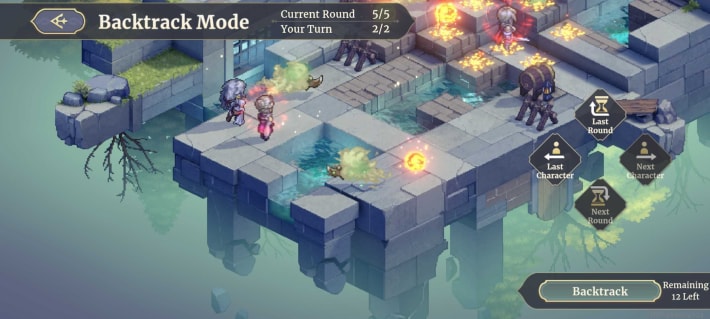
In battle, there is a "Backtrack Mode" mechanic that undoes actions. If you make a wrong choice, you can rewind to a specific turn or unit's action,.
User Interface Guide
UI and Icons Guide
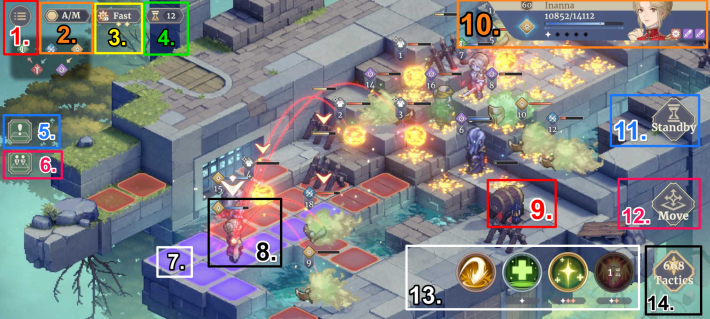
How to Read the Screen
| 1. Menu | Check battle victory/defeat conditions and access the settings screen. |
| 2. Manual/Auto Toggle | Switch between manual and auto battle. |
| 3. Speed Toggle | Switch the speed of movement and attack animations. |
| 4. Backtrack Mode | You can rewind to a specified turn or character's action up to the number of times displayed. |
| 5. Danger Zone Display | Visualize whether a movement tile is within the enemy's attack range. |
| 6. Turn Order Display | Display the turn order of characters. |
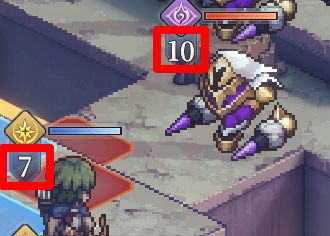
| 7. Movable/Attackable Tiles | Shows the tiles the character can move to (blue) and the maximum distance they can attack from (red). |
| 8. Character | Character. The blue bar is HP, and the number on the left indicates their turn order. No number means it's that character's turn. |
| 9. Interactable Object | Placed on the stage and has various gimmicks. |
| 10. Character Details | Details of the selected character, such as HP and cost. |
| 11. Standby | Ends the character's action after selecting a destination tile. |
| 12. Move | Select to enter the character's movement screen. |
| 13. Basic Attack/Skills | The selected character's Basic Attack and Skills. The cost is displayed below the Skill. |
| 14. Tactical Skills | A special Skill that can be used by consuming TP. |
Speed Toggle
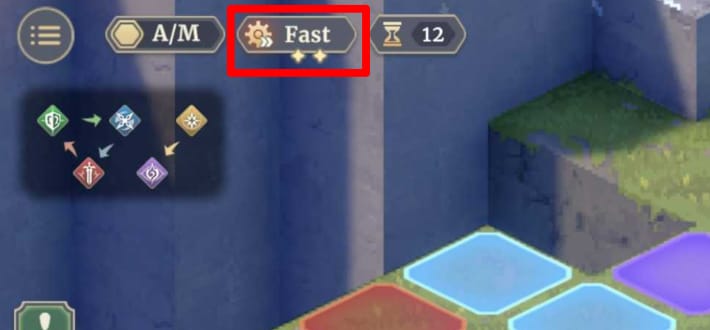
You can switch between normal speed and double speed for animations like movement and attacks.
Turn Order Display
![]()
You can display the turn order for all characters, both allies and enemies. It's best to keep this ON.
Danger Zone Display
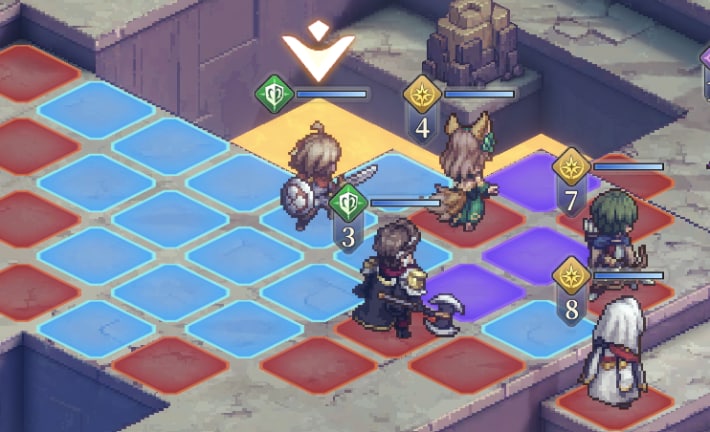
![]()
By selecting this, you can visualize whether a destination tile is within an enemy's attack range. The danger zone is shown as purple tiles, not blue.
Enemy Skill Ranges Are Not Shown in the Danger Zone
The danger zone displays the maximum range of an enemy's Basic Attack; Skill ranges are not displayed as part of the danger zone. Therefore, even if you are outside the danger zone, you may still be caught in a Skill attack, so you need to check the range of the enemy's Skills and position your units where they won't be hit.
Sword of Convallaria (SoC) Related Articles
Tier Lists
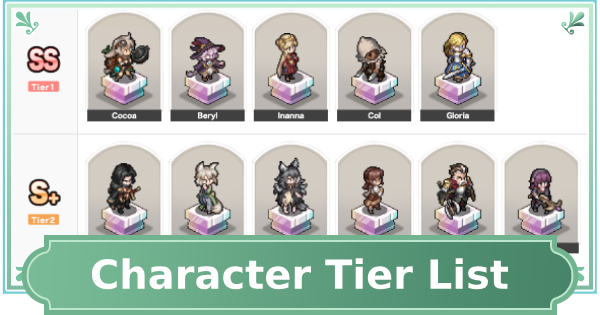 Character Tier List
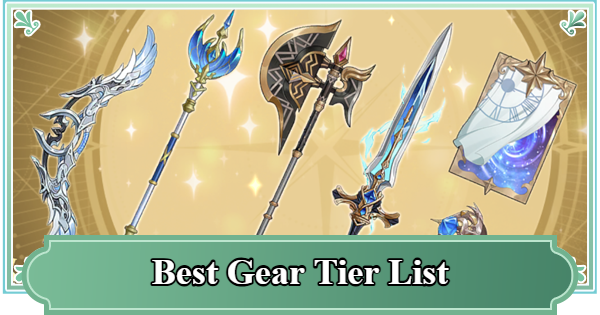 Gear Tier List
 Reroll Tier List
News & Updates
| Latest News | |
|---|---|
| Latest News | List of Available Banners |
| Upcoming Characters | 1st Anniversary Update |
| Redeem Codes List (October 2025) | |

