Act 12 Main Story Walkthrough Guide for Seven Deadly Sins Origin (7DSO). This guide includes a main quest walkthrough, Ancient Dragon boss tips, objectives, and more.
Main Story Walkthrough GuideTable of Contents
Act 12 Walkthrough
| Step | Objective |
|---|---|
| 1 | Head to Fort Solgres |
| 2 | Inspect the Suspicious Traces |
| 3 | Continue Onwards to Fort Solgres |
| 4 | Talk to Nars the Soldier |
| 5 | Enter Fort Solgres |
| 6~9 | Defeat the Barbarian Warriors |
| 10 | Shoot down the Ancient Dragon with the Ballista |
| 11 | Defeat the Ancient Dragon |
| 12 | Defeat the Remaining Barbarian Warriors |
| 13 | Repel the Abyss Creatures |
| 14 | Inspect the broken Book of Stars |
| 15 | Repel the Abyss Creatures |
| 16 | Talk to Clotho |
| 17 | Defeat the Corrupted Ancient Dragon |
Act 12 Bosses Guide
Two Versions of the Same Boss
You will fight the Ancient Dragon twice, with the second encounter being the final battle. The first fight is relatively easy, but the second is challenging and requires proper preparation.
Stick to the Hind Legs of the Dragon
The timing for dodging is similar in both fights against the Ancient Dragon. Stick to its hind legs to avoid its frontal attacks.
Second Fight Has Three Phases and a Timer
The second battle with the Ancient Dragon has three phases and a timer. It can easily knock back your characters with its attacks, so be sure to dodge on time to avoid wasting time.
Spinning Attack Must Be Dodged
Aside from its telegraphed red attacks, watch out for the spinning attack that will knock back your teammates. The dragon often uses this move during its first and second phases. In the third phase, it will no longer use the spin attack and will instead fly more often.
Phase Changes Will Need Healing and Dodging
Every time the dragon's HP reaches a certain threshold, it will perform a series of attacks, during which you'll be unable to hit it. The transition from the first to the second phase includes an unavoidable DoT attack, so bring a healer and a support character with shields to survive it. During the phase change to the third phase, the Book of Stars will defend you, so no healing or shielding is needed.
Inflict Daze During the Third Phase Charging Attack
A Daze meter will only appear during its charging AoE attack, which means you can inflict Daze to interrupt it. If you are unable to fill the meter in time, you will need to dodge the attack as it deals high damage.
Related Articles

 Act 1
Act 1 Act 2
Act 2 Act 3
Act 3 Act 4
Act 4 Act 5
Act 5 Act 6
Act 6 Act 7
Act 7 Act 8
Act 8 Act 9
Act 9 Act 10
 Act 11
 Albion Guide
 Banakro Guide
 Draco King Drake Guide
 Red Demon Guide
 Corrupted Guardian Golem
 Gray Demon Guide
 Twigo Boss Guide
 Molbog Guide
 Corrupted Warden Orgot Guide
 Guila Boss Guide
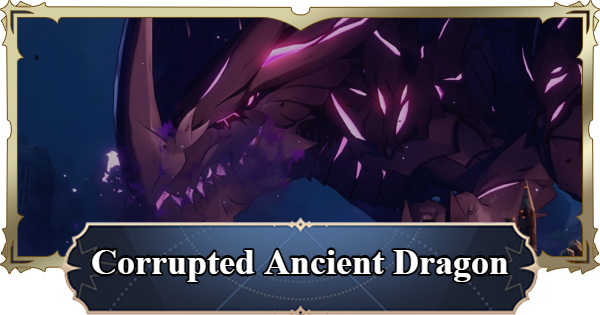 Corrupted Ancient Dragon
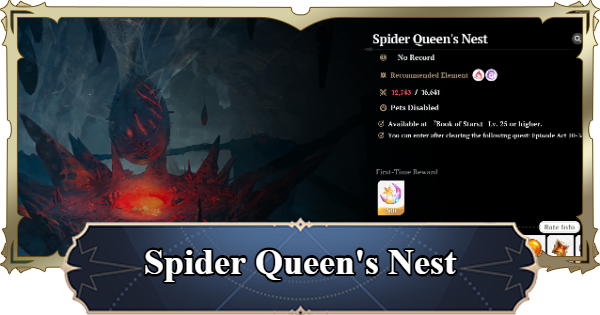 Spider Queen's Nest Guide
