This guide explains how to craft and get a workbench in The Seven Deadly Sins: Origin. Including step by step guide on how to craft and workbench unlock conditions in 7DSO.
| 7DSO Related Articles | ||
|---|---|---|
 How to Craft How to Craft | How to Fish | How to Cook |
Table of Contents
How to Get a Workbench
Unlocked in Act 1, Episode 6

The Crafting feature unlocks in Act 1, Episode 6 as part of the main story progression. It becomes available after completing the tutorial, so make sure to follow and clear the quests shown in the top-left corner of the screen to unlock it.
The Needed Workbench Varies by Item

Depending on the item, different workbenches, such as the Refined Workbench, may be required. When crafting, be sure to check both the required materials and the workbench needed.
Craft a Higher Tier Workbench

You can craft a higher-tier Workbench by selecting "Enhance Workbench" from the Workbench Production screen and using the required materials. Upgrading your Workbench is essential for crafting stronger weapons and higher-quality items.
| Workbench | How to Get |
|---|---|
| Makeshift Workbench | Act 1-6 |
| Sturdy Workbench | Crafted at Makeshift Workbench [Required Materials] Makeshift Workbench ×1 Wood ×8 Polish ×8 Iron Ingot ×8 |
| Refined Workbench | Crafted at Sturdy Workbench [Required Materials] Sturdy Workbench ×1 Wood ×24 Polish ×24 Sticky Adhesive ×10 Silver Ingot ×10 |
| Expert's Workbench | Crafted at Refined Workbench [Required Materials] Refined Workbench ×1 Wood ×50 Polish ×50 Sticky Adhesive ×20 Gold ×10 |
| Artisan's Workbench | Crafted at Expert's Workbench [Required Materials] Wood ×100 Polish ×100 Sticky Adhesive ×40 Platinum Ingot ×15 |
How to Craft
- Place a Workbench Wherever You Like
- Approach the Workbench and Select Craft
- Select the Item You Want to Make
- After Selecting the Item, Specify the Quantity to Craft
- Don't Forget to Claim Your Items After Crafting
Place a Workbench Wherever You Like

You can craft anywhere by placing a workbench. Placing it does not consume any items, so you can start crafting freely.
Place a Workbench Using the Shortcut

You can quickly place a Workbench using the shortcut in the bottom-left corner of the screen. It is automatically registered during the tutorial and can be activated by tapping it (mobile) or pressing Z (PC).
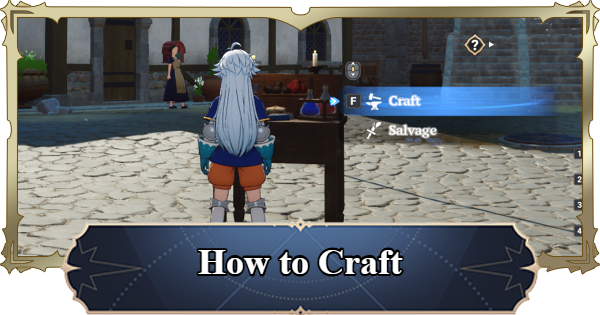
Approach the Workbench and Select Craft

After placing the workbench, interact with it to access crafting functions. In addition to crafting, the workbench also allows you to salvage items.
Select the Item You Want to Make

After opening the Crafting screen, select the desired item from the left panel. Switch between tabs to access and craft different categories, such as potions and equipment.
After Selecting the Item, Specify the Quantity

After selecting an item, set the quantity in the bottom-right corner of the screen to begin crafting. Crafting takes time, so it is recommended to queue items in batches when possible.
Crafting Continues Even If You Leave the Workbench

Even if you leave the workbench while an item is being crafted, the process will continue. If you place a different workbench, you can still collect the previously crafted item from the new one, so it’s fine to start crafting and continue exploring in the meantime.
Don't Forget to Claim Your Items After Crafting

Once crafting is complete, collect the item from the left side of the screen. Tap to claim the crafted item.
How to Salvage
Use Salvage in the Workbench

Salvage is another feature of the Workbench. Here you can disassemble items to obtain different materials. Instead of "Craft", choose "Salvage" at the Workbench to open the Salvage menu.
How to Salvage - Items & Obtainable MaterialsMake Use of Category Tabs & Filters

Use the catergory tabs and filter options to better find materials you want to salvage. However, be careful when choosing multiple items since you may end up salvaging items you don't intend to.
Related Articles