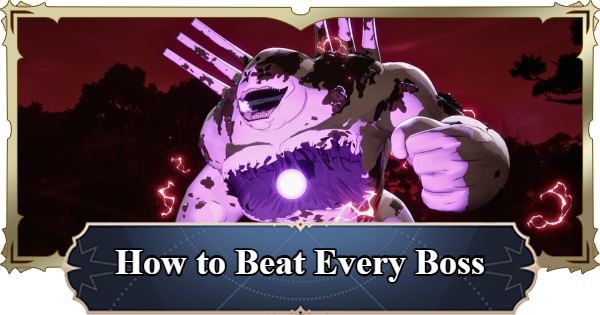
Discover every major boss location in The Seven Deadly Sins: Origin! Read our guide for expert tips on defeating Albion, Banakro, Drake, the Red Demon, and the Gray Demon.
Elite Boss Locations
Liones Elite Bosses


| Elite Boss | Location |
|---|---|
| Bigmoss | East of Bigmoss Habitat Warp Point. |
| Giant Bird | North of Giant Bird's Nest Warp Point. |
| Werebear Chieftain | Southwest of Werebear Camp Warp Point. |
Fairy King's Forest Elite Bosses

| Elite Boss | Location |
|---|---|
| Predatory Wild Screamer | Southeast of Forest of Temptation Warp Point. |
| Spirit of Beautiful Melody | Directly south of the Sea Wind Rock Warp Point. |
| Possessed Fairy | Southeast of Northern Residence Warp Point. |
Wind Cove Waters Elite Bosses

| Elite Boss | Location |
|---|---|
| Mushroom Moss Demon | South of Breezeshade Vale Warp Point, and north of Aquatree Lake Warp Point. |
| Pirate Captain | West of Pirate Den Warp Point. |
Dragon's Grave Elite Bosses

| Elite Boss | Location |
|---|---|
| Draco General | Southwest of Bonegrave Hill Warp Point. |
Sand Valley Elite Bosses

| Elite Boss | Location |
|---|---|
| Bullseye Servants of the Abyss | Northeast of Old Forest Waterfall Warp Point. |
Silent Desert Elite Bosses

| Elite Boss | Location |
|---|---|
| Desert Bandit Lieutenant Tee | Southeast of Bandit Camp Warp Point. |
Desert of Memories Elite Bosses

| Elite Boss | Location |
|---|---|
| Corrupted Specter Kalus | South of Western Dunes Warp Point. Entrance to Boss Arena is through a cave southeast of the Warp Point. |
Field Boss Locations and Guides
| ▼ Banakro | ▼ Molbog |
| ▼ Red Demon | ▼ Scorpy Beast |
Banakro Strategy

| Location | Crescent Moon Island |
|---|---|
| Main Rewards | - Baby Banakro (Pet) - Elemental Fragment - Enhancement Stone - Refinement Stone - Elite Token - Shining Carapace Fragment |
Banakro is a Field Boss highly vulnerable to the Lightning attribute. The fight completely changes when its HP drops to around 25%. A new mechanic triggers where you must dodge a barrage of water spheres from a top-down perspective, followed by a sequence where you must hide behind cover to survive a massive tidal wave. Successfully weaving through these mechanics while keeping up your damage output is the only way to take it down.
Banakro Boss GuideAppears on Crescent Moon Island

Banakro prowls Crescent Moon Island as a Field Boss. You can find Crescent Moon Island situated in the bottom right corner of the world map. Once you've unlocked the area, definitely give this fight a try!
Molbog the Poisonous Toad Strategy

| Location | Northern Wasteland |
|---|---|
| Main Rewards | - Elite Token - Refinement Stone - Spirit Assimilated by Molbog - Enhancement Stone - Mastery Fragments - Mastery EXP - Gold |
Molbog is most vulnerable to Cold. Its attacks typically have a large attack range, and some attacks can even slow your movement. It's easier to challenge Molbog with Ranged characters, but if you choose to play as a melee character, we recommend using hit-and-run tactics.
Molbog Boss GuideAppears in Northern Wasteland

Molbog the Poisonous Toad appears in the Northern Wasteland, which is the northwestern area of the Fairy King's Forest region. Fast travel to the Northern Wasteland Warp Point to reach Molbog quickly.
Red Demon Strategy

| Location | Elder Dragon's Sanctuary |
|---|---|
| Main Rewards | - Red Demon's Blood Crystal - Enhancement Stone - Refinement Stone - Elite Token - Equipment |
The Red Demon is weak to the Earth attribute. There is a catch to this fight: hitting the Red Demon with the Fire attribute will actually grant the boss an Attack buff! On the other hand, if you entirely avoid using Fire attribute attacks, a defense debuff will naturally apply to the boss over time. Keep fire-element characters out of your party for this encounter.
Red Demon GuideAppears in the Elder Dragon's Sanctuary

The Red Demon spawns as a Field Boss in the Dragon's Grave region, just south of the Elder Dragon's Sanctuary Warp Point. Note that story progress is required to unlock this boss.
Scorpy Beast Strategy

| Location | Altar of Wisdom |
|---|---|
| Main Rewards | - Scorpy Beast's Venomous Tail - Enhancement Stone - Refinement Stone - Elite Token - Equipment - Magic Bead - Mastery EXP - Gold |
The Scorpy Beast is weak to Cold. Since it frequently attacks using its tail, pay attention to its tail movements. When it emerges from a sandstorm, use the air currents to predict the direction of its attack.
Scorpy Beast Boss GuideAppears in the Altar of Wisdom

The Scorpy Beast is found next to the Altar of Wisdom Warp Point, which is located towards the center of the Silent Desert region. To spawn the boss, you need to interact with the pedestal in the back. Note that you cannot challenge this boss until you have progressed through Act 10 of the story.
Gray Demon

| Location | Windshear Hollow |
|---|---|
| Main Rewards | - Equipment - Elite Token/Courage Token - Refinement Stone - Enhancement Stone - Magic Beads - Resolution/Destruction/Magic/Fighting Spirit Fragment - Gray Demon Meat - Mastery EXP - Gold |
The Gray Demon is weak to Lightning. You can also create a large opening by stunning, so if you have enough CP, launch an all-out attack to coincide with its Ultimate.
Appears in Windshear Hollow

It appears in Windshear Hollow, located north of the Vanya Area. Please note that you cannot challenge it until you have progressed to Act 12 of the story.
Boss Challenge Unlocks and Guides
Corrupted Guardian Golem

| How to Unlock | Act 1-63 |
|---|---|
| Main Rewards | - Packed Magic Core - Weapon Crafting Blueprint Fragment - Tier Up Stone - Magic Bead - Equipment |
The Corrupted Guardian Golem is weak to Fire and Darkness attributes. Aside from its clearly telegraphed wide-range slams, its moveset consists entirely of close-range melee attacks, meaning you can easily dodge them just by backing away. Keep a close eye on the boss's animations to predict the timing and trajectory of its strikes.
Corrupted Guardian Golem GuideAlbion Mutant

| How to Unlock | Act 2-45 |
|---|---|
| Main Rewards | - Awakened Remnants of the Holy War - Weapon Crafting Blueprint Fragment - Magic Bead - Tier Up Stone - Mastery EXP |
Albion is extremely weak to the Wind and Holy attributes. The key to this fight is staying mobile to dodge its massive swings. Once you create an opening, use the ballista or climb onto Albion to target its core. Hitting that weak point is absolutely crucial to depleting its massive HP pool.
Albion Boss GuideAppears as the Boss of Act 2
Albion serves as the final roadblock in Act 2. Compared to anything you've fought up to this point, its HP pool and area of effect are completely overwhelming. Make sure your party is fully prepared before stepping in.
Act 2 WalkthroughDraco King Drake

| How to Unlock | Act 3-B |
|---|---|
| Main Rewards | - Drake's Magic-Imbued Horn - Weapon Crafting Blueprint Fragment - Magic Bead - Tier Up Stone - Mastery EXP |
Drake is weak to the Earth and Holy attributes. He hits incredibly hard. Failing to dodge his telegraphed strikes will result in catastrophic damage to your party. You need to approach this battle with the strict intention of watching his movements carefully and prioritizing evasion over greed.
Draco King Drake GuideAppears as the Boss of Act 3
Drake is the formidable boss of Act 3. He boasts significantly higher raw Attack power than Albion did in Act 2. Do not challenge him until you have thoroughly enhanced your characters and refined your equipment.
Act 3 WalkthroughCorrupted Warden Orgot

| How to Unlock | Act 3-B |
|---|---|
| Main Rewards | - Warden's Bound Spirit - Weapon Crafting Blueprint - Weapon Crafting Blueprint Fragment - Magic Bead - Tier Up Stone - Mastery EXP |
Orgot is susceptible to the Earth and Darkness attributes. To dodge his powerful shockwave AoE, move out of the range and time your jump to dodge the final slam.
Corrupted Warden Orgot GuideDungeon Unlocks and Guides
| ▼ Gold Dungeon | ▼ Mastery Growth Dungeon |
| ▼ Ferzen Mines | ▼ The Capital of the Dead |
| ▼ Deep Spider Nest | |
Gold Dungeon

| How to Unlock | Act 1-63 |
|---|---|
| Main Rewards | - Gold |
This Dungeon is a great place to farm large amounts of gold. There are no complicated strategies needed, simply use your character skills to defeat the Mimic boss. Definitely challenge this dungeon whenever you're running low on gold.
How to Farm GoldMastery Growth Dungeon

| How to Unlock | Act 1-63 |
|---|---|
| Main Rewards | - Elite Tokens - Mastery EXP |
This dungeon rewards EXP and various tokens necessary for strengthening your character Masteries. Similar to the Gold Dungeon, there are no overly complex tactics required, just do your best to defeat the Boss to reap character enhancement resources.
Character Progression PriorityFerzen Mines

| How to Unlock | Act 5-49 |
|---|---|
| Main Rewards | - Equipment - Mysterious Source of the Long Dead - Weapon Crafting Blueprint Fragment - Magic Bead - Premium Tier Up Stone - Mastery EXP |
The dungeon boss is weak to the Lightning attribute. Please come back once we are finished preparing our strategy guide for this boss!
The Capital of the Dead

| How to Unlock | Act 9-27 |
|---|---|
| Main Rewards | - Equipment - Intact Magic Bead Decoration - Weapon Crafting Blueprint - Weapon Crafting Blueprint Fragment - Magic Bead - Supreme Tier Up Stone - Mastery EXP |
Guila is weak to the Earth attribute, so employ characters like Diane, King, and Elaine to deal damage efficiently.
Guila Boss GuideDeep Spider Nest

| How to Unlock | Act 10-38 |
|---|---|
| Main Rewards | - Equipment - Shakeera's Curse - Weapon Crafting Blueprint - Weapon Crafting Blueprint Fragment - Magic Bead - Supreme Tier Up Stone - Mastery EXP |
The dungeon boss is weak to Fire and Darkness attributes, so bring characters like Tristan or Meliodas to clear this dungeon.
Spider Queen's Nest GuideBoss Strategy Preparations
Register Potions to Your Quick Slots

Before stepping into any boss arena, it is highly recommended that you register recovery potions to your Quick Slots. Having them readily available on your Quick Slots allows you to instantly recover HP in the heat of battle without fumbling through menus.
You can assign items to your Quick Slots directly from your bag's inventory. Remember, recovery potions can be easily crafted at any workbench, so craft a healthy stockpile before major fights!
Enhance Characters and Equipment
Never challenge a boss half-prepared. You should always enhance your characters and equipment to the absolute limits of your current progression cap. Maximizing your stats drastically increases your margin for error and your overall chances of victory.
Character Progression PriorityIf a single normal attack from the boss is wiping out 20% or more of your HP, your enhancements are falling behind. Before retrying the fight, take a step back and review everything tied to your character's stats: Mastery levels, weapon enhancements, and armor refinement.
Basic Tactics for Boss Fights
Reserve Your Stamina for Dodging

Stamina management is life or death in a boss fight. You must conserve your stamina and avoid using your dash for anything other than a reactive dodge. If you recklessly spam your dash just to close the gap or reposition, you will inevitably run out of stamina and find yourself completely unable to dodge when the boss unleashes a devastating area-of-effect attack.
Prioritize Evading AoE Cues
Many bosses rely on massive area-of-effect abilities. Therefore, the moment a red attack range indicator appears on the ground, drop whatever you are doing and sprint out of that zone to guarantee you take zero damage.
Related Articles

 Act 1
Act 1 Act 2
Act 2 Act 3
Act 3 Act 4
Act 4 Act 5
Act 5 Act 6
Act 6 Act 7
Act 7 Act 8
Act 8 Act 9
Act 9 Act 10
 Act 11
 Act 12
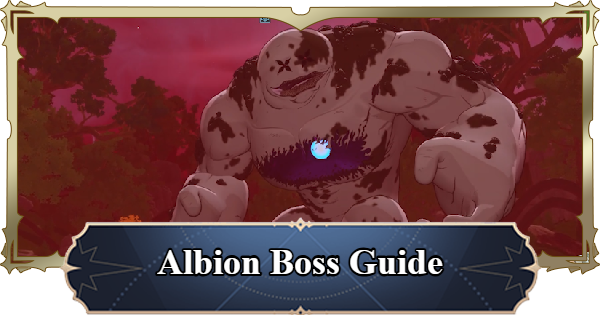 Albion Guide
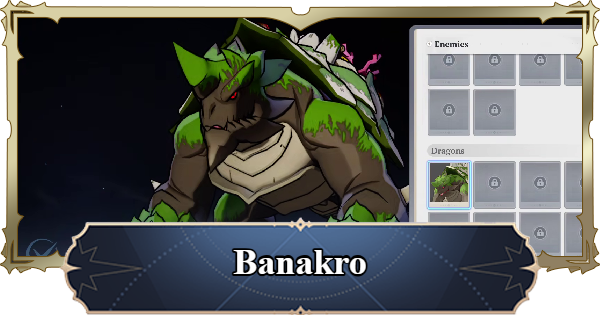 Banakro Guide
 Draco King Drake Guide
 Red Demon Guide
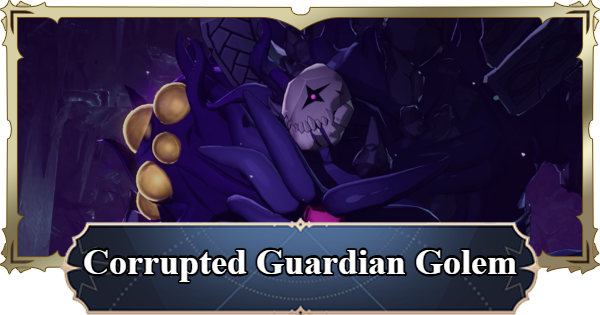 Corrupted Guardian Golem
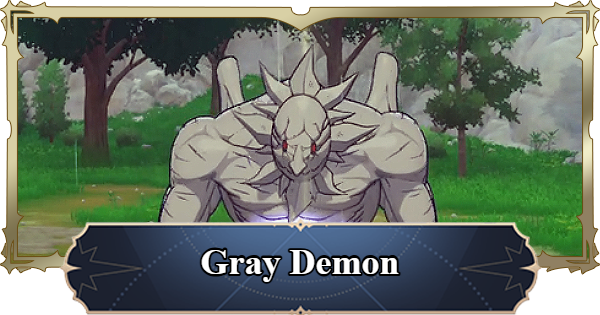 Gray Demon Guide
 Twigo Boss Guide
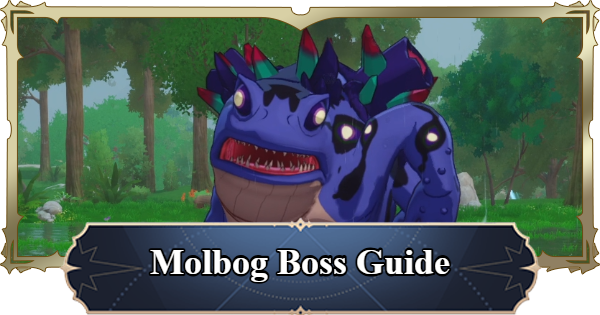 Molbog Guide
 Corrupted Warden Orgot Guide
 Guila Boss Guide
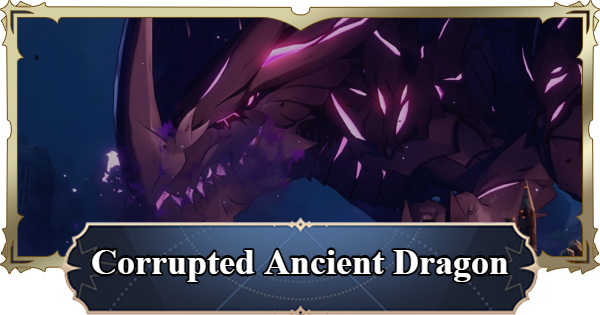 Corrupted Ancient Dragon
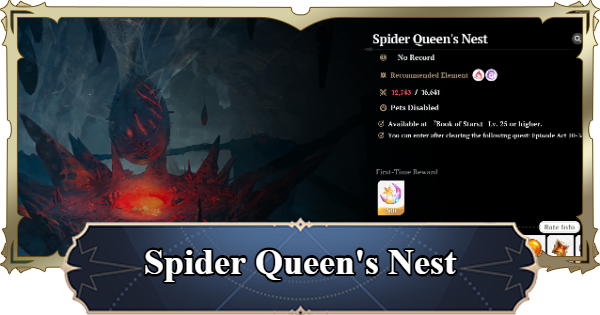 Spider Queen's Nest Guide
