
This is a late-game guide for Let It Die: Inferno (LID). This covers late-game goals, recommended routes, what to prepare, and other tips when your progress is stuck in LID.
| Related Articles | |
| Early Game Guide & Tips | Mid Game Guide & Tips |
| Late Game Guide & Tips | |
Table of Contents
Late Game Goals to Achieve
Defeat Deadnote to Conquer the River of Souls
![]()
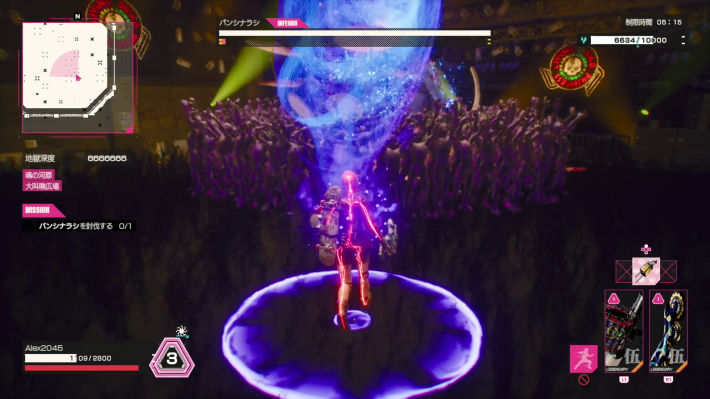
The late game goal is to defeat Deadnote, the boss of the River of Souls. Defeating Deadnote, the current final boss, and evacuating from the River of Souls is one of the main objectives in this game. Deadnote is extremely tough, so prepare for the fight meticulously.
Evacuating From the River of Souls Resets Your Body Rank
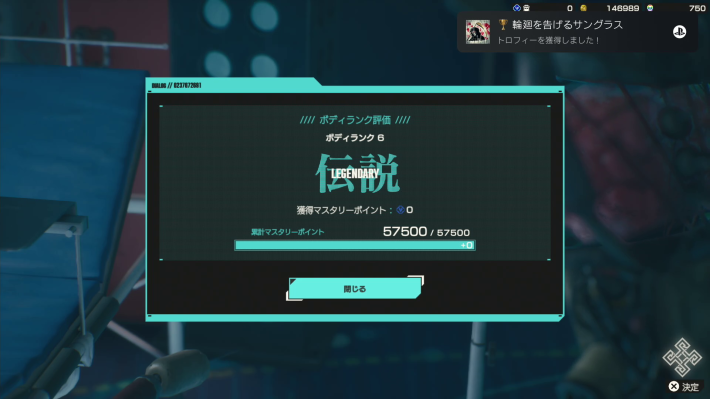
When you evacuate from the River of Souls, your Body Rank will be reset to 1. After evacuating, there are various things to do, such as aiming to defeat Deadnote with a different Body, collecting powerful equipment, or aiming for a high Raider Ranking.
Only One Person Can Evacuate in PvEvP Mode

![]()
In PvEvP mode, other Raiders may intrude during the battle with Deadnote (up to four have been confirmed). While additional players can make the boss fight easier, only one player can escape using the Escape Pod after the boss is defeated. As a result, you may need to fight other Raiders post-battle to secure your evacuation.
No Problem Escaping in PvE Mode or Duo
In PvE mode, where no other Raiders appear, as well as in the 2-player Duo mode, both players can evacuate safely without any issues.
Recommended Route to Deadnote
From the Northwest of the Central Building
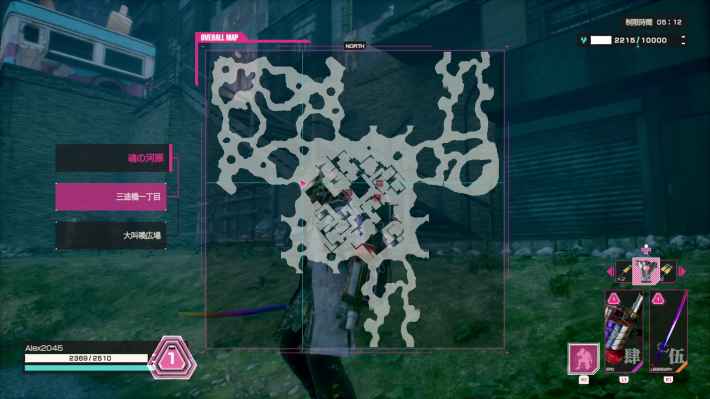
There are multiple Exploration routes to Deadnote. The recommended route is to proceed from the stairs located around the northwest of the building. The path to the Judgment Gates is simple, so you can reach Deadnote quickly.
Map Location
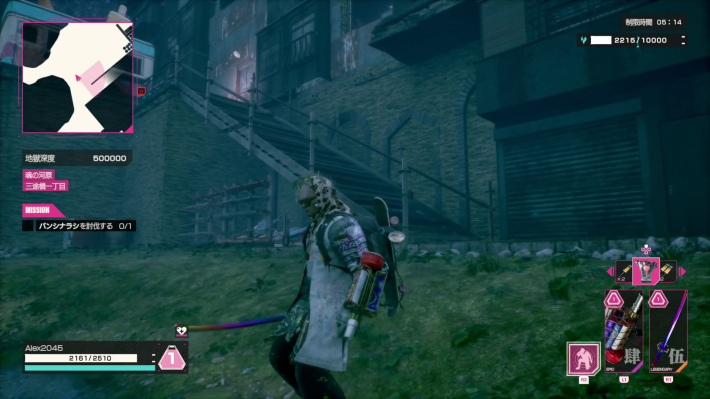
Exterior View
Best Late Game Preparations
- Bring Weapons Specifically for Deadnote
- Equipment-Related Preparations
- Bring Legendary Rarity Weapons
- Use the Fireworks Shooter vs. Humanoids
- Equip Feet with +Movement Speed - Core-Related Preparations
- Secure 3 or more Rage Gauges
- Prioritize Acquiring Cores with Rage Gauge Auto-Regen
- Cores that heal on Counterattack are also powerful
- You'll also want +Inventory Weight - Secure as many healing items as possible
- Once prepared, challenge Deadnote
- If other Raiders are present, cooperate or fight them
Bring Weapons with Deadnote in Mind
| Body | Recommended Weapons |
   |    |
 |   |
 | |
  |  |
This is a list of recommended weapons to use as your main. Since Deadnote is tough, let's bring Weapons with the Deadnote fight in mind.
Recommended Weapons for Timothy and Milene
The Wheel Blade, which is excellent for both Normal Attacks and Deathblows, is recommended. The Katana, whose area-of-effect attack can hit the Fans that Deadnote summons, and the Hammer, which can inflict massive Damage after destroying Deadnote's Exoskeleton, are also good options.
Recommended Weapons for Pearl
You'll want to bring the Arm, which has a powerful Normal Attack and Deathblow. The Rammer and Dekotora, which can chip away at the Exoskeleton and inflict Status Effects with their multi-hit Deathblow, are also useful in the fight against Deadnote.
Recommended Weapons for Ten
For Ten, it is easier to defeat Deadnote if they use either the Wheel Blade, Hammer, or Arm. Bring the best-performing weapon you have.
Recommended Weapons for Patrick and Sasuke
Since the Odachi's Deathblow restores the Rage Gauge when it hits, it is extremely powerful in the Deadnote fight. However, its attack speed is slow, so you'll want to equip a Wheel Blade, Hammer, or Arm in your other hand.
Other Equipment-Related Preparations
Bring Legendary Rarity Weapons
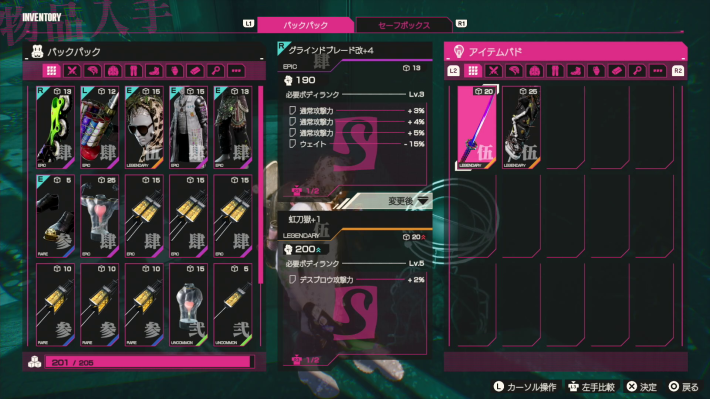
| Main Ways to Obtain Legendary Weapons | - Open the Flesh Door in Area 2 of the Demon Gate Labyrinth - Defeat Nocent Dreamseeker in Area 2 of the Demon Gate Labyrinth - Defeat Mironette in the Demon Gate Labyrinth - Purchase from the Ant Bazaar |
The enemies that appear in the River of Souls are all very powerful, so bring Legendary Rarity Weapons. Legendary Rarity Weapons can potentially be obtained in Area 2 of the Demon Gate Labyrinth, but if you can't get them, purchase them at the Ant Bazaar.
| Related Articles | |
| Dreamseeker Guide | Mironette Guide |
Counter Humanoids with the Fireworks Shooter
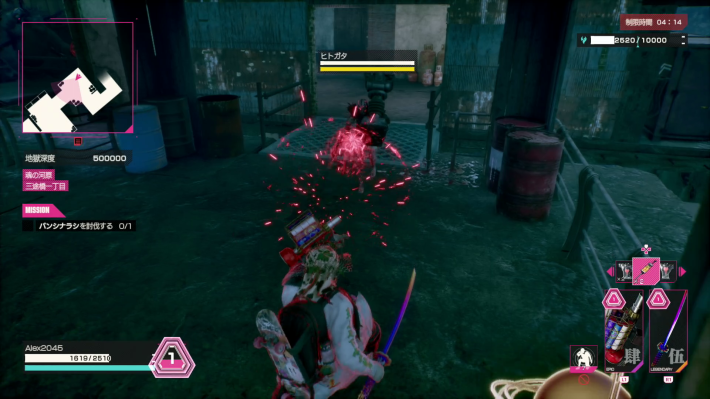
![]()
Secure a Fireworks Shooter as a countermeasure against the dangerous Humanoids, which have extremely high Attack. You can safely defeat them by keeping them in check with the Fireworks Shooter's Normal Attack, or by using Guard Breaks Pattern 2, which can be performed with a combination like the Fireworks Shooter and Katana.
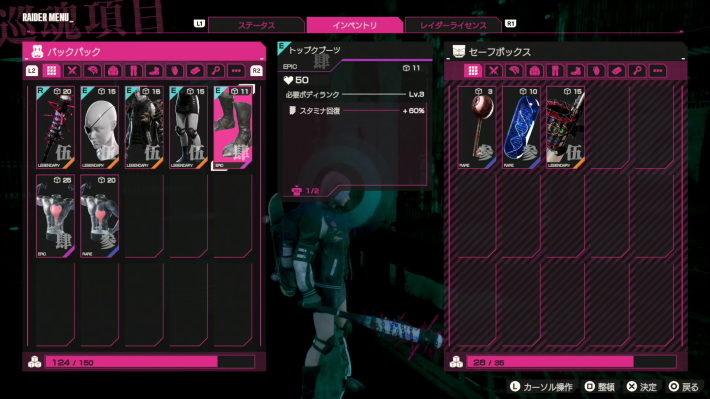
Equip Feet with +Movement Speed
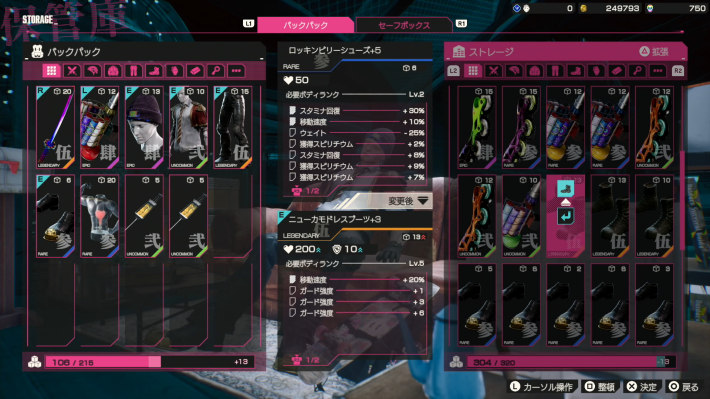
The Deadnote fight has tight windows for dodging attacks, so equip Feet with "+Movement Speed." The best option is the New Camo Chic Boots with "Movement Speed +20%", and the Tropic Threat Boots or Rockin’Billy Shoes with "Movement Speed +10%" are also recommended.
Core-Related Preparations
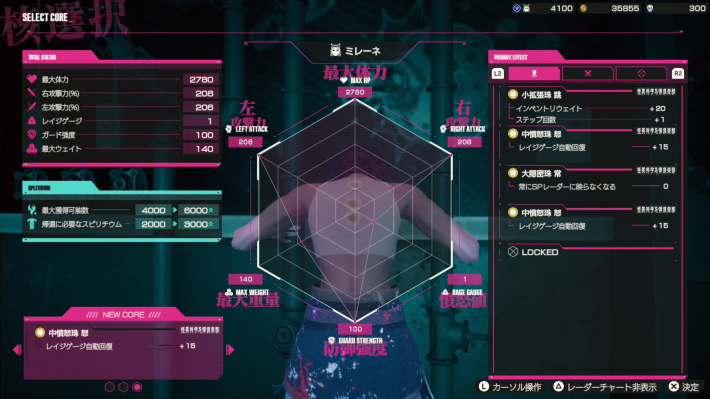
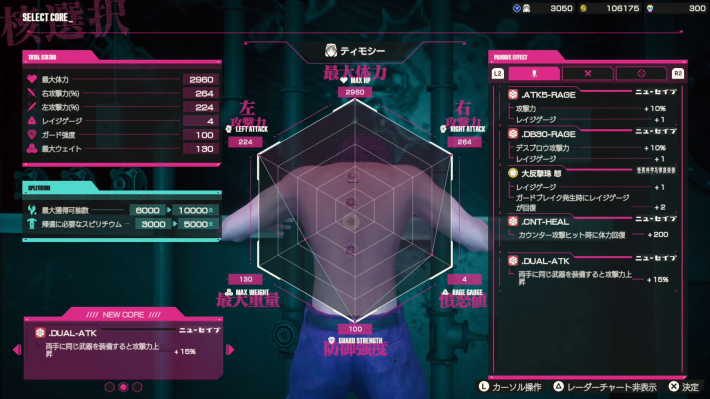
Secure 3 or More Rage Gauges
![]()
Deadnote's attacks can be canceled with a Deathblow. To be able to instantly use a Deathblow when an attack seems unavoidable or a dangerous attack is coming, secure at least 2, and preferably 3 or more, Rage Gauges. It's important to prioritize getting the "+1 Rage Gauge" Core.
 | Ten, Pearl, and Sasuke can increase their Rage Gauge with Mastery. If you don't want to rely on Core luck, increasing it with Mastery is also an option. |
|---|
Best Cores to Use
Prioritize Acquiring Cores with Rage Gauge Auto-Regen
Acquiring the "Rage Gauge Auto-Regen" Core is also recommended. The probability is low, but if you can equip two at the same time, the recovery amount becomes quite large, making it easier to use Deathblows repeatedly.
Cores that Heal on Counterattack are Powerful

![]()
Deadnote summons weak enemies called Fans who only use Bare Hands Normal Attacks. The "Health (per Counterattack)" Core, which allows you to restore Health while defeating Fans with a Counterattack, is powerful. It also helps save healing items on the way to the boss.
Also Take +Inventory Weight

The Deadnote fight is a long battle, so you'll want to bring as many healing items as possible. If you get a "+Inventory Weight" Core, consider taking it.
Secure as Many Healing Items as Possible
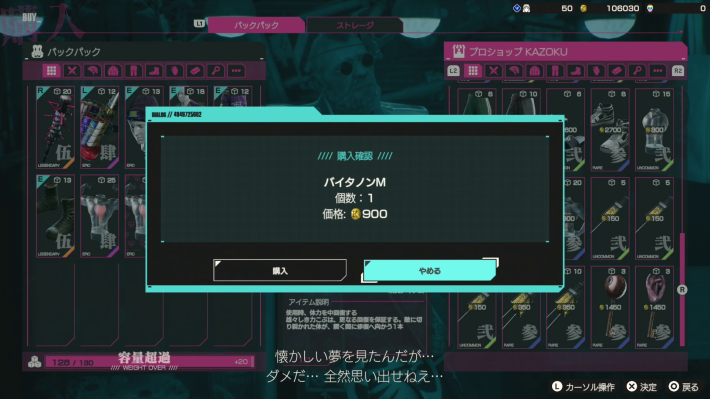
| Main Ways to Obtain Healing Items | |
| Vitanon S/M | - Purchase at the Shop - Purchase from the Ant Bazaar |
| Rage Shot S/M | - Purchase at the Shop - Purchase from the Ant Bazaar |
| Vitanon L | - Obtain through Exploration in the Demon Gate Labyrinth - Purchase from the Ant Bazaar |
| Vitanon DX | - Obtain through Exploration in the River of Souls - Purchase from the Ant Bazaar |
Bring as many Vitanons and Rage Shots as you can carry. L or DX versions are recommended for both due to their high recovery amount, but if you don't have them, it's a good idea to buy M versions at the Pro Shop Kazoku. You can also buy them at the Ant Bazaar, but they are expensive, so only do so when you have funds to spare.
| Related Articles | |
| How to Use Pro Shop Kazoku | How to Use the Ant Bazaar |
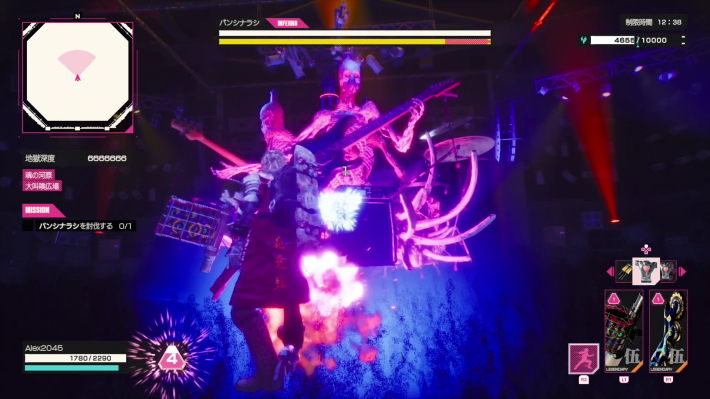
Challenge Deadnote After Preparation
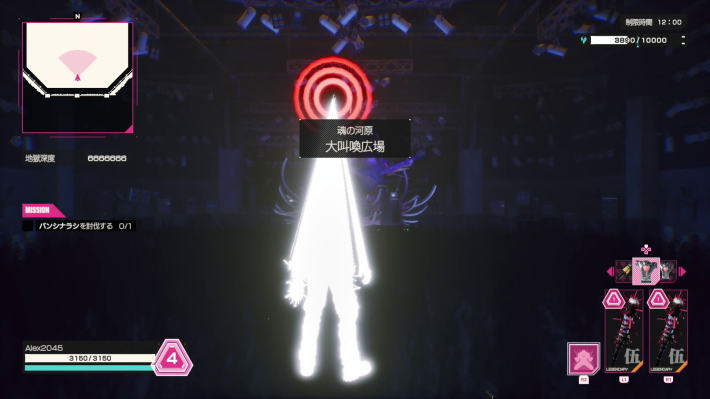
![]()
Once your preparations for Weapons, Armor, Cores, and items are complete, it's time to challenge Deadnote. It's a tough enemy with a wide variety of attacks and up to a third form, so challenge it multiple times to learn how to defeat it.
Cooperate or Defeat Other Raiders If Present in Deadnote Fight
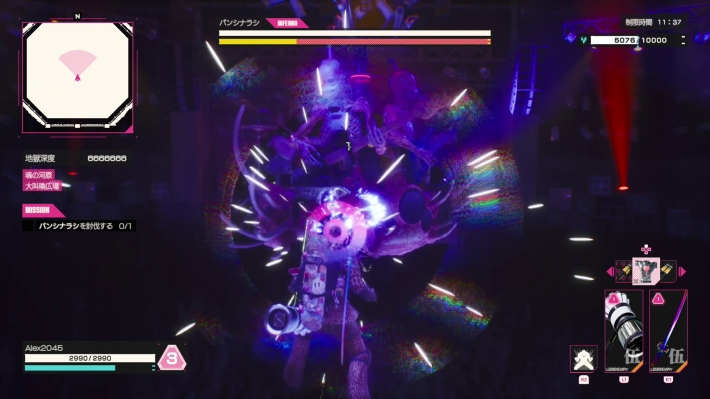
![]()
In the Deadnote fight, other Raiders may invade, or conversely, you may invade another player's battle. Cooperating makes defeating Deadnote easier, but only one person can escape after it's defeated. If you see a path to victory, you can also choose to defeat the other Raiders first.
What to Do When You're Stuck
At Least Bring Back Your Weapons
It is impossible to escape from the River of Souls unless you defeat Deadnote. If you're in a bad situation, such as not getting the Cores you want and being stuck with one Rage Gauge, or using up all your healing items before the boss, put your Legendary Rarity Weapons in the Safe Box and then die.
Restart Until You Get the Ideal Cores
When you don't get your ideal Core setup, such as "Rage Gauge +1" and "Health +200 (per Counterattack)," one option is to explore the River of Souls with disposable equipment and die. You'll have to start over from Body Rank 1, but the difficulty of the fight changes greatly depending on your Cores.
Unlock All Masteries
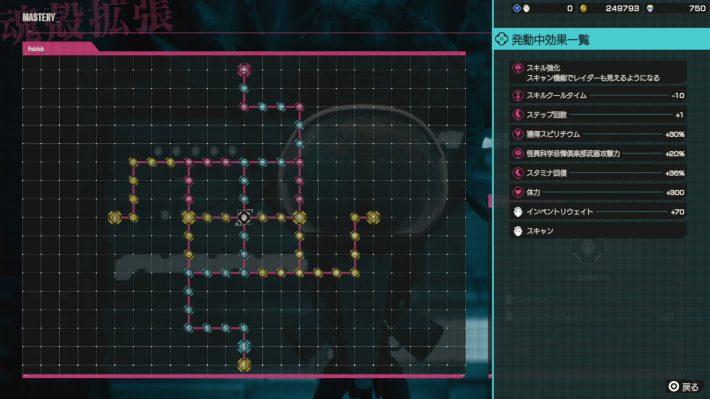
Deadnote is extremely tough, so make sure to unlock all your Masteries.
Stock Up Legendary Rarity Weapons

Legendary Rarity Weapons are essential for conquering the River of Souls. Stock multiple Legendary Rarity Wheel Blades, Katanas, and Bats in your Storage. Having a stock of Legendary Weapons makes it easier to re-challenge when you reach Body Rank 6.
Better to Have Weight -X%
Legendary Rarity equipment has high Weight. If it has a "Weight -X%" Perk, you can carry that many more healing items. Prioritize storing Weapons with a "Weight -X% " Perk.
Purchase Healing Items with Death Metal
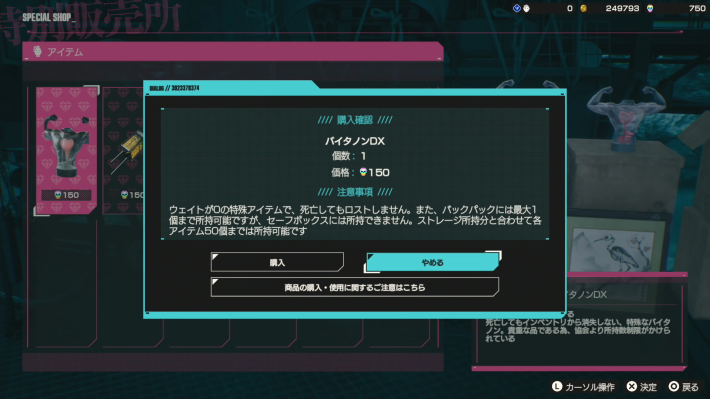
Although you can only carry one of each, the Vitanon DX and Rage Shot DX purchased with Death Metal have 0 Weight and are not lost upon death. Be sure to get them to increase your chances of winning even slightly.
CUSTOM TAG : lid_footer


