
All bosses in LET IT DIE: INFERNO. See all the bosses, their locations, features, walkthroughs for each boss, and what to do when you can't beat any boss in LID.
| Boss Guide | |
| Dreamseeker | Tormented Toll |
| Mironette | Deadnote |
Table of Contents
All Bosses List and Locations
All Boss Locations and Features
| Boss | Details |
 | [Location] Hell Rift Area 3 "Skull Square" [Features] - Requires 1,500 or more SPLithium to challenge - Can be defeated without unlocking Mastery if you prepare countermeasures - Drops Rare rarity equipment upon defeat - This fight is optional |
| [Location] Demon Gate Labyrinth 1st Area "Judgment Gate" Demon Gate Labyrinth 2nd Area [Features] - Found guarding the Judgment Gates in Area 1 - Only Elite variants appear in Area 2 - Can be challenged with Body Rank 3-5 - Easy to obtain Epic Rarity equipment - Defeating them is no longer mandatory |
 | [Location] Demon Gate Labyrinth Area 3 "Black Rope Passage" [Features] - Requires 3,000 or more SPLithium to challenge - Can be challenged at Body Rank 3-5 - Good source for Legendary rarity equipment - This fight is optional |
 | [Location] River of Souls, 2nd Area "Howling Plaza" [Features] - Can be challenged with 3000 SPLithium or more - Can be challenged at Body Rank 1-6 - Obtain the Head equipment Uncle’s Sunglasses - Defeat is mandatory |
 Berserk Mironette Berserk Mironette | [Location] River of Souls, 2nd Area "Howling Plaza" (Added During Season 3) [Features] - Can be challenged with 3000 SPLithium or more - Can be challenged at Body Rank 1-6 - Obtain the Head equipment Uncle’s Sunglasses - Also Obtain New Body Colors - Defeat is mandatory |
 Gomamusha Gomamusha | [Location] Yotsuyama Castle "Fungal Fortress" [Features] - Can be challenged with 3000 SPLithium or more - Can be challenged at Body Rank 1-5 - Obtain Special Crafting "Vitanon M" and "Rage Shot M" - Defeat is mandatory |
Boss Strategies and Walkthrough
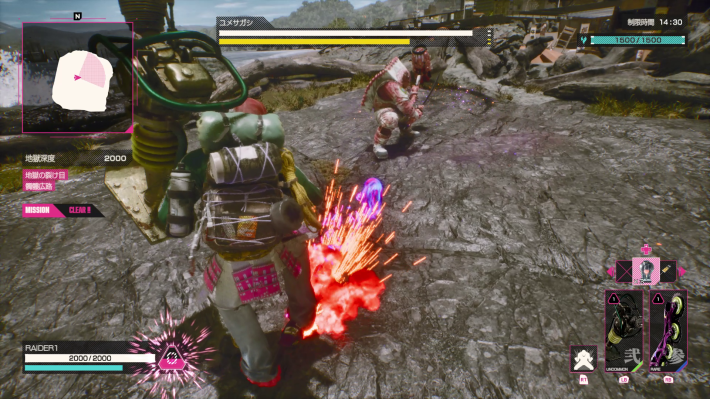
Dreamseeker

![]()
If you skip defeating the Dreamseeker, your attack will likely feel too low in the next Demon Gate Labyrinth.
Learn its patterns, dodge its three dangerous attacks, and break its Exoskeleton to secure the win. Once you understand its moveset, you can defeat it even without unlocking Timothy’s Mastery.
| Related Articles | |
| How to Dodge | How to Use Deathblow |
Tormented Toll


Available from Body Rank 3-5. The Demon Gate Labyrinth’s Judgment Gates are guarded by either a Tormented Toll or a Mad Humanoid, with the Tormented Toll being the weaker and easier opponent. The Nocent Tormented Toll that may randomly appear in Area 2 offers low rewards relative to its difficulty, so it is recommended to avoid engaging it.
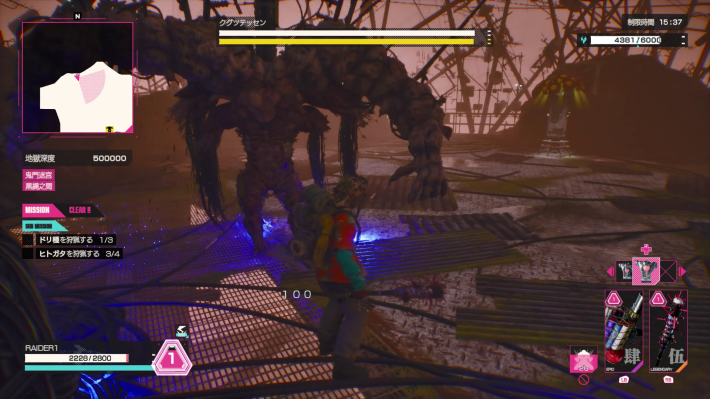
Mironette

![]()
There’s an achievement for "Defeated Mironette," so it’s worth taking on. You can obtain high-Rarity equipment, including Rarity Legendary. It has 3 forms, and its attack patterns change with each phase. Be prepared for a challenging and potentially lengthy battle.
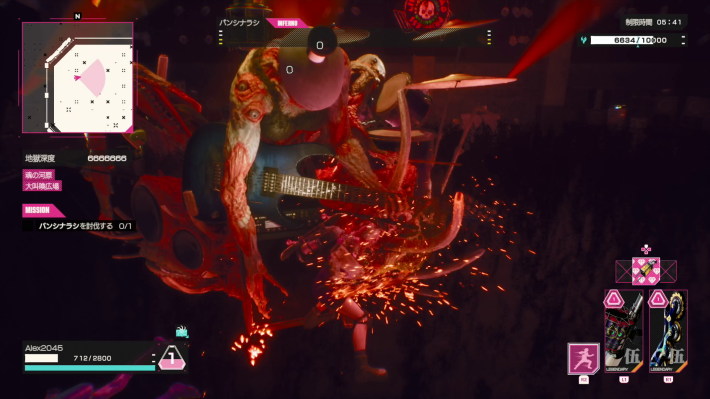
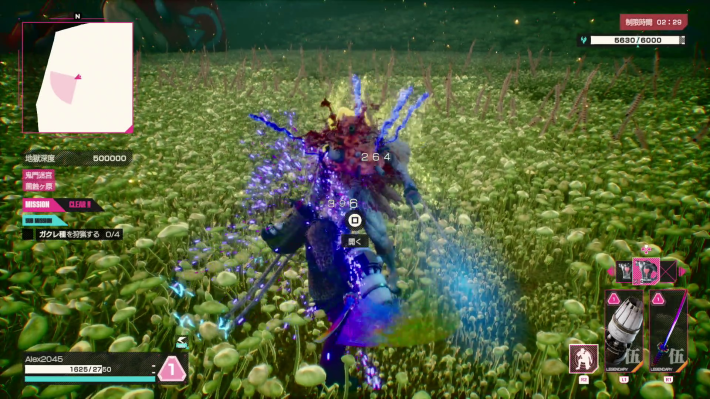
Deadnote (Mandatory)

![]()
There’s an achievement, and you can earn special 0-Weight Head equipment that isn’t lost on death, so defeating this boss is highly recommended. Like Mironette, it has three phases, making the fight quite long. Proper Rage Gauge management and selecting Cores that complement your strategy will be key to winning.
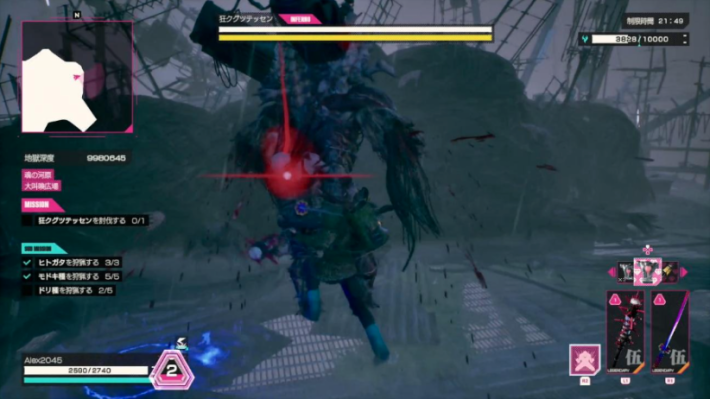
Berserk Mironette (Season 3)
Berserk Mironette is a tougher variant of Mironette introduced in Season 3. You can find this boss at the Howling Plaza within the River of Souls. Taking it down rewards you with Uncle's Sunglasses and new character Body Colors.
Gomamusha (Season 3)
Gomamusha, an ominous warrior created through forbidden research, arrives as a new Season 3 boss. Located within the Hell Gate at Yotsuyama Castle, defeating this boss grants you Legendary Weapons and also unlocks Special Crafting for both Vitanon M and Rage Shot M.
What to Do When You Can't Beat a Boss
Re-Evaluate Your Mastery and Cores
- Unlock and enhance your Mastery
- Re-evaluate your equipment
- Register Blueprints for your main Weapons for equipment crafting
- Bring high-Rarity Weapons
- Change your Body
- Re-evaluate your Cores
If you can't beat a boss, you might be able to turn things around by re-evaluating your equipment, Mastery, and Cores. If it's still too difficult, don't force it. Evacuate using the Escape Pod.
| Related Articles | |
| Mastery Guide | Best Weapon Types for Beginners |
| Best Armor for Beginners | Crafting Guide |
| Body Unlock Conditions | Best Cores to Use |
 Timothy
