How to Beat Deadnote in LET IT DIE: INFERNO. It covers Deadnote's spawn location, strategies on how to beat it, and how to prepare before fighting Deadnote in LID.
| Boss Guide | |
| Dreamseeker | Tormented Toll |
| Mironette | Deadnote |
Table of Contents
Deadnote's Location and Rewards
Appears in Howling Plaza, the Second Area of the River of Souls


Deadnote can be found in Howling Plaza, the 2nd Area of the River of Souls, which you can explore at Body Rank 6. If you have accumulated 3000 or more SPLithium in the River of Souls, you can enter Howling Plaza from the Judgment Gates to fight it. You can only challenge it at Body Rank 6, and you must defeat it.
Immediate Rematch is Not Possible
In the River of Souls, you must either defeat Deadnote and escape or die during Exploration. Also, your Body Rank will be reset to 1 after the Exploration regardless of whether you win or lose, so you'll need to raise your Body Rank back to 6 to try again.
Defeating It Unlocks an Achievement
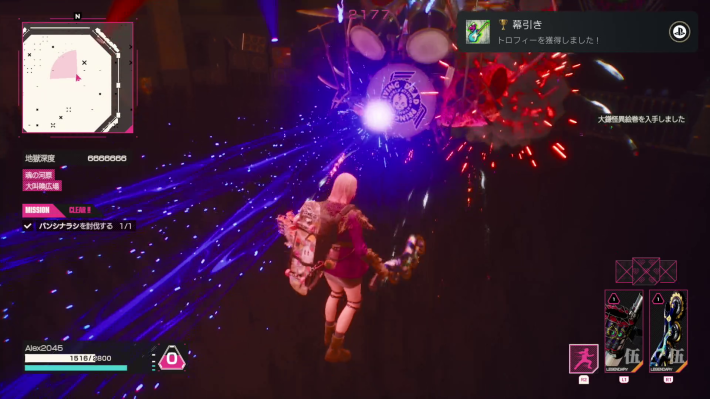
Defeating Deadnote will unlock the Curtain Call achievement.
You Can Get Uncle’s Sunglasses
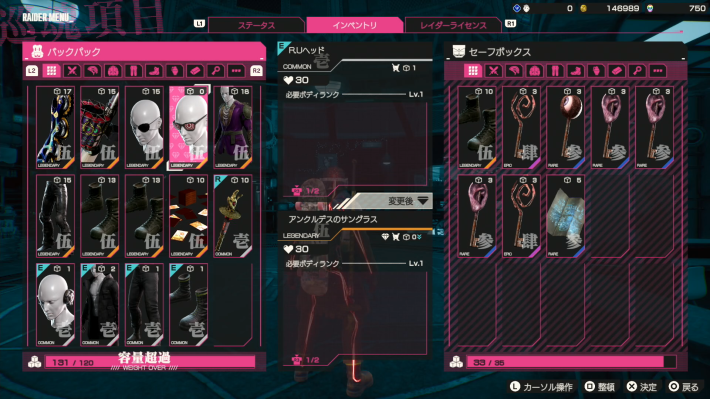
As a reward for defeating Deadnote, you'll receive the Uncle’s Sunglasses Headgear. This is a special piece of Head gear with 0 Weight that you won't lose even if you die.
Notes for Defeating Deadnote
Body Rank Resets to 1

After defeating Deadnote, your Body Rank will return to 1. However, unlike when you die, all the items you were carrying will remain in your Backpack. You can also take home the items that drop upon its defeat.
Store Your Items if You're About to Lose
If it looks like you won't be able to defeat Deadnote in the River of Souls, you should at least put your Legendary Rarity Weapons in the Safe Box to take back with you. However, doing this easily is limited to the Deluxe and Ultimate Editions, which have a larger Safe Box capacity.
Deadnote Battle Strategy Overview
Has 3 Forms, Changes Form When Health Reaches 0

Deadnote changes into 3 different forms, just like Mironette. Its form changes each time you reduce its Health to 0, and you'll complete the fight once you've reduced its Health to 0 a total of three times.
How to Beat MironetteOnly One Person Can Escape After Defeat
When you defeat the third form, one Escape Pod will be dropped. Even if you defeat Deadnote with multiple people, only one person can escape.
Stop Dangerous Attacks with a Deathblow
Deadnote's attacks can be stopped by landing a Deathblow. As mentioned later, you should immediately stop its particularly dangerous attacks with a Deathblow. For this battle, Weapons with a fast Deathblow animation like the Bat and Katana are recommended. The next best options are the Wheel Blade and Hammer, which can attack from a distance.
How to Use Deathblow & Replenish GaugeMost Attacks Inflict Status Effects
Most of Deadnote's attacks are accompanied by abnormal effects such as bubbles, smoke, or skull icons, and being hit may inflict Decay, Corruption, or Curse. Additionally, even when using the same attack, the abnormal effect that appears can vary each time.
3 Types of Abnormal Effects
There are three types of abnormal effects that appear with Deadnote's attacks. The purple bubble-like effect is Decay, the green smoke is Corruption, and the red skull logo is Curse. Being hit by these attacks will inflict the corresponding Status Effect.
| Decay | Corruption | Curse |
|---|---|---|
| | |
Decay is Fatal
Among the Status Effects, Decay is particularly dangerous. While afflicted with Decay, you cannot use healing items, Dodge, Guard, or Deathblow for approximately 16 seconds. You should avoid attacks accompanied by purple bubbles, or interrupt them with a Deathblow.
Break the Exoskeleton to Deal Damage
You can't deal much Damage to Deadnote without breaking its Exoskeleton. Landing a Deathblow can significantly reduce the Exoskeleton gauge, so use them often.
Opening is About 7 Seconds
Breaking the Exoskeleton creates an opening of about 7 seconds, so use this time to deal Damage with Normal Attacks. If your Rage Gauge is full enough, using an additional Deathblow will allow you to deal even more massive Damage efficiently.
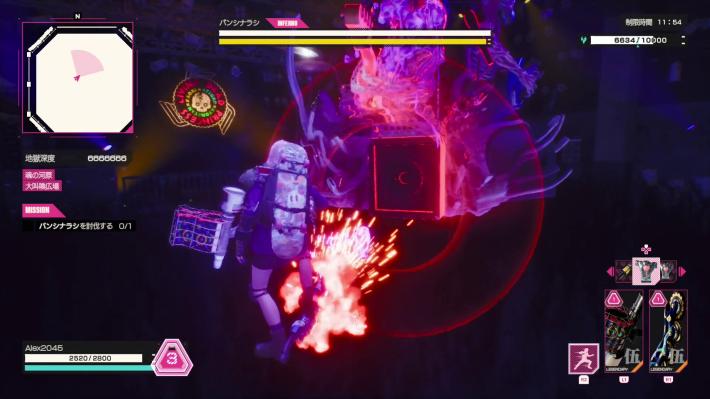
How to Beat Deadnote's First Form
Dodge Sideways When a Blue Light Comes from the Bass
When the character playing the bass comes to the front and a 'blue light + multiple orbs' appears, it will drop lightning 3 times in a row in front of it. If you see the effect, you can evade the attack by running to the left or right.
Defeat Fans at the Right Time
Deadnote will occasionally summon enemies called Fans. Fans only use Bare Hands Normal Attacks, so if you have Cores like 'Health (per Counterattack)', you can aim to restore your Health. Make sure to defeat the Fans after evading Deadnote's attacks.
Best Cores to Use (Early to Late Game)Move Away When You See a Red Skull in Front of the Drums
When a red skull logo appears in front of the drums and the ground around the bass drum glows red, it's a sign that the Area will be caught in an explosion. It's impossible to evade if you're near Deadnote, so if you're close, immediately run out of the attack's range.
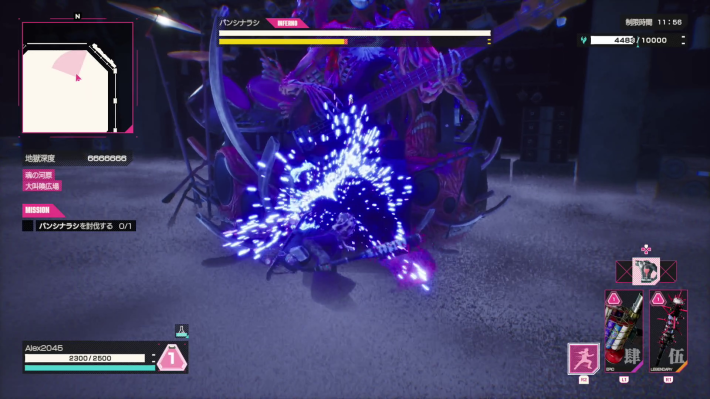
Use a Deathblow Immediately When You See the Blue Beam
When a blue beam extends to the left and right, it will immediately start rotating and scattering light projectiles. These are difficult to evade, so as soon as you see the blue laser, get close and use a Deathblow to stop the attack. You'll want to keep at least one bar of your Rage Gauge saved for this attack.
Also Evade the Multiple Orbs + Red Ring of Light from the Speaker
If you see multiple orbs and a red ring of light in front of the speaker, it will fire multiple energy-like projectiles. Since it's difficult to evade without rotating around Deadnote, keep moving left or right to dodge once you see the red ring.
Walk to Evade If You Only See a Red Ring of Light
An effect with only a red ring of light signals a homing projectile attack. Move around Deadnote's perimeter and keep running until the projectile disappears. If your Feet gear has a 'Movement Speed +10' or higher Perk, you can avoid being caught without having to Dash.
Dodge When Red Particles Emerge from the Speaker
When red particles come out of the speaker, it will immediately fire an energy projectile forward. The projectile is fast, but you can evade the attack by dodging to the left or right after Deadnote stops moving.
Move Away When the Ground Glows in a Fan Shape
After a red skull appears and the ground glows red in a fan shape, it will unleash a shockwave forward. This attack won't hit you even if you're in front of it, as long as you're a certain distance away from Deadnote. If you are close, move to Deadnote's side and then Dodge.
Move Away When a Giant Circle Appears on the Ground
When a giant red circle appears on the ground centered on Deadnote, the area within it will explode. You can escape the attack's range by quickly backstepping to create distance.
Prepare For Melee Attacks If It Raise the Bass
If multiple orbs emerge from the speaker and it raises its bass, it's a sign of a melee attack. The attack has a wide range and is difficult to avoid, so block it with Guard. Alternatively, when this attack comes, it's slightly easier to evade if you move to the "left side" facing Deadnote.
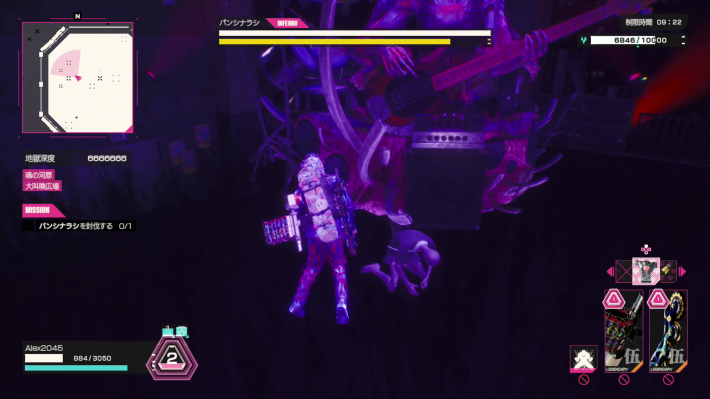
How to Beat Deadnote's Second Form
Mostly Uses 2-Hit Combos
In its second form, it seems to perform two of its first form's attacks randomly and without any openings. Make sure you only attack after evading two of Deadnote's attacks.
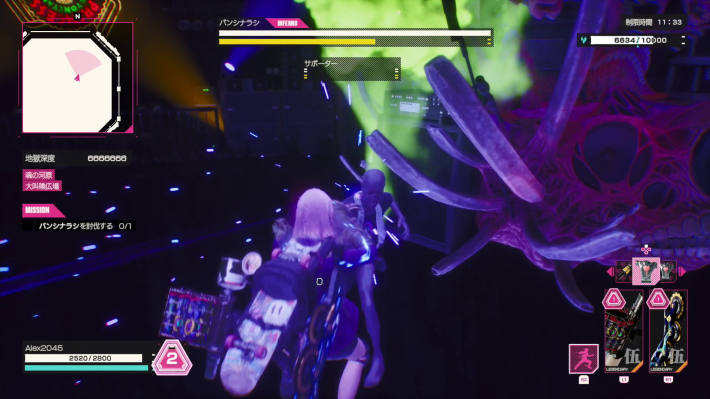
Wide-Range Attack When Its Body Glows Yellow
If its whole body glows yellow, it's a sign that it will perform a series of wide-range attacks. Since they are difficult to evade, be sure to quickly use a Deathblow to stop this attack without fail.
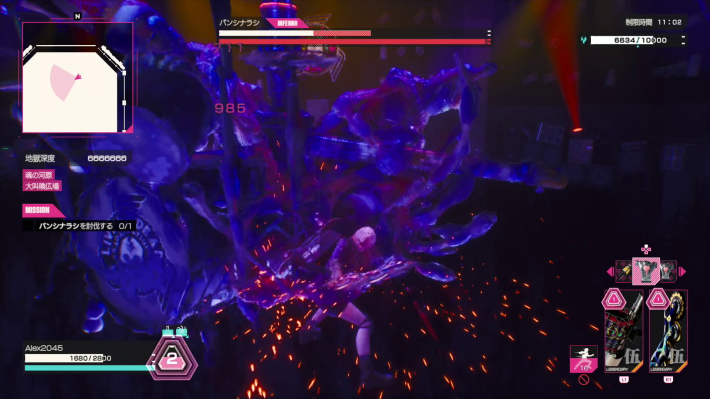
How to Beat Deadnote's Third Form
Dodge 2 Seconds After the Purple Light Converges
When you see an animation where a purple light converges on the speaker, showing a line of fire, a beam attack is coming. It will track the player until the last second before firing, so Dodge sideways about 2 seconds after you hear the converging sound to evade it.
Can Also Become a Spinning Beam
When Deadnote's Health gets low, it will fire another purple beam after rotating. This series of attacks is very difficult to evade, so stop the attack with a Deathblow as soon as the purple light starts to converge.
The Audience's Appearance is an Opportunity to Attack
When the audience appears, it's your chance to attack. The first layer of the audience can be destroyed with 1 Normal Attack, the second with 2, and the third with 3. At this time, Deadnote's Exoskeleton gauge will be almost gone, and if you land another hit right after defeating the audience, Deadnote will stagger.
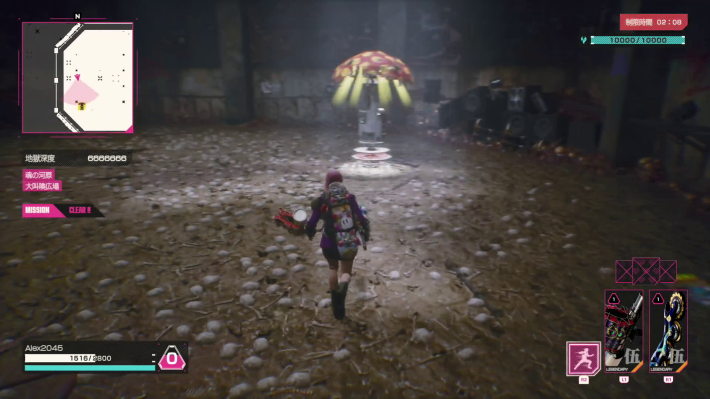
Take Massive Damage if You Ignore the Audience
When the audience appears, quickly attack to destroy the Exoskeleton. If about 10 seconds pass after the audience appears, it will unleash an attack that deals over 2000 Damage.
There Will Be Two Fans
The number of Fans Deadnote summons increases to two. The Fans themselves are weak, but it's dangerous if you're attacked by them and your movement is stopped when you're trying to evade an attack or use a Deathblow. Defeat them quickly between Deadnote's attacks.
Sets Explosives with a Blue Ring of Light
Along with an animation of a blue ring of light from the speaker, it will place numerous blue orbs on the ground. These are all explosives that will explode on contact. Move carefully to avoid touching them.
Tips for Beating Deadnote
Guide Video
Body, Core, and Weapon Conditions to Defeat
To stop hard-to-evade attacks, the more Rage Gauge you have, the better. If your Core combination isn't great, let yourself be defeated in the River of Souls without any equipment and start over from Body Rank 1.
| Equipment, etc. | Conditions |
| Body | Ten |
| Core | - Inventory Weight +20 - Dodge Count +1 - Health (per Counterattack) +200 - Rage Gauge +1 - Rage Gauge Recovery on Guard Breaks +2 - Health (per Body Rank) +50 - Health +100 - Health Recovery Item Effect +50% |
For Weapons, Legendary Rarity Bat, Katana, or Wheel Blade are recommended.
You'll Want at Least 3 Rage Gauge Bars

The fight against Deadnote revolves around attacking with Deathblows. It becomes easier to fight if you challenge it with at least 2, and preferably 3 or more, Rage Gauge bars. If you're planning to defeat Deadnote, prioritize getting the Rage Gauge +1 Core if it appears.
Counter-Healing is Also a High Priority
The Fans summoned by Deadnote only use Bare Hands Normal Attacks, making them easy to Counterattack. If the 'Health (per Counterattack)' Core appears, prioritize getting it. The next best is 'Health (per Kill),' but the amount of healing is a bit unreliable.
How to Guard and CounterattackCounter with the "Status Effect Resistance +50%" Core
Getting hit by Deadnote's attacks can inflict Status Effects. It's especially dangerous if you get the Decay status, which limits you to only attacking and moving. To counter Status Effects, consider choosing the "Status Effect +50%" Core.
Prepare the Maximum Amount of Healing Items
The battle with Deadnote is guaranteed to be a long one, so Cores like "Inventory Weight +" and "Health Recovery Item Effect +50%" are also effective. Bring as many Vitanons and Rage Shots as you can.
Bring Vitanon DX

To be fully prepared, you'll also want to bring Vitanon DX and Rage Shot DX, which can be purchased with Death Metal. You can only carry one of each, but Vitanon DX restores 1500 Health, and Rage Shot DX fills two bars of your Rage Gauge.
Equip Feet Gear with "Movement Speed +"

Deadnote's attacks are easier to evade if you equip Feet gear with "Movement Speed +". followed by the Tropic Threat Boots or Rockin’Billy Shoes, which give "Movement Speed +10%".
Evade Enemy Attacks and Then Strike
In the Deadnote fight, the basic flow is to evade the enemy's attack, then quickly get close and land 2-3 Normal Attacks. When your Rage Gauge is nearly full, use a Deathblow to deal Damage as well.

