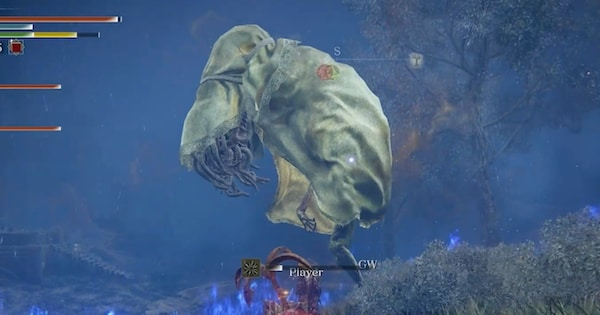
Wormface is a boss in Elden Ring Nightreign. Learn its weaknesses, locations, and strategies to defeat it effectively.
List of All BossesTable of Contents
Wormface Weakness & Resistances


Wormface Weaknesses & Resistances
Effectiveness: A+ > A > B > C > -
| Standard | Slash | Strike | Pierce | Magic | Fire | Lghtng | Holy |
|---|---|---|---|---|---|---|---|
| A+ | A+ | A+ | A+ | A+ | A+ | A+ | C |
| Poison | Rot | Bleed | Frost | Sleep | Madness | Death | |
| B | B | B | B | B | - | - | - |
Parry & Critical Strike
| Parry | Critical Strike |
|---|---|
| - | - |
Note: The weaknesses listed here are based on the original Elden Ring.
Is Wormface Strong?
Wormface Boss Strategy and Tactics
Don't Stay Too Close to the Boss
Being near the boss gradually fills the death gauge. If the gauge fills completely, it's instant death, so create distance before that happens. The gauge will gradually recover if you move away from the boss. Also, Rejuvenating Boluses, obtainable from lesser enemies, can also be used to reduce the gauge accumulation to zero.
Split Roles on Adds and Boss Damage

Along with Wormface, lesser enemies like zombies and rats will appear. These lesser enemies will keep respawning even if defeated, but they can't be ignored, so it's easier to manage if you assign roles for clearing lesser enemies and damaging the boss. Since the death gauge fills when near the boss, it's recommended that the character damaging the boss can attack from a distance.
Maneuver to Avoid Being Grabbed
Getting grabbed by Wormface will result in heavy damage. You are more likely to be grabbed when attacking its feet with melee weapons, so pay attention to its hand movements when you are near its feet.
Elden Ring Nightreign Related Guides
 ▶Boss List
Nightlord Strategy Guides
| Nightlord Bosses | |||||
|---|---|---|---|---|---|
| Tricephalos | Gaping Jaw | Sentient Pest | |||
| Augur | Equilibrious Beast | Darkdrift Knight | |||
| Fissure in the Fog | Final Boss | ||||
Night Bosses
| Tricephalos Day 1 Boss | Tricephalos Day 2 Boss | ||
|---|---|---|---|
 2 Demi-Human 2 Demi-Human |  Bell Bearing Hunter Bell Bearing Hunter |  Tree Sentinel Tree Sentinel |  Fall Omen Fall Omen |
| Gaping Jaw Day 1 Boss | Gaping Jaw Day 2 Boss | ||
 The Duke's Dear Freja The Duke's Dear Freja |  Ancient Dragon Ancient Dragon | ||
| Fissure in the Fog Day 1 Boss | Fissure in the Fog Day 2 Boss | ||
 Ulcerated Tree Spirit Ulcerated Tree Spirit |  Dancer of the Boreal Valley Dancer of the Boreal Valley | ||
| Sentient Pest Day 1 Boss | Sentient Pest Day 2 Boss | ||
 Smelter Demon Smelter Demon |  Nox Dragonkin Soldier Nox Dragonkin Soldier | ||
| Augur Day 1 Boss | Augur Day 2 Boss | ||
 Wormface Wormface |  Godskin Bosses Godskin Bosses | ||
| Equilibrious Beast Day 2 Boss | |||
 Golden Hippopotamus Golden Hippopotamus | |||
Powerful Enemies
| Powerful Enemies | |
|---|---|
 Flame Chariots Flame Chariots |  Night Idol Boss Night Idol Boss |

