Demi-Human Queen and Demi-Human Swordmaster are boss in Elden Ring Nightreign. Learn its weaknesses, locations, and strategies to defeat it effectively.
List of All BossesDemi-Human Queen and Demi-Human Swordmaster Weakness & Resistances


Demi-Human Queen Weaknesses & Resistances
Effectiveness: A+ > A > B > C > -
| Standard | Slash | Strike | Pierce | Magic | Fire | Lghtng | Holy |
|---|---|---|---|---|---|---|---|
| A+ | A+ | A+ | A+ | A+ | A+ | A+ | A+ |
| Poison | Rot | Bleed | Frost | Sleep | Madness | Death | |
| A+ | A+ | B | B | B | - | - | - |
Parry & Critical Strike
| Parry | Critical Strike |
|---|---|
| - | - |
Note: The weaknesses listed here are based on the original Elden Ring.
Is Demi-Human Queen and Demi-Human Swordmaster Strong?
Demi-Human Queen & Swordmaster Strategy and Attack Patterns
Pair Up to Take Down the Swordmaster
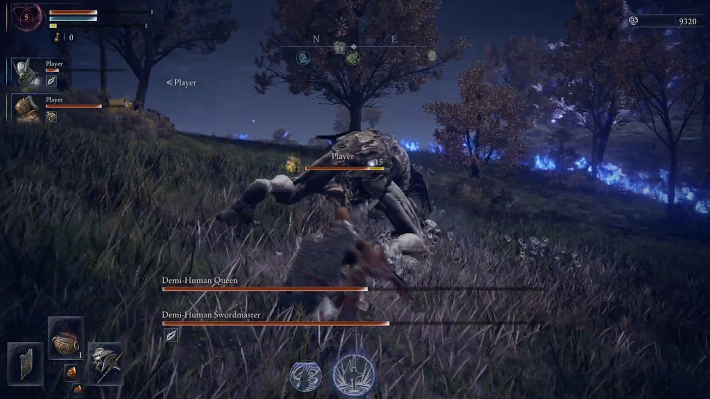
When the Demi-Human Queen fight begins, team up with two people to defeat the Demi-Human Swordmaster. The Swordmaster staggers very easily, so if two people attack, it's possible to defeat them quickly with minimal damage. One person should keep the Demi-Human Queen's attention.
Swordmaster: Counter After Attacks
The Demi-Human Swordmaster has large openings after a series of attacks, so you can attack efficiently by focusing on those. In multiplayer, it's good to have two players flank it and attack from the front and back
After Swordmaster's Defeat, Queen Uses Physical
After defeating the Swordmaster, the Queen will throw away her stave and primarily use physical attacks with her body. The discarded stave also has a hitbox, so be careful not to get hit by it.
Use AoE to Damage Queen and Mobs
When only the Queen remains, multiple lesser enemies will be summoned, and they will try to interfere. The lesser enemies don't have much health, so aim for the Queen while catching them in area-of-effect attacks.
Elden Ring Nightreign Related Guides
 ▶Boss List
Nightlord Strategy Guides
| Nightlord Bosses | |||||
|---|---|---|---|---|---|
| Tricephalos | Gaping Jaw | Sentient Pest | |||
| Augur | Equilibrious Beast | Darkdrift Knight | |||
| Fissure in the Fog | Final Boss | ||||
Night Bosses
| Tricephalos Day 1 Boss | Tricephalos Day 2 Boss | ||
|---|---|---|---|
 2 Demi-Human 2 Demi-Human |  Bell Bearing Hunter Bell Bearing Hunter |  Tree Sentinel Tree Sentinel |  Fall Omen Fall Omen |
| Gaping Jaw Day 1 Boss | Gaping Jaw Day 2 Boss | ||
 The Duke's Dear Freja The Duke's Dear Freja |  Ancient Dragon Ancient Dragon | ||
| Fissure in the Fog Day 1 Boss | Fissure in the Fog Day 2 Boss | ||
 Ulcerated Tree Spirit Ulcerated Tree Spirit |  Dancer of the Boreal Valley Dancer of the Boreal Valley | ||
| Sentient Pest Day 1 Boss | Sentient Pest Day 2 Boss | ||
 Smelter Demon Smelter Demon |  Nox Dragonkin Soldier Nox Dragonkin Soldier | ||
| Augur Day 1 Boss | Augur Day 2 Boss | ||
 Wormface Wormface |  Godskin Bosses Godskin Bosses | ||
| Equilibrious Beast Day 2 Boss | |||
 Golden Hippopotamus Golden Hippopotamus | |||
Powerful Enemies
| Powerful Enemies | |
|---|---|
 Flame Chariots Flame Chariots |  Night Idol Boss Night Idol Boss |

