 Mina
Mina Fighter
 Destroyer
 Support
 Assassin
 Fire
Fire Ice
Ice Wind
Wind Earth
Earth Lightning
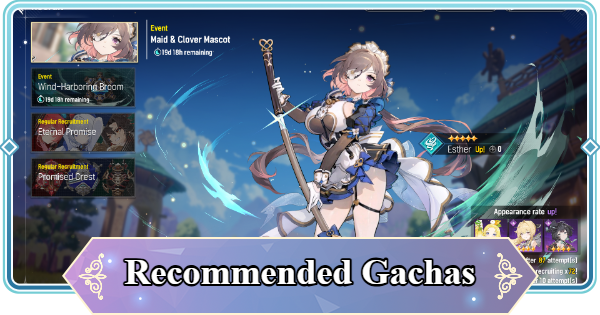
In Mongil: STAR DIVE, prioritize pulling from the limited-time character banners! Read below for additional banner recommendations, as well as an explanation of the pity system!
Table of Contents
Recommended Banners
Currently Available Banners
| Summons Name | Summons Details |
 | [Recommendation] ★★★★★ [Availability] Until May 5 (UTC) [Pickup Target]  |
 | [Recommendation] ★★★★・ [Availability] Until May 5 (UTC) [Pickup Target] Wind-Harboring Broom |
 | [Recommendation] ★★★★★ [Availability] Ends after 20 pulls |
 | [Recommendation] ★★★★・ [Availability] Ends after 50 pulls |
 | [Recommendation] ★★★・・ [Availability] Always Available |
 | [Recommendation] ★★・・・ [Availability] After New Friends Ends (Permanent) |
Prioritize Esther and New Expedition
The most recommended Banner in Mongil are Esther's Maid & Clover Mascot and New Expedition. Esther excels as a main DPS against both groups and single targets, while New Expedition guarantees one 5★ character within 20 pulls, so make sure to pull on both.
Consider the Wind-Harboring Broom
Esther's signature Artifact, Wind-Harboring Broom, increases the Attack and Wind damage of Wind Assassins. If you already have Esther, we recommend trying for the Wind-Harboring Broom to boost Esther's damage output.
Limited-Time Banners Guide
Esther is a Main DPS


| Banner | Maid & Clover Mascot |
| Availability | Until May 5 (UTC) |
| Recommendation | ★★★★★ |
| Pickup Character | Esther |
Esther is an Assassin who excels as a main attacker. Her ability to handle both groups and bosses is exceptional, making her a character you'll definitely want to get.
Dust Cloud Makes Her Undetectable


When inside the Dust Cloud generated by Esther's Special Skill, she inflicts Confusion
on nearby mob enemies. Confused enemies cannot detect Esther, allowing her to fight from relative safety even when facing a group.
Dust Cloud Empowers Basic Attacks

Esther's Basic Attacks are enhanced while she is inside a Dust Cloud. Combined with the Confusion effect, Esther can dispatch large groups of enemies despite being an Assassin.
Ultimate Inflicts Massive Damage

Esther's Ultimate Skill has a very high damage multiplier, making it a simple yet powerful skill. When a boss is Staggered, her damage output increases even further thanks to the Assassin Role's effect.
Deals Damage Even When Off-Field

Even when controlling another character, Esther can still deal damage with her Support Skill. The condition is very easy to meet, only requiring an ally to attack an enemy, and since you don't need to constantly control Esther, she fits into any team composition.
Esther Guide - Best Build & Team Comps
Esther's Signature Artifact

| Banner | Wind-Harboring Broom |
| Availability | Until May 5 (UTC) |
| Recommendation | ★★★★・ |
| Pickup Artifact | Wind-Harboring Broom |
Esther's signature Artifact, Wind-Harboring Broom, increases the Attack and Wind damage of Wind Assassins, so if you want to boost Esther's damage output, you should also pull for the Wind-Harboring Broom.
 | It's unclear when or if the Wind-Harboring Broom will return, so we recommend pulling for it during its availability period if you want it. |
|---|
Wind-Harboring Broom - Effects & Stats
Permanent Banners and Recommendations
Start with New Expedition

After starting the game, pull on the New Expedition banner, which guarantees one 5★ character within 20 pulls. We recommend using the free 20 Compasses of Promise you receive from your in-game mail to pull on the New Expedition banner.
| The New Expedition banner is discounted at 8 Compasses of Promise per 10 pull. Meaning you only need 16 Compasses of Promise to finish the banner. |
|---|
List of Available 5-Star Characters
 |  |  |
 |  |  Ophelia Ophelia |
Select a New Character in New Friends

Pulling 20 times on the New Expedition banner will remove it and replace it with New Friends. The New Friends banner allows you to guarantee one permanent 5★ character, so you should select a 5★ character you don't have yet.
Consider Jiwon for Esther

If you are trying, or already have Esther, selecting Jiwon is highly recommended since Jiwon is a Support who specializes in buffing Wind characters.
Jiwon Guide - Best Build & Team Comps
Pick an Artifact for Owned Characters

Promised Crest is a permanent, Artifact-only banner that guarantees a selected 5★ Artifact. Pick the best-in-slot Artifact for the permanent 5★ character you obtained from New Expedition or New Friends.
List of Available 5-Star Artifacts
 Subzero Verdict Subzero Verdict |  Exquisite Dragon Fire Exquisite Dragon Fire |  Savvy Investment Savvy Investment |
 Melody Played on Heartstrings Melody Played on Heartstrings |  To Whom the Dokkaebi Kneel To Whom the Dokkaebi Kneel |  Held Close by Nature Held Close by Nature |
Pull Only After New Friends
Pulling on Promised Crest consumes Compasses of Promise. Since this is the same currency used in New Expedition and New Friends, you should prioritize the character banners and obtain a 5★ character before pulling from this banner.
Postpone Pulling on Eternal Promise
After exhausting the New Friends banner, it will be replaced with the Eternal Promise banner. From Eternal Promise, you can obtain random 5★ characters or Artifacts, so only pull from this banner after if you have extra Compasses and/or aren't interested in a selectable 5★ Artifact.
Pull Rates and Pity System
Character Summon Pickup Rate is 1%
| Item | Rate |
| 5-Star Pickup Character | 1% |
| 4-Star | 6% - Rate-up targets: 1.00002% - 4-Star Characters: 0.1667% - 4-Star Artifacts: 0.08823% |
| 3-Star Artifacts | 93% |
For Pickup or Featured characters in Mongil: STAR DIVE, the rate for 5★ rarity is 1%, with 4★ at 6% and 3★ at 93%. Rate-up characters have a higher drop rate than other non-rate-up 4★ characters and Artifacts.
10-Pull Guarantees 4★ or Higher
Whenever you do a 10-pull, you are guaranteed to receive at least one 4★ or higher item. For character summons, the 4★ item can be either a character or an Artifact.
Hard Pity at 90, Soft Pity at 75
Hard pity for Mongil: STAR DIVE is 90 pulls. After 75 pulls, a rate-up bonus for the pickup target will be activated.
Artifacts Share Character Drop Rates
| Item | Rate |
| 5-Star Pickup Artifact | 1% |
| 4-Star | 6% - Rate-up targets: 1.000002% - Other 4-Star Artifacts: 0.2143% |
| 3-Star Artifacts | 93% |
Artifact Summons have the same drop rates as Character summons. The rate for 5★ rarity is 1%, with 4★ at 6% and 3★ at 93%. Rate-up Artifacts have a higher drop rate than other non-rate-up 4★ Artifacts.
10-Pull Guarantees 4★ or Higher
When you do a 10-pull, you are guaranteed to receive at least one 4★ or higher Artifact. For Artifact Summons, the 4★ drop will either be a rate-up Artifact or another Artifact.
No Characters Will Drop
5★ and 4★ characters will not drop from Artifact Summons. If you want characters, pull on any of the character banners.
Hard Pity at 80, Soft Pity at 65
The hard pity for Artifact Summons is 80 pulls. After 65 pulls, a rate-up bonus for the pickup target will be activated.
 Best Character Tier List
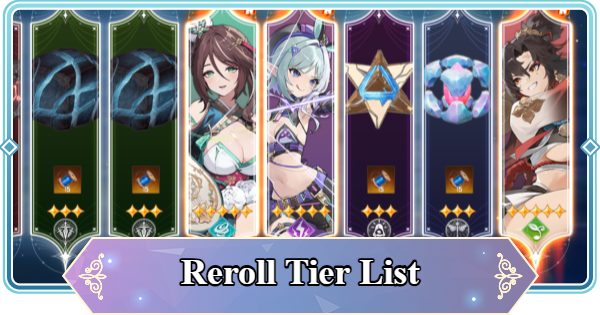 Reroll Tier List
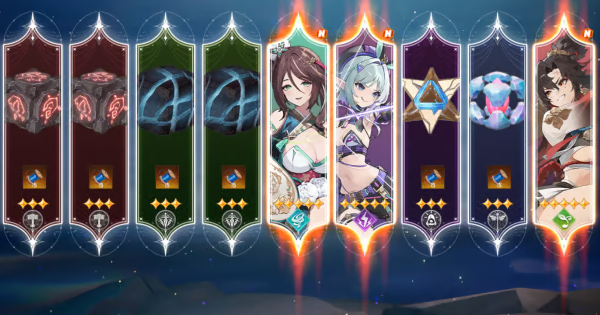 How to Reroll Guide
 Raising Adventure Level
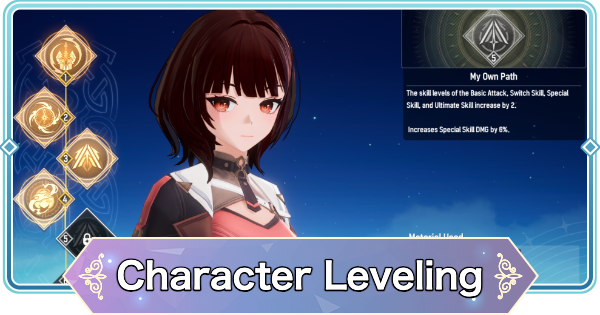 Character Progression
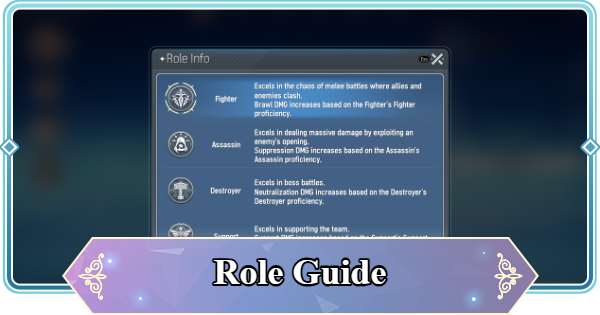 Role and Classes
 Recommended Gachas
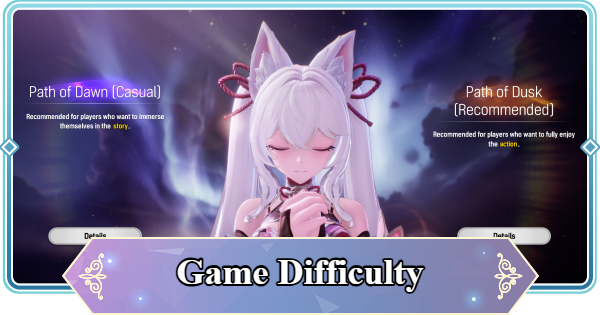 Game Difficulty Guide
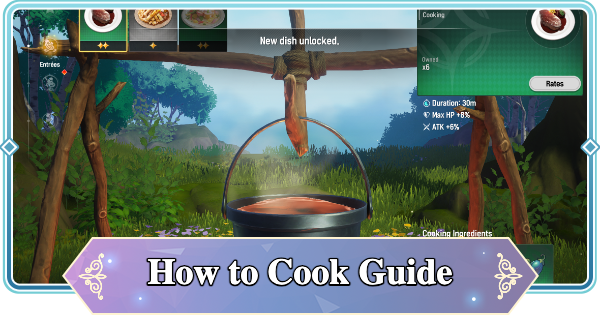 How to Cook and Best Recipes
 How to Capture Monsters
 How to Solve Oz's Puzzle
 Is Mongil a Gacha Game?
 How to Farm Starlight Crystals
 How to Get Compass of Promise
