 Mina
Mina Fighter
 Destroyer
 Support
 Assassin
 Fire
Fire Ice
Ice Wind
Wind Earth
Earth Lightning
This guide explains how to craft and optimize equipment in Mongil: Star Dive. Learn the steps for crafting, how to unlock it, when you should start optimizing your equipment, and how to do so.
How to Craft Equipment
Equipment Crafting Steps
| 1. |  |
| 2. |  |
| 3. |  |
Crafting is a feature in the main menu where you can create powerful equipment by combining monster and mineral materials.
Crafting is Unlocked in Episode 1
The Crafting feature is unlocked by progressing through the "Do It Yourself!" Side Quest early in Episode 1. Crafting from the early game will make your progress smoother.
Prioritize Crafting Set Equipment

![]()
Set equipment refers to 4-Star (purple) or higher equipment, and they activate special effects when you equip multiple pieces from the same series. It's generally recommended to prioritize Crafting to activate the Set Effect.
 | In the early game, don't worry about the Set Effect and prioritize equipping gear in all slots! |
|---|
Gather Mineral Materials Frequently

Mineral materials are essential for crafting equipment. In particular, rare minerals like "Rubies" and "Sapphires" are sometimes concentrated in the corners of the map, so check their locations and mine for them.
Utilize Requests for Monster Materials

You can complete up to 5 Requests per day. Accepting them will cause the target monster to appear on the map. Since the rewards are the same for any monster, it's recommended to choose Requests based on the materials you need.
Obtain 5-Star Monster Materials from Conquest

The monster materials needed for 5-Star set equipment can be obtained in "Conquest," where you fight bosses that get stronger with each stage. Craft a 4-Star set of equipment and take on the challenge.
Conquest Guide - List & Rewards
When to Start Optimizing Equipment?
Start Optimizing Footwear's Main Stat

![]()
| Equipment | Main Stat |
| Headgear | - HP |
| Chestpieces | - Defense |
| Gloves | - Attack |
| Footwear | - Fighter Proficiency - Destroyer Proficiency - Assassin Proficiency - Support Proficiency |
The Main Stat on Footwear only takes effect if the listed Role Proficiency matches the character's Role. Start optimizing for Footwear that matches your character as soon as Crafting is unlocked.
Keep Footwear Even if the Role Doesn't Match
In the early game, your priority is to equip all your team members, so even if a piece of Footwear has a Role that doesn't match your character, you should keep it for another party member instead of using it as enhancement material.
Optimize Substats After You Have Surplus Materials

![]()
For equipment with fixed Main Stats (i.e., slots other than Footwear), you should start optimizing Substats once you have a surplus of materials. In particular, we don't recommend using enhancement materials to optimize gear if your main equipment isn't fully leveled up yet.
How to Optimize Equipment
Gather Crafting Materials from Requests and Conquest
For equipment Crafting, you'll need to gather a large amount of mineral materials and monster materials. Specifically, in "Conquest," by defeating the 10th stage boss, you'll unlock the ability to exchange for that boss's materials or equipment.
Check the Substats After Crafting or at Level 3

![]()
| Equipment Level | Substat Addition/Enhancement |
| Lvl. 1 (at Crafting) | 2 new Substats added |
| Lvl. 3 | 1 new Substat added |
| Lvl. 6 | Random Substat enhancement |
| Lvl. 9 | 1 new Substat added |
| Lvl. 12 | Random Substat enhancement |
| Lvl. 15 | Random Substat enhancement |
| Lvl. 18 | Random Substat enhancement |
5-Star equipment can have a maximum of 4 Substats. You can see two of them when the item is crafted, and one more is added at Level 3. It's recommended to continue enhancing the equipment only if these three Substats are desirable.
| When you use enhanced equipment as enhancement material for another item, you'll recover about 70% of the experience. |
|---|

 Best Character Tier List
 Reroll Tier List
 How to Reroll Guide
 Raising Adventure Level
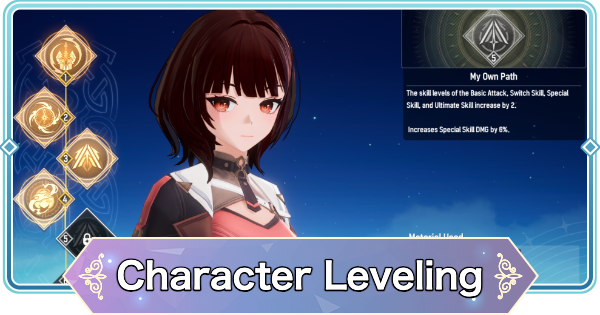 Character Progression
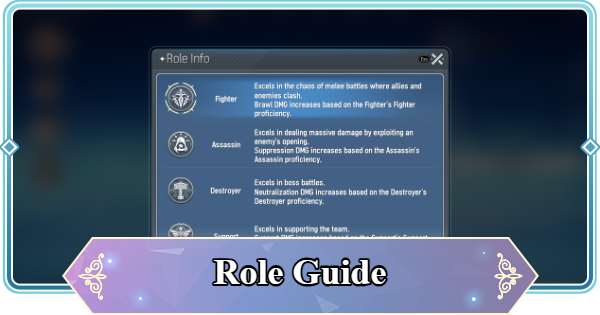 Role and Classes
 Recommended Gachas
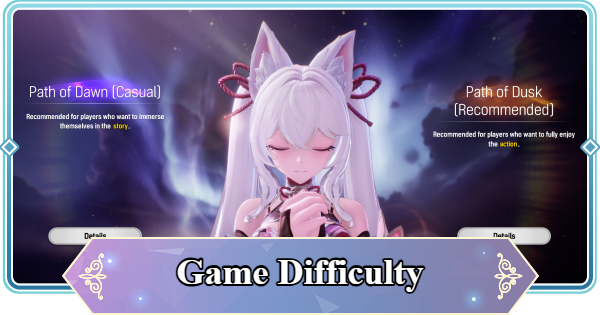 Game Difficulty Guide
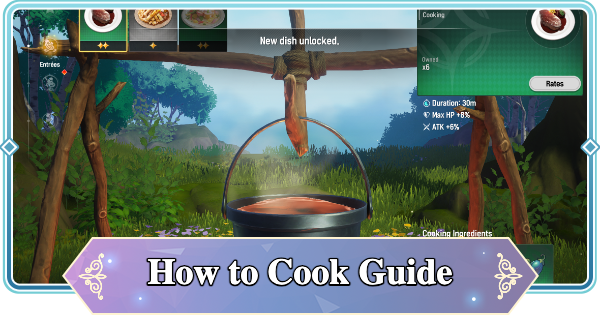 How to Cook and Best Recipes
 How to Capture Monsters
 How to Solve Oz's Puzzle
 Is Mongil a Gacha Game?
 How to Farm Starlight Crystals
 How to Get Compass of Promise
