This article covers the choices and effects for the Acupuncturist Event in Umamusume: Pretty Derby. Including the chance rate, which options to choose, and the effects of each Chakra point in Umamusume.
Table of Contents
What is an Acupuncturist Event?

Appears Randomly During a Career
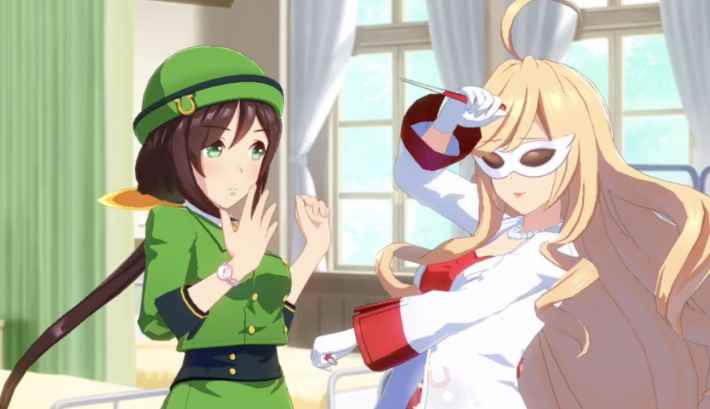
The Acupuncturist Event features Sasami Anshinzawa and has a low chance of occurring, making it a rare and lucky event when it does appear.
Gain Effects Based on Your Choice
In the Acupuncturist Event, your choices grant different effects. You can boost stats, acquire Skills, or gain helpful conditions, so pick the option that best suits your situation.
There Is a Risk of Failure
The Acupuncturist Event has a chance to fail. The risk and severity of failure increase with higher-ranked options, so the further down the list you choose, the greater the chance of failure and the stronger the negative effects.
Acupuncturist Event Choices, Effects and Chance Rate
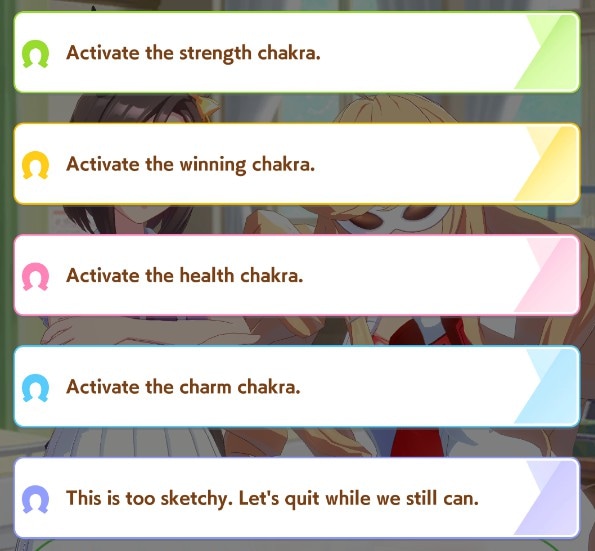
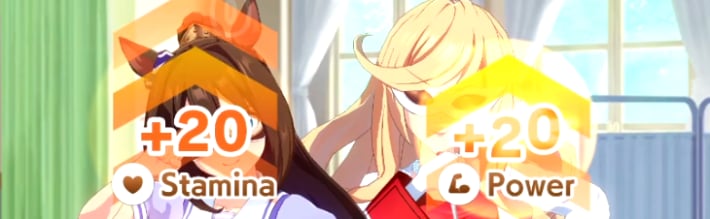
| Activate the Strength Chakra | [Success] +20 to all 5 Status [Failure] Mood down All Status -15 Gain Night Owl Status Effect |
|---|---|
| Activate the Winning Chakra | [Success] Get Corner Recovery ◯ Get Straightaway Recovery [Failure] -20 Energy Mood down |
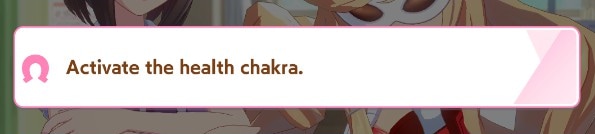
| Activate the Health Chakra | [Success] Energy +40 Max Energy +12 Cures bad conditions [Failure] Energy -20 Mood down Get Practice Poor |
| Activate the Charm Chakra | [Success] Energy +20 Mood up Get Charming ◯ [Failure] Energy -10 Mood down |
| This is too sketchy. Let's quit while we still can. | Energy +10 |
Success Probability for Each Choice
| Choice | Success Rate | Failure Rate |
|---|---|---|
| Activate the Strength Chakra | 32.5% (65 times) | 67.5% (135 times) |
| Activate the Winning Chakra | 47.5% (95 times) | 52.5% (105 times) |
| Activate the Health Chakra | 71% (142 times) | 29% (58 times) |
| Activate the Charm Chakra | 87% (174 times) | 13% (26 times) |
After testing each option 200 times, the results showed that 'Activate the Strength Chakra' had a success rate of about 30%, while 'Activate the Charm Chakra' was about 90%. The first option appears to be high-risk.
Best Choices for Acupuncturist Event
Get ‘Charming ◯' Before Debut Race
If it's before the debut race, choose 'Activate the Charm Chakra' to get 'Charming ◯'. This option has a high success rate, and early in the game, 'Charming ◯' helps you build friendships faster.
After Debut Race, Pick the 2nd Option
At any time except before the debut race, the second option, 'Activate the Winning Chakra,' is recommended. On success, you directly gain 'Corner Recovery' and 'Straightaway Recovery' skills rather than just hints, making it easier to train a high-rating Umamusume.
 Tips! Tips! | Recovery Skills are important in Team Trials and Champions Meeting, so this option is recommended if you want to conserve Skill Points. |
|---|
The 1st Option Is Not Recommended
The first option is not recommended due to its low success rate and high risk of lowering all your stats. This can significantly undermine your progress in the Career. Since you can recover stats through good training sessions, it's best to avoid the 1st option.
| Tips! | The reward for success is huge, so if you're prepared to restart your Career many times, it might be worth picking it to aim for a high roll. |
|---|
The 3rd Option's Benefits Are Minimal
The third option increases your Max Energy by 12. Although the success rate is high, its benefits are hard to notice compared to the other options.
Acupuncturist Event Special Cutscene
If You Choose 'This is too sketchy..'
If you select 'This is too sketchy. Let's quit while we still can.' 3 times, Tazuna will appear, triggering a special cutscene where she chases Sasami Anshinzawa. After Tazuna's arrival, the Acupuncturist Event will end automatically.
No Energy Recovery
If you end the Acupuncturist Event with the special cutscene, you won't recover any Energy. Since there are no gameplay benefits, only choose this option if you want to see the scene.
Umamusume Related Articles
 Umamusume Wiki Top Page
Latest Information
 Scout List | Should You Pull? |
Popular Articles


 Mood Guide
 Voice Actor List
 Birthday List
 Height and Weight List
 Three Size List
 Scout Animation Guide
 Shop Items Guide
 How to Get Clovers
 How to Get Cleats
 How to Level Up Unique Skills
 Stat Growth Rates List
 Spark Farming
 Daily To-Do List
 Increase Stats Guide
 Claw Machine Event Guide
 How to Limit Break
 Recreation Guide
 How to Raise Bond Level
 Support Bonus
 Legacy Affinity List
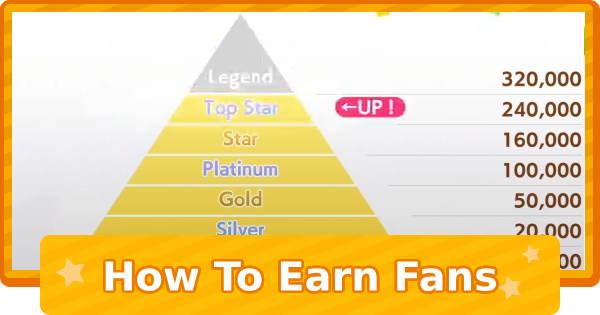 How to Get Fans
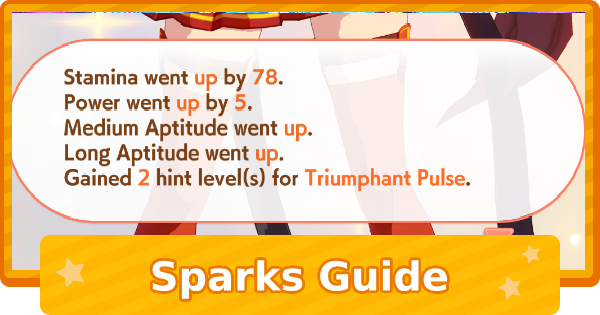 Sparks Guide
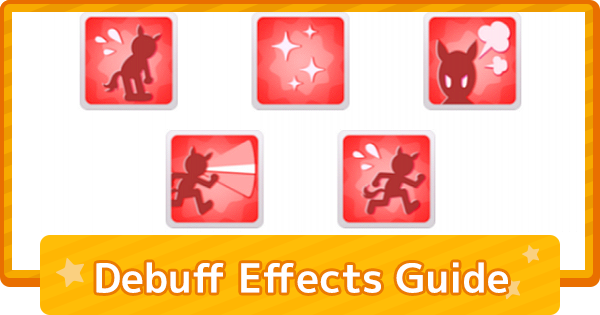 Debuff Effects Explained
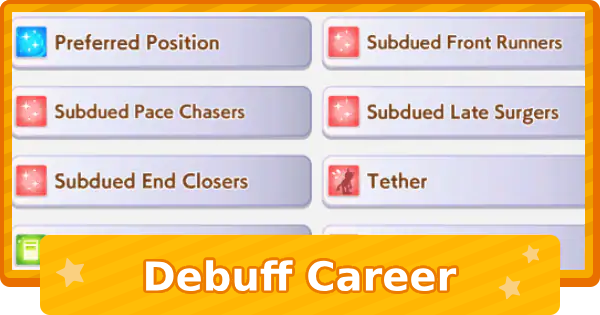 Debuff Career
 Spark Loop and Affinity Guide
 Latest Events and Campaigns
 Race Position Guide
 Early Game Guide
 Room Match Guide
 Shining Brightly
 URA Finale Event Choices List
 Career Umamusume Enhancement Guide
Ranking Articles
 Best Characters (Umamusume) |  Best Support Cards |
 Reroll Tier List |  Best SR Support Cards |
 Best Umamusume for Beginners Best Umamusume for Beginners | - |

