This article is a guide for Careers in Umamusume: Pretty Derby. Includes Umamusume Career strategy and tips, summer camp strategy, skill priority, building support deck, and more.
Table of Contents
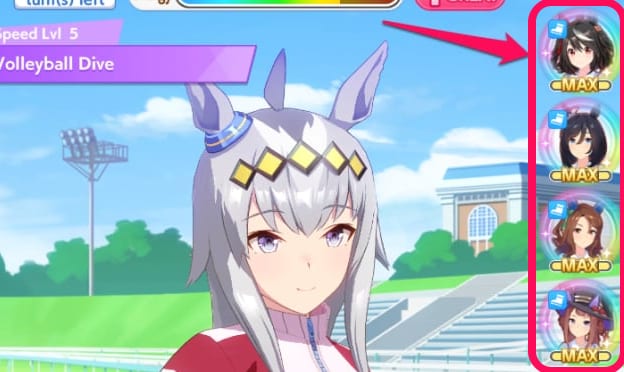
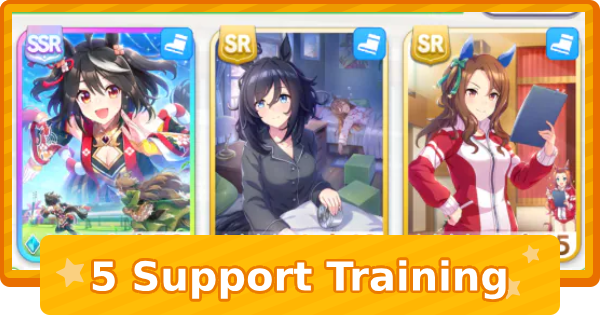
Tips for Building a Support Deck
Include Three Speed Cards
Speed is a crucial stat that determines an Umamusume's top speed. Regardless of the scenario or Distance you're aiming for, including multiple Speed Support cards will allow you to consistently improve your stats.
 Tips! Tips! | For Sprint/Mile distances, include Power cards, and for Medium/Long distances, include Stamina cards to ensure you secure the necessary stats for each Distance. |
|---|
Adjust Deck as Needed for Stat Goals
In Umamusume, stat distribution and deck composition vary greatly depending on the content and Distance. This article provides some examples of target stats for your reference.
How to Build a Support DeckTarget Stats for Winning the URA Finale
 | | | |||
|---|---|---|---|---|---|
| Sprint | |||||
| Mile | |||||
| Medium | |||||
| Long |
It's generally recommended to aim for a balance like the stats shown above. When building your deck, choose support cards that make it easy to raise the important stats for that Distance.
| Compare with the target Races during your Career and use it as a reference for which stats to improve. *Rival strength can vary greatly depending on the scenario, so you may need to secure even higher stats. |
Target Stats for Aiming for a Higher Rating
| | | |||
|---|---|---|---|---|---|
| Sprint | |||||
| Mile | |||||
| Medium | |||||
| Long |
Once you have a decent set of Sparks and support cards, try aiming for stats like the ones above in your Career. Stats become easier to raise with each new scenario update, so it's recommended to run Careers in the latest scenario.
| Tips! | The stats above are just a guideline for beginner to intermediate players who are getting used to Careers. Advanced players should use the stat balance as a reference and aim to secure stats near the cap for each scenario. |
|---|
Recommended Deck Examples
Deck Example for Sprint/Mile Aptitude
| Speed Slot | Speed Slot | Power Slot |
|---|---|---|
| Sweep Tosho | Eishin Flash | Hishi Amazon |
| Power Slot | Guts Slot | Rental Slot |
| Daitaku Helios | Haru Urara | Kitasan Black |
A deck example for Sprint/Mile distances, which have low Stamina requirements. Allocating Sparks to Stamina will help you handle longer Mile Races. If you want to include a Wit card, swap it with a Power or Guts card.
Deck for Medium/Long Distance Aptitude
| Speed Slot | Speed Slot | Stamina Slot |
|---|---|---|
| Sweep Tosho | Eishin Flash | Mejiro McQueen |
| Stamina Slot | Friend Slot | Rental Slot |
| Manhattan Cafe | Aoi Kiryuin | Kitasan Black |
A deck example for Medium/Long distances where Stamina is important. If you want to include a Wit card, it's recommended to swap it with the Friend or a Stamina card and allocate some Stamina Sparks to compensate.
Build a Deck Suited to the Umamusume
The decks above are just general-purpose examples. To raise stats more efficiently, change your deck according to the Umamusume's Growth Rate and your goals.
Spark Inheritance and Compatibility
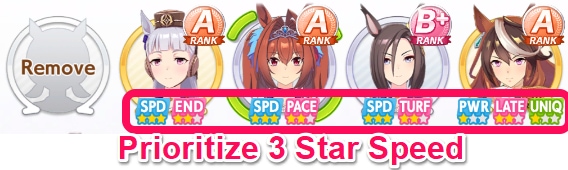
Big Difference Between 3★ and 1★ Sparks
While 1-Star Sparks only grant a single-digit stat increase, 3-Star Sparks provide a double-digit boost. Since multiple Sparks are inherited in a single session, this creates a significant difference in the final stats.
Beginners Should Prioritize Sparks
Compatibility greatly affects the probability of inheriting Sparks, but beginners don't need to worry about it too much. The benefits of inheriting Sparks with more stars are greater than those from Spark compatibility, so focus on compatibility after you get used to Careers.
Borrow 3★ Sparks at First
It's desirable for the inherited Umamusume to have 3-Star Sparks, but the probability of creating one is quite low. Initially, you should rent from Friends to perform 3-Star Spark inheritance.
| Tips! | To raise a strong Umamusume, Support Cards matter. But first, focus on gathering Sparks. Once you're familiar with Careers, the core strategy is to grind using your own strong Sparks and those from Friends. |
|---|
You Can Only Rent Up to 3 Times a Day
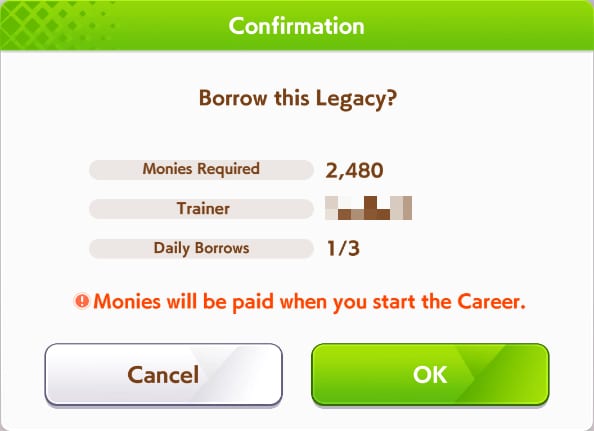
You can only use rented Sparks up to 3 times a day, so when patiently running Careers, try to prepare your own parent Sparks as much as possible.
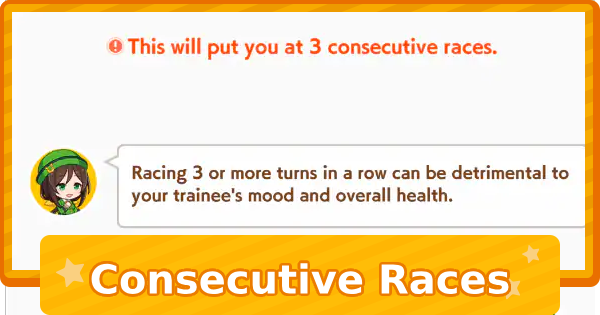
Early Game Career Strategy
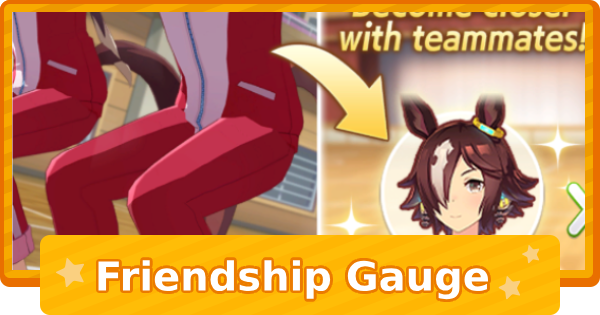
Prioritize Friendship Gauges and Hints
 Friendship Training Guide
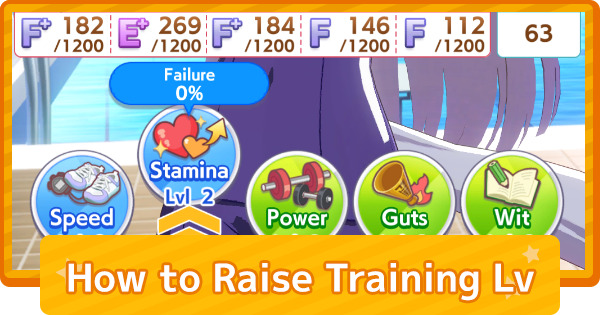
In the early game, actively raise the Friendship Gauges of your Support Cards and acquire hints. If you can do this during Training for the stats you ultimately want to raise, it will also be easier to increase your Training levels.
Training with Friend/Group Type Cards is Also Important
For Friend/Group type support cards, the Recreation start event won't trigger unless you've trained with them at least once. So, if you have a Friend/Group type in your deck, try to complete the first Training session with them early on.
| Tips! | The Recreation start event is more likely to occur when the Friend/Group type's Friendship Gauge reaches the third bar and turns green, so keep an eye on the support card's Friendship Gauge. |
|---|
Keep Scenario Gimmicks in Mind
In Umamusume, depending on the scenario, there are other gauges besides the Friendship Gauge that you'll want to raise. Adapt your early game strategy flexibly according to the specific gimmicks.
| Tips! | The URA Finale is a straightforward scenario designed to help you learn the basics of Careers. It's a great starting point for getting familiar with the game's flow and mechanics. |
|---|
Mid to Late Game Strategy
Train with Your Support Deck
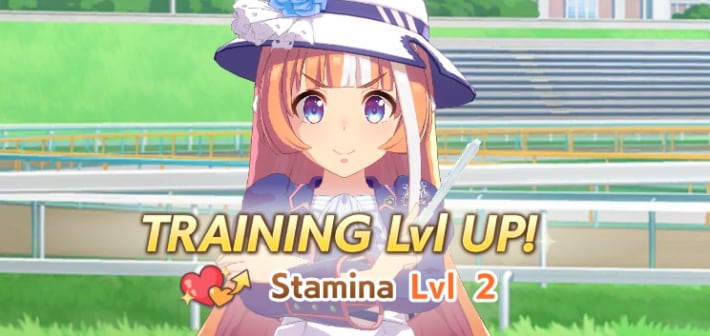
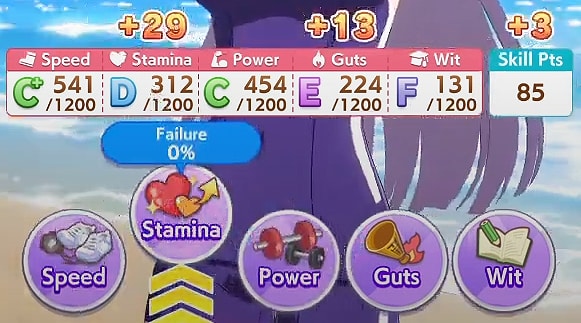
For regular Training, you should try to perform the types corresponding to the support cards in your deck as much as possible. If your Training types are all over the place, it will be difficult to raise your Training levels, which will result in poor stat growth.
How to Increase Training LevelKeep Rests to a Minimum

Wit Training can restore Energy, so if your Energy isn't too low, use Wit Training to recover. Also, depending on the scenario, you can restore Energy through Recreations with powerful Friend support cards, so try to avoid selecting Rest as much as possible.
| Tips! | Recovering +30 Energy from Resting may give you 'Night Owl'. Especially from the mid-game onwards when you can go on Recreations with friends or do Wit Friendship Training, try to avoid Resting as much as possible. |
|---|
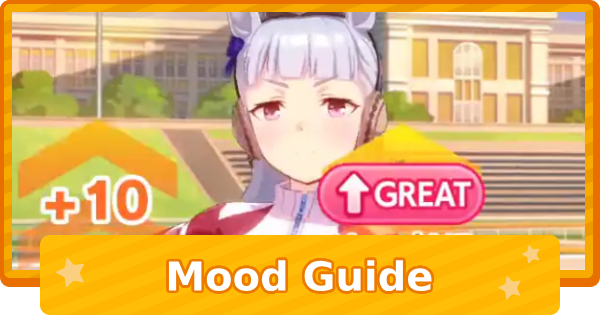
Try to Keep Your Mood at Great
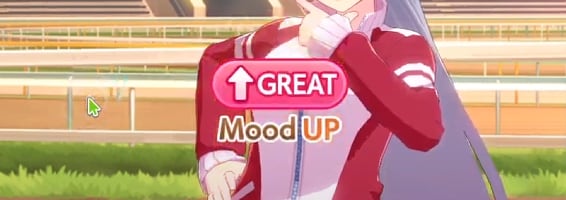
A high Mood increases the effects gained from Training and also boosts stats during Races. You'll want to aim for Great Mood, especially before Summer Camp where you can significantly boost your stats.
Raise Your Mood at the Right Time
When Support Cards aren't gathered or Friendship Training isn't available, go on a Recreation to restore your Mood.
Mood GuideSummer Camp Strategy
All Training Levels are Maxed Out
During Summer Camp, you can train with all Training levels at their maximum. Therefore, you should use the Summer Camp to supplement stats that you can't normally train.
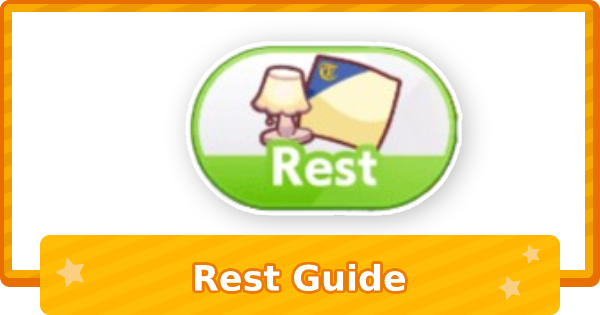
Rest Before Camp
To perform powerful Training during Summer Camp, make sure to restore your Energy and get to Great Mood before the Summer Camp (late June).
Rest GuidePrioritize the Most Effective Options
While it's important to supplement stats that are hard to raise in normal Training, you should generally choose the most efficient Training that provides the biggest stat gains.
Summer Camp Lasts for 4 Turns

Summer Camp lasts for 4 turns, from early July to late August. The ideal strategy is to spend this entire period Training.
Skill Priority
For Rating, Prioritize Gold Skills
Rare Skills known as Gold Skills are more efficient for Rating points compared to normal Skills, so it's recommended to acquire Gold Skills if you're aiming for a high Rating.
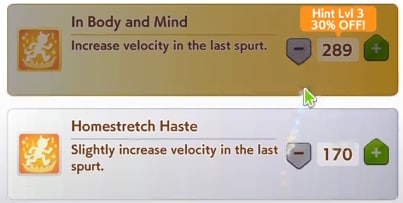
| Tips! | Gold Skills require a lot of points to acquire, so if there are multiple white Skills with high hint levels available, it might be better to prioritize them instead. |
|---|
Inheritable Unique Skills are Inefficient
The unique Skills that can be inherited from Sparks are powerful, but they are inefficient in terms of Rating points. If you're aiming for an Umamusume with a high Rating, prioritize other Skills.
Stop ◯-type Skills at the First Level
◯-type Skills have good Rating efficiency up to the first level. Raising them to the second level (◎) makes them inefficient, so avoid learning them when raising a high-Rating Umamusume.
In PvP, Prioritize Skills Suited for the Track
Among the countless Skills, some are less effective depending on the Track, while others are essential for victory. If you're aiming for victory in PvP, first check the Track conditions and acquire Skills that are suitable for it.
Best Choices for Sudden Events
Extra Training Event

| Choice 1 | +5 Last Trained Stat (Random) Heal a Negative Status Effect -5 Energy |
|---|---|
| Choice 2 | +5 Energy |
Prioritize Energy Recovery
For Extra Training, generally prioritize Energy recovery. Depending on the scenario, the number of Training sessions during a Career is a key to raising a strong Umamusume, so you want to increase the number of Training sessions as much as possible.
The Acupuncturist Event

| Activate the Strength Chakra | [Success 20%] +20 to all 5 stats [Failure 80%] Mood down -15 to all stats Gain Night Owl Status Effect |
|---|---|
| Activate the Winning Chakra | [Success 60%] Get Corner Recovery ◯ Get Straightaway Recovery [Failure 40%] -20 Energy Mood down |
| Activate the Health Chakra | [Success 80%] +12 Max Energy +40 Energy Cure Negative Effects [Failure 20%] -20 Energy Mood down Gain Practice Poor |
| Activate the Charm Chakra | [Success 80%] +20 Energy Mood up Gain Charming ◯ [Failure] -10 Energy Mood down |
| This is too sketchy. Let's quit while we still can. | +10 Energy |
Go with Option 4 Early On
The 'Charming ◯ ' you can get from the 4th option is a condition that makes the Friendship Gauge easier to raise, so if this event appears early on, the 4th option is recommended. Its success rate is also set to be the highest among the top 4 choices.
Go for Option 2 if Aiming Higher
For the Acupuncturist, the 2nd option, "Activate the Winning Chakra," is recommended. You can directly learn the versatile Skills "Corner Recovery ◯" and "Straightaway Recovery," making it easier to get a high-Rating Umamusume and supplement Stamina.
You Can Use Option 5 Later On
If you have already secured sufficient stats and Skills, choose the 5th option. You can achieve an A Rating without the effects of the Acupuncturist, so considering the demerits of failure, it's better to make the safe choice.
New Year's Shrine Visit
| Choice 1 or 2 | All Stat Up |
|---|---|
| Choice 2 or 1 | Energy Recovery |
| Choice 3 | Gain Skill Points |
*The order of choices 1 and 2 in the New Year's Shrine Visit event varies by character.
*The effects of each choice differ between the 1st and 2nd year.
Energy Recovery is Generally Recommended
For the New Year's Shrine Visit event, if your Energy is low, you should choose to recover Energy. However, keep in mind that depending on the Friend/Group support cards in your deck, there might be a recovery event at the start of the second year, so take that into consideration.
If Your Energy is Almost Full, Go for Skill Pts
If your Energy is almost full, it's recommended to choose Skill Pts. The stat up option gives few stats so it's less recommended.
Helpful Information for Careers
| Best Characters for Beginners | How to Build a Support Deck |
| Rest Guide | Effects of Recreation |
| How to Increase Training Level | Friendship Training Guide |
| Spark Commentary and Grinding Method | How to Do an Inheritance Loop |
| Mood Guide | Commentary on Each Stat |
| Compatibility ◎ Combinations | Crane Game Guide |
| How to Get All B-Rank Stats | How to Earn Fans |
| How to Level Up Unique Skills | How to Use Hot Spring Trip Tickets |
| Effects of the Acupuncturist | List of Condition Effects |
Umamusume Related Articles
 Umamusume Wiki Top Page
Rankings
 Best Characters (Umamusume) | 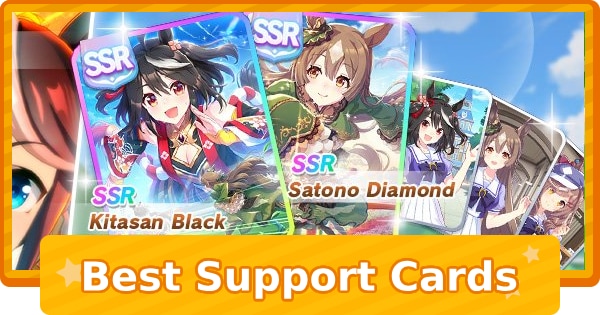 Best Support Cards |
 Reroll Tier List |  Best Umamusume for Beginners |
 Best SR Support Cards |
Characters (Umamusume & Support)
 List of All Trainee Umamusume |  Support Card Rating List |
 Unreleased Character List |  Duplicate Characters |
 Wit Stat |  Umamusume List by Year |
 Level Up Support Cards | 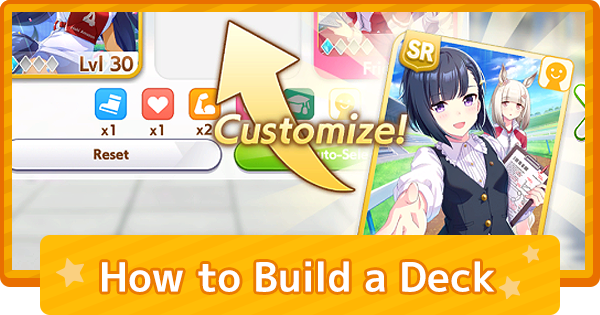 How to Build a Support Deck |
 Reroll Guide |  Support Bonus Support Bonus |
 Legacy Affinity List |  Sparks Guide Sparks Guide |
 Early Game Guide
 Spark Farming

 Mood Guide
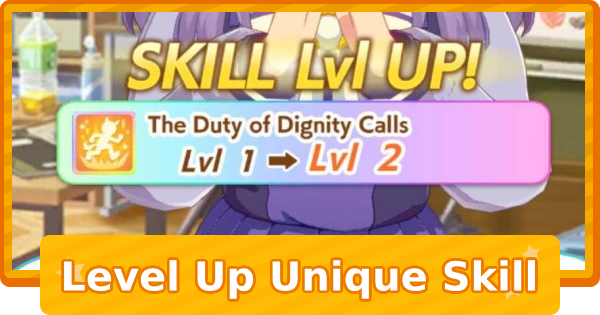 How to Level Up Unique Skills
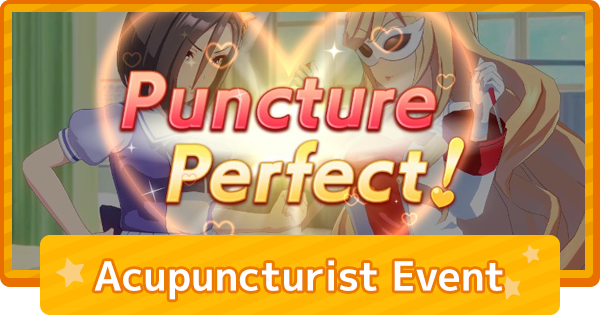 Acupuncturist Event Guide
 Increase Stats Guide
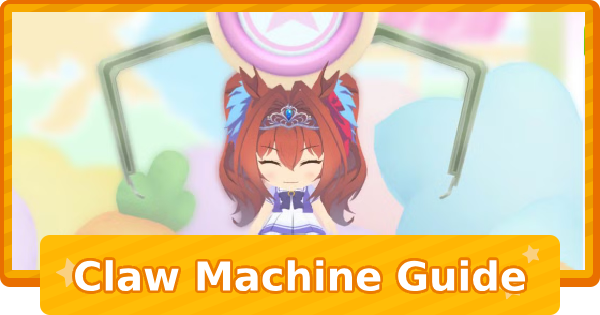 Claw Machine Event Guide
 Recreation Guide
 Debuff Career
 Spark Loop and Affinity Guide
 Race Position Guide
 URA Finale Event Choices List
 Career Umamusume Enhancement Guide
 Daily To-Do List


 Voice Actor List
 Birthday List
 Height and Weight List
 Three Size List
 Scout Animation Guide
 How to Get Clovers
 How to Get Cleats
 Stat Growth Rates List
 How to Limit Break
 How to Raise Bond Level
 Debuff Effects Explained
 Latest Events and Campaigns
 Room Match Guide
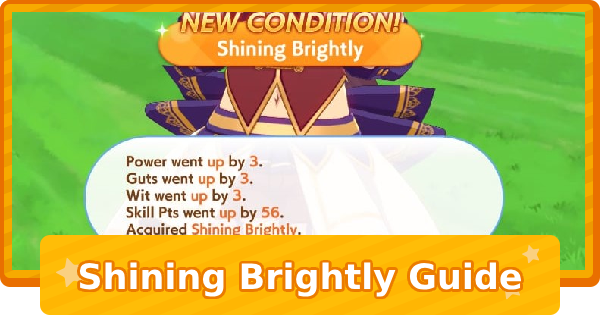 Shining Brightly
